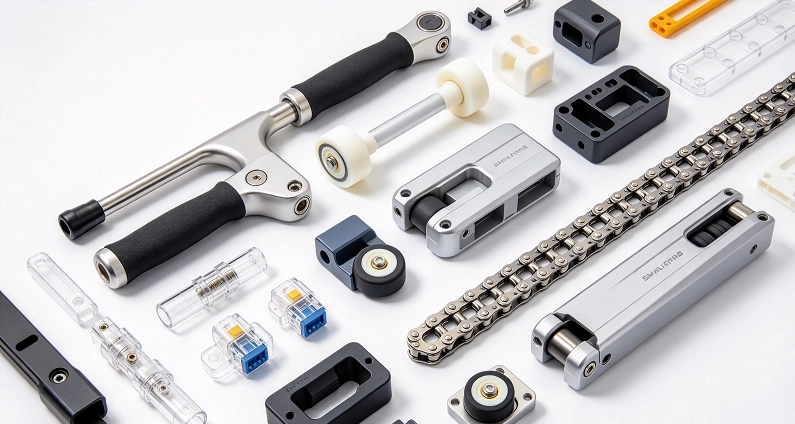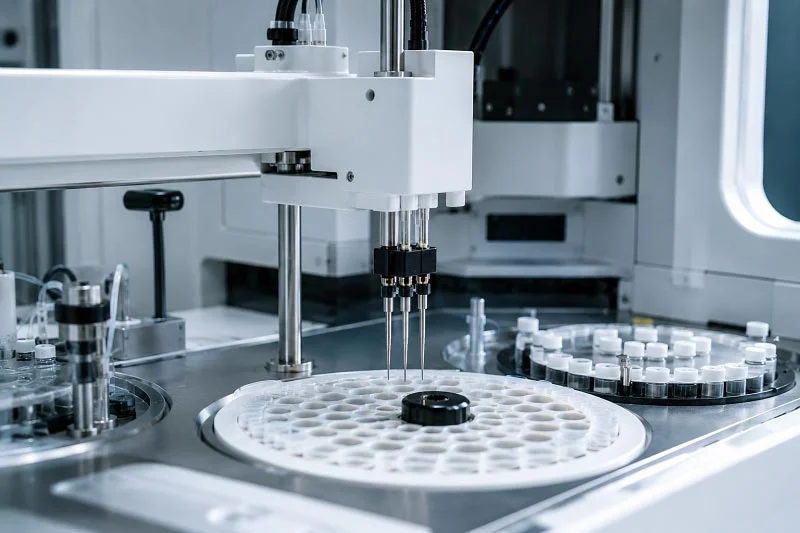
Finding the right process for a reaction cup holder means weighing several factors. The common manufacturing processes each match different needs. Production volume heads the list. Budget and materials play key roles too. This process depends on your specific use case. Technology advances create more options every year. Manufacturing requires careful thought about trade-offs. Production speed and cost go hand in hand. This technology works great for prototyping. Manufacturing technology keeps evolving for better results. One more technology focuses on precision runs. Manufacturing technology handles complexity well. Getting your choice right saves time in the long run. Each factor plays a part in your decision. Start with what matters most to your project.
Materials for Reaction Cup Holder Manufacturing
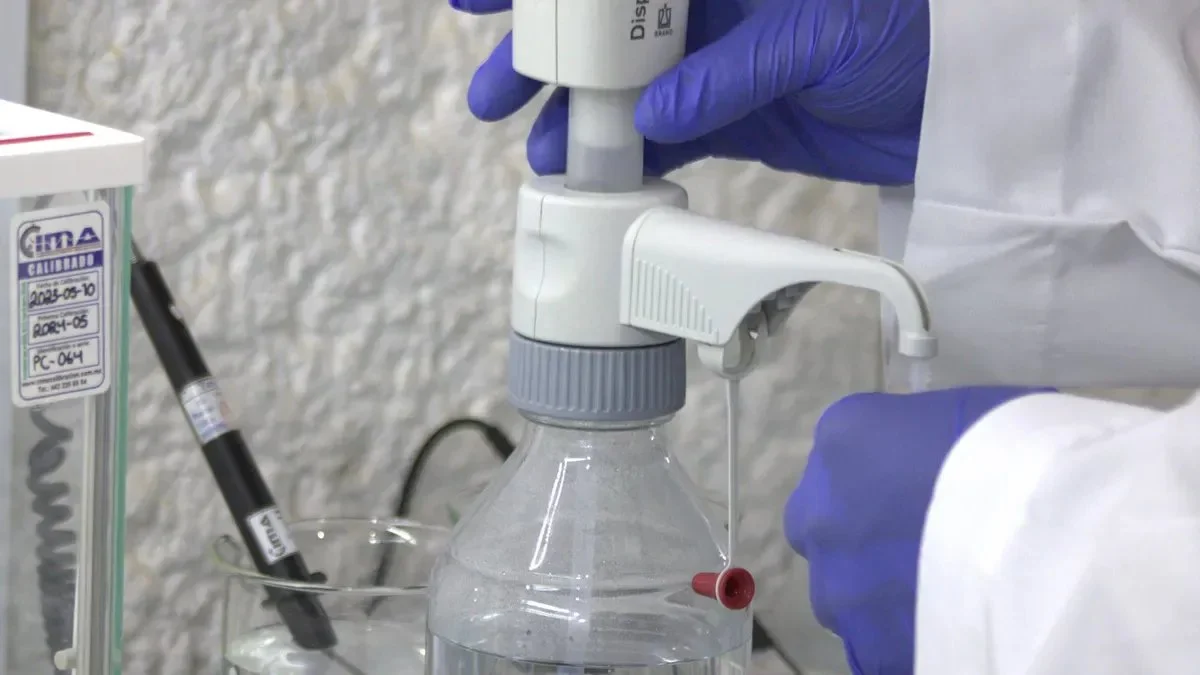
The material you pick affects every part of how the cup holder is made. Different plastics and metals each bring their own strengths for science and industry use.
Common Plastics and Polymers
Plastics are the top choice for cup holders because they fight off chemicals and handle warm temperatures well.
Polypropylene (PP) and Polyethylene (PE)
PP can go through many autoclave cycles at about 121–135°C. It’s a reliable option for light lab tasks. PE resists chemicals well at lower temperatures but can’t take heat like PP. Both are cheap and come in FDA-approved grades for touching food. PP may wear out after 50 cleaning cycles, so it’s best for throwaway or short-term holders. The methods to shape these plastics are proven and low-cost.
Polycarbonate (PC) and Acrylic (PMMA)
PC gives you great see-through clarity and strong impact resistance. It’s perfect when you want to watch the reaction inside the cup. PMMA is also clear but breaks more easily. Neither handles autoclaving as well as PP. PC can take some steam, but PMMA warps under high heat. For jobs where you need to watch what’s happening, these plastics work great.
Engineering Metals and Alloys
When you need toughness and rust resistance, metals come into play. Metal shaping methods allow exact forming of tricky designs.
Stainless Steel (304/316)
Stainless steel builds a thin layer of chromium oxide (Cr2O3) that repairs itself. This layer gives it strong rust resistance.
| Property | 304 Stainless Steel | 6061 Aluminum |
| Yield Strength | 30 ksi (205 MPa) | 40 ksi (276 MPa) |
| Tensile Strength (UTS) | 75-190 ksi (515-1310 MPa) | 45 ksi (310 MPa) |
In salty areas with over 200 ppm Cl- and high heat, small pits can form. For tough jobs, 316 stainless steel adds molybdenum for extra safety.
Aluminum (6061)
Aluminum 6061 is lighter than steel and still fairly strong. With anodizing or chromate coating, it stands up to rust well. Plain 6061-T6 may show light pitting outside within 2–5 years if not coated. Aluminum sits above stainless steel in the galvanic series. When they touch while wet, a corrosion risk appears. Use nylon washers or other separators to stop this. Shaping aluminum is simple and fits well in production settings.
Material Selection Criteria
Picking the right material means knowing what matters most.
Chemical and Temperature Resistance
Autoclaving at 121°C (normal) or 134°C (flash) is common in medical tests. PP handles a few cycles. PEEK takes up to 260°C and survives 500+ cycles. The material’s steady-use temperature should be 15–20°C higher than your working temperature. You also need to think about cleaning agents, disinfectants, acids, and bases. PEEK and PTFE stay chemically stable in nearly all situations. Material science helps you choose what fits your budget.
For direct food-contact uses in medical tests that need autoclaving, materials like PP, PTFE, and silicone must be FDA-approved grade. For medical use with direct or indirect patient contact, materials must meet ISO 10993 and/or FDA rules on cytotoxicity, sensitization, and systemic toxicity. Not every autoclavable plastic is automatically safe for the body or food—check with your supplier.
Mechanical Strength and Optical Clarity
Some cup holders must hold weight or take hits. PEEK has the best strength-to-weight ratio among plastics. Silicone bends and flexes for sealing jobs. PP is only for light use. Clear visibility matters when you need to watch the reaction. PC and PMMA let light through. PPSU also stays clear and handles higher heat. Weighing these factors against cost helps you find the best material for your design. How many you plan to make also affects your final pick.
CNC Machining for Reaction Cup Holder
CNC Milling and Turning
Process Description and Capabilities
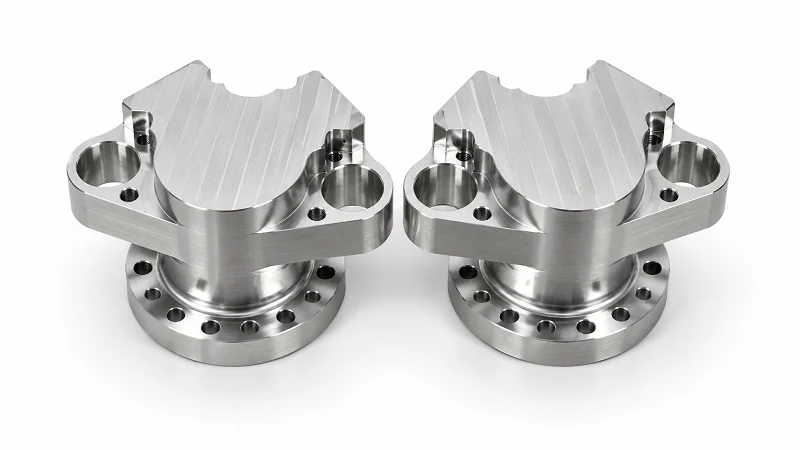
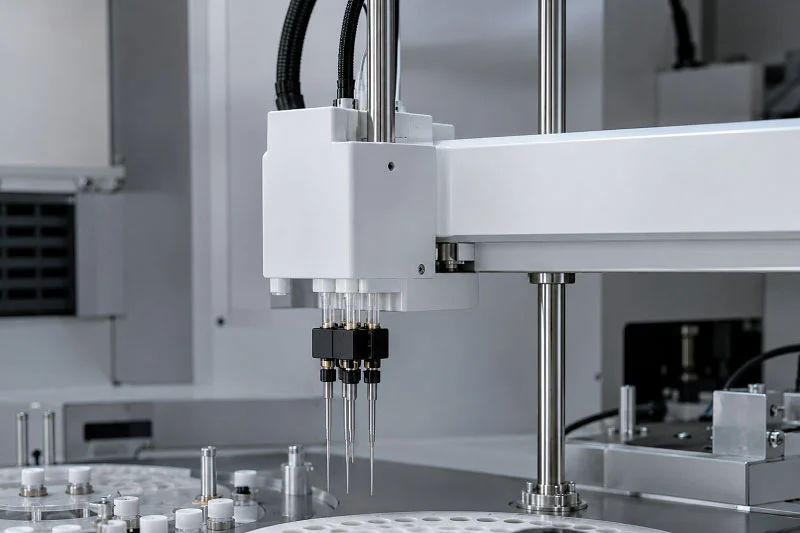
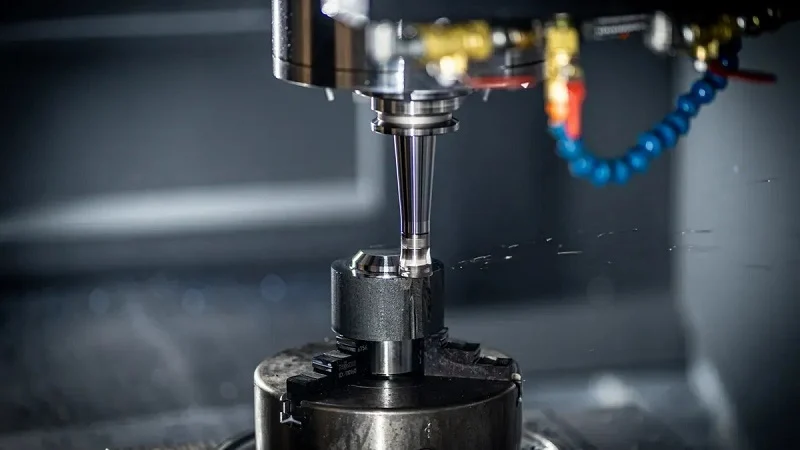
This method removes material from a solid block. A computer guides cutting tools to shape the final part. The machine reads code from a 3D model. Each cutting pass removes a thin layer until the part reaches its final size. This subtractive approach works with nearly any solid material.
For this type of holder, the machine can cut internal cavities, external threads, and mounting features in one setup. Milling handles flat surfaces, slots, and pockets. Turning creates round features like the outer diameter of a holder body. Many shops use 3-axis or 5-axis mills for complex parts. A 5-axis machine reaches undercuts and angled features without moving the part. That cuts handling time and boosts accuracy.
The process starts with a 3D model loaded into CAM software. The software creates toolpaths that guide the machine. Milling uses rotating cutters to remove material from flat or curved surfaces. Turning uses a fixed tool while the workpiece spins. Many modern machines combine both operations in one cycle. A mill-turn center switches between operations without moving the part.
These machines handle complex shapes that other processes cannot produce. Features like undercuts, small holes, and thin walls come out clean and accurate. The technology works with materials from soft plastics to hardened metals.
Achieving Tight Tolerances
This approach holds dimensions within tight limits. Standard tolerances fall around ±0.005 inches. With careful setup and quality tooling, you can reach ±0.001 inches. That level of precision matters when the holder must lock into test equipment without wobble. A loose fit can cause leaks or misalignment during reactions.
Surface finish quality also improves with tool selection and feed rates. A standard machined surface comes off the machine around 63 to 125 microinches Ra. Polishing or bead blasting can bring it lower if needed. For medical or lab use, a smooth finish prevents bacteria from hiding in scratches.
Advantages of CNC Machining
Material Versatility and Surface Finish
This technology works with a broad range of materials. Plastics like PP, PC, PEEK, and PTFE cut well on these machines. Metals such as 304 stainless steel and 6061 aluminum also machine easily. You can switch between materials without changing any tooling setup. The same program that runs on aluminum can run on stainless steel with adjusted speeds.
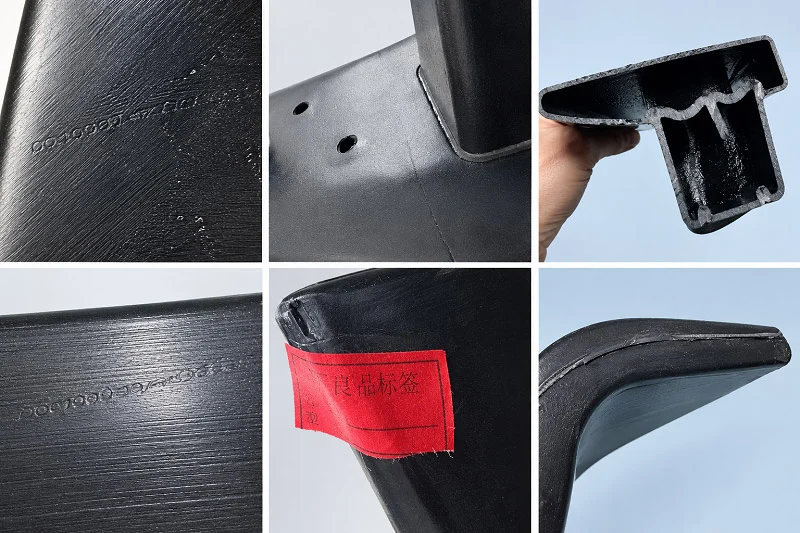
The surface finish coming off the machine often looks good enough for final use. No mold texture or layer lines appear on the part. No parting line exists like on injection molded parts. For most lab and medical applications, the as-machined finish meets requirements.
Cost-Effectiveness for Low Volumes
| Process | Tooling Cost | Per-Part Cost (Simple Plastic) | Best Volume |
| CNC Machining | $0 | $15 – $80 | 1 – 5,000 pcs |
| Injection Molding | $5,000 – $100,000+ | $0.10 – $5.00 at volume | 1,000 – 1,000,000+ pcs |
The key advantage here is zero tooling cost. You pay only for machine time and material. For a batch of 50 holders, the per-part cost stays reasonable compared to amortizing a $5,000 mold. No upfront investment means you can start production right away.
The crossover point between manufacturing options follows a simple formula. Mold cost divided by the difference in per-part cost. For a simple part with a $5,000 mold, the crossover lands around 350 pieces. Under that number, machining costs less. For a medium-complex part with a $20,000 mold, the crossover jumps to around 460 pieces.
Production scaling matters when you choose a route. For small runs from 1 to 5,000 pieces, CNC machining offers clear savings. Beyond that range, injection molding starts to win on unit price.
Limitations and Ideal Use Cases
Lead Times and Material Waste
This method takes time to set up and run. For a batch of 50 to 200 holders, the typical lead time runs 2 to 3 weeks from order to quality check. That includes programming, material sourcing, machining, and inspection. Some shops offer expedited service for an extra fee if you need parts faster.
Material waste is another concern. The machine cuts away material rather than forming it into shape. For simple geometries, you might waste 30 to 50 percent of the stock. Complex parts can waste even more. That wasted material adds cost, especially with expensive plastics like PEEK or metals like stainless steel. You can reduce waste by starting with round bar stock instead of rectangular blocks.
When to Choose CNC Machining
This specific process fits best when volumes stay low. Prototypes, pilot runs, and custom lab equipment all benefit from this technology. The technique also shines when you need tight tolerances on complex features. If your design has threaded holes, precise cavities, or mating surfaces, machining delivers consistent results.
You should also choose it when material testing matters early in development. Machining lets you evaluate different plastics or metals without investing in a mold. The flexibility to change the design on the fly adds value during R&D phases. You can test one material, then switch to another in the next batch. No tooling changes are needed.
For a reaction cup holder that needs specific features like threaded connections or custom cavities, this approach delivers without tooling commitment. The trade-off of higher per-part cost makes sense when you need only a few hundred pieces. Production runs under the crossover volume give you the better total cost.
Injection Molding for Reaction Cup Holder
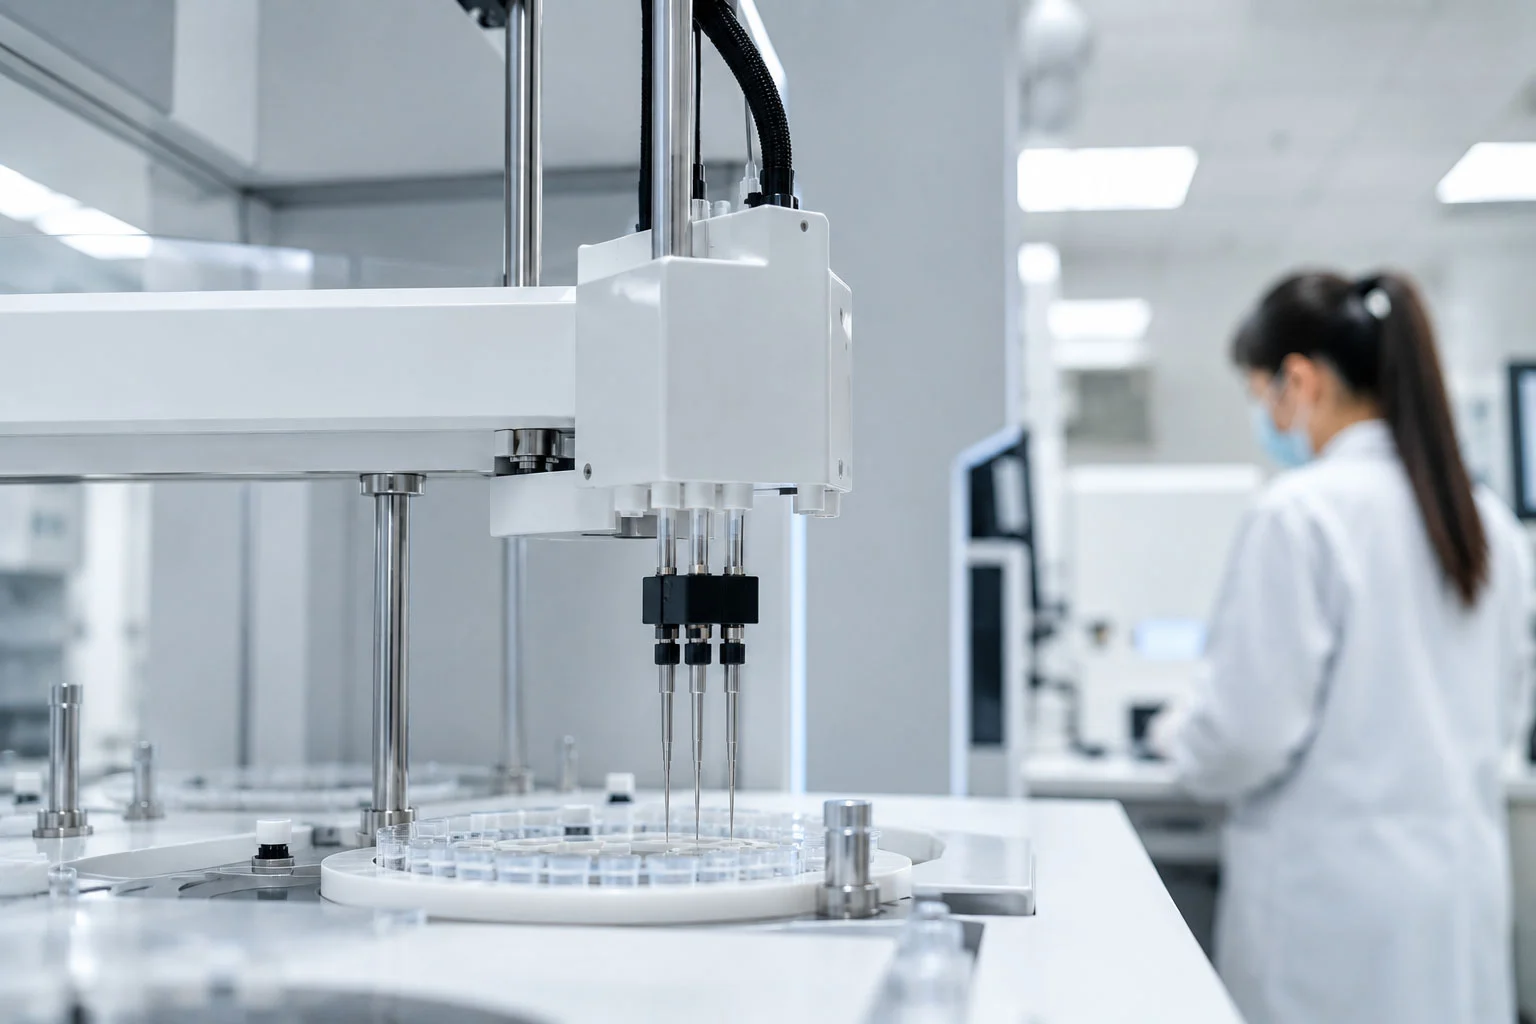
Injection molding is the top choice for making large numbers of plastic parts. The process starts by melting plastic pellets. Then, the machine pushes the hot liquid plastic into a steel or aluminum mold using high pressure. The plastic cools and hardens inside the mold. Finally, the machine pushes out the finished part. Each cycle happens very quickly. A single machine can make thousands of identical holders in one day. When you need many reaction cup holders, this method gives you the best speed and cost savings.
The Injection Molding Process
Tooling and Mold Design
The mold is the most important part of this process. The mold design decides how good the part will be before the machine even starts. Engineers must plan the wall thickness with care. Walls that are the same thickness cool evenly. Even cooling stops the part from bending, forming dents, or creating weak spots. If your design needs different thicknesses, change them slowly. Quick changes make the part weak.
Ribs and bosses also need careful design. Ribs make parts stronger without adding extra material. To avoid dents on the surface, ribs should be 40–60% of the main wall thickness. Bosses hold screws and other fasteners. They need rounded bases and ribs attached for extra strength. Thin walls near the surface cool faster. This quick cooling stops dents from forming and keeps the wall thickness even across the whole part.
The mold material depends on how many parts you need. Aluminum molds work for smaller runs. Hardened steel molds can handle millions of cycles. The mold design also controls how many parts come out each cycle. A single-cavity mold makes one part per cycle. A multi-cavity mold makes four, eight, or sixteen parts at the same time.
Cycle Times and Scalability
Each cycle has three steps: injection, cooling, and ejection. Small parts like cup holders finish each cycle in seconds. Cooling takes the most time. Thinner walls cool faster, which makes each cycle shorter. Faster cycles mean more parts every hour. That speed makes this process great for growing production.
Scaling up follows a simple path. Start with a prototype mold. Test your design. Then invest in a production mold with more cavities. Each step increases output while lowering the cost per part. This process handles growth without problems.
Benefits of Injection Molding
Repeatability and Low Unit Cost at Scale
Every part from the same mold comes out nearly the same. Size differences stay very small across millions of cycles. That consistency matters for reaction cup holders that must fit test equipment exactly. A loose holder causes parts to line up wrong. A tight one makes insertion hard. Injection molding keeps sizes steady through the entire run.
Cost per part drops a lot as volume goes up. The table below shows how costs change at different volume levels.
| Volume Tier | Mold Type | Mold Cost | Per-Part Total Cost | Key Cost Driver |
| 1,000 – 10,000 units | Machined aluminum | $3,000 – $10,000 | $2.00 – $3.00 | Tooling amortization begins |
| 100,000+ units | Hardened steel, multi-cavity | $15,000 – $50,000+ | $1.50 – $2.00 | Multi-cavity reduces cycle cost; tooling spread over more parts |
The cost difference between 1,000 and 100,000 units can reach 10 times per part. The mold cost spreads across more parts as volume grows. For volumes above 10,000, multi-cavity molds costing $10,000–$30,000 almost always pay off. They cut per-part cost by 30–70% compared to single-cavity molds. The cost curve drops fast at first, then levels off above 100,000 parts.
Design Freedom with Inserts and Ribs
This molding process allows features that machining cannot easily make. Threaded inserts go into the mold before injection. The plastic forms around them during the cycle. That creates strong connection points without extra steps. Ribs and gussets add strength without making walls thicker. Living hinges, snap fits, and complex internal shapes all come out of the mold ready to use.
The mold can also make textured surfaces. Fine matte finishes hide scratches. Smooth surfaces resist chemical buildup. You can even mold in identification marks, part numbers, or alignment features. This design freedom cuts down on assembly steps later.
Constraints and Suitability
High Initial Tooling Investment
The upfront cost stops many small projects. A basic aluminum mold starts around $3,000. Production-grade steel molds cost much more. That money goes in before you make a single part. If the design changes later, mold changes cost more time and money. This process needs a finished design before tooling starts.
Minimum order quantities also apply. Molders need to run enough parts to cover setup time. Small batches of a few hundred pieces rarely make sense. The per-part cost stays high until volume spreads out the tooling expense.
Ideal Scenarios for High-Volume Production
This process works best when you need thousands of identical holders. Diagnostic labs running daily tests use up parts quickly. Food processing equipment uses holders that get replaced on a schedule. Medical device manufacturers need consistent, sterile-safe components. These situations justify the tooling investment.
Choose injection molding when your design is final. When you have tested the shape, material, and performance through prototypes. When your expected volume passes the point where machining costs more per part. At that stage, this molding method becomes the clear cost winner. The mix of speed, consistency, and low unit cost makes it the standard choice for large-scale manufacturing.
3D Printing for Reaction Cup Holder
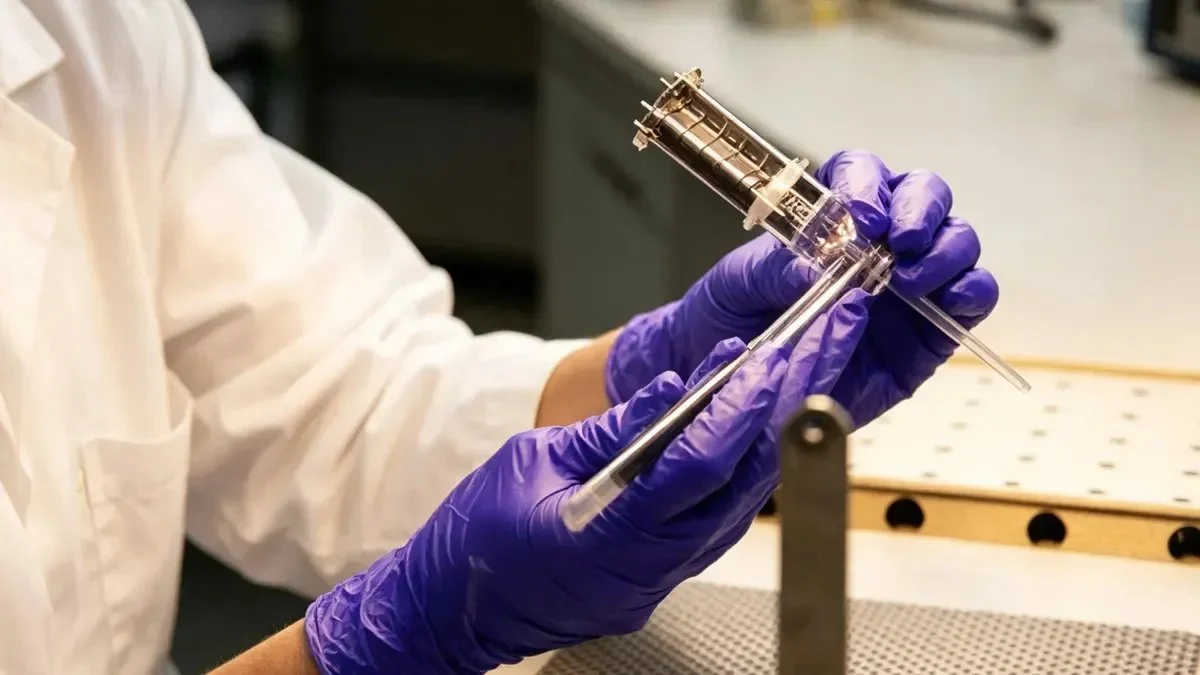
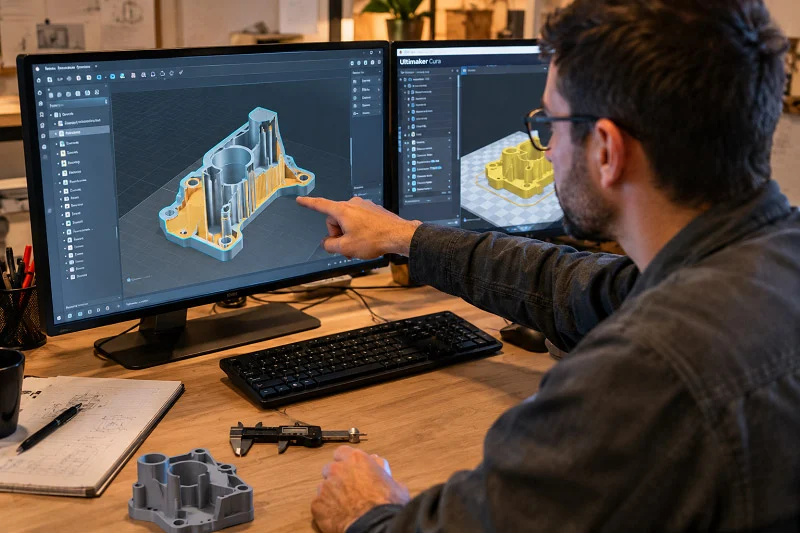
3D printing is a fast way to make holders without hard tooling. It builds parts layer by layer from a digital model. You can skip the mold or fixturing that other methods need. For a reaction cup holder, you can test your design in days instead of weeks.
Additive Manufacturing Technologies
SLA, SLS, and FDM Methods
Three main 3D printing methods work well for cup holders, each with a different process. SLA uses a laser to harden liquid resin, making smooth surfaces and fine details. SLS uses a laser to fuse nylon powder into strong parts that don’t need support. FDM pushes melted plastic through a nozzle and is the most common and cheapest option.
The resolution differs between these methods. Here is a direct comparison for small features:
| Metric | SLA | SLS |
| Layer height | 25–100 µm | 60–120 µm |
| Tolerance | ±0.005 in (±0.13 mm) | ±0.010 in (±0.25 mm) |
SLA can make smaller details and hold tighter dimensions. This matters for snap fits or alignment pins on a reaction cup holder. SLS has looser tolerance, so edges may not be as crisp.
Material Options and Resolution
FDM offers several materials with good chemical resistance. Materials with excellent chemical resistance include PP, PA, PEEK, PTFE, and PVC. Materials with good chemical resistance include PC, TPU, and ABS. PLA and PVB are not recommended for harsh environments.
Prusament PC Blend is a tough FDM material. Its tensile strength is 63 MPa. That strength stays stable with chemicals. Acetone caused significant damage. Impact testing showed it withstood 4 J hammer impacts. It kept impact strength above 110 kJ/m² in harsh environments. This makes PC Blend a good choice for a reaction cup holder.
Why Choose 3D Printing
Rapid Prototyping and Design Validation
Speed is the main reason to choose this technology. The lead time for a 3D-printed part is much shorter than for machined parts.
| Process | Standard Lead Time | Notes |
| SLS (nylon) – 3D Printing | 3–6 days | Functional plastic parts; often needs post-processing for threads |
| DMLS (metal) – 3D Printing | 7–14 days | Mandatory stress relief and support removal |
| CNC Milling | 3–7 days | Arrives dimensionally complete |
| CNC Turning | 2–5 days | Faster for cylindrical parts |
For a plastic reaction cup holder, SLS balances speed and material properties. For metal prototypes, CNC machining is often faster than DMLS after post-processing. But for a quick plastic test, 3D printing wins on turnaround.
Low-Volume Production and Complex Features
This technology is great for making complex shapes. Internal channels, undercuts, and lattice structures come out without extra steps. No tooling means no limits on shape. You can change the design between prints for free. For low-volume production, 3D printing avoids the tooling cost of injection molding. A batch of 10 to 100 parts makes sense. The per-part cost stays the same because there is no mold to pay off.
Drawbacks and Practical Applications
Mechanical Properties and Cost Per Part
3D printed parts have some limits. The layer-by-layer build creates weak points between layers. These can crack under stress. The surface finish is rougher than machined parts. Post-processing like sanding or coating adds time and cost. Cost per part is higher than injection molding at volume. For a single part, the price is competitive. For 1,000 parts, injection molding wins.
Best Use Cases in R&D and Custom Labs
This process fits best in research and development. Lab technicians need custom holders for unique experiments. The design might change after each test run. 3D printing allows that flexibility. Custom labs with low volumes benefit the most. A lab might need 20 reaction cup holders with a specific cavity shape. No other method makes sense for that quantity. The process lets you change designs fast and test materials before making many parts.
Alternative Manufacturing Processes for Reaction Cup Holder
CNC machining, injection molding, and 3D printing handle most needs. But sometimes your reaction cup holder requires a different approach. Maybe the part is too big for a mold. Perhaps you need flexibility that hard plastics cannot provide. Or sustainability goals push you toward green materials. These other processes fill those gaps.
Reaction Injection Molding (RIM)
Process Overview and Material Properties
Reaction injection molding works differently from regular injection molding. Two liquid parts mix together just before entering the mold. A chemical reaction happens inside the cavity. The mixture grows and hardens into a solid part. This low-pressure process uses lighter, cheaper tooling than standard molding.
The finished parts give a special mix of qualities. They come out light but strong. The material stays bendy enough to take hits without cracking. You can paint or finish the surface to meet any look you want. Strengthening agents can be added to the mix for more toughness and durability. Thin walls and thick walls both work well with similar strength.
Suitability for Large or Complex Reaction Cup Holder
This process works best when your reaction cup holder design is large or has tricky shapes. Parts can be any size, limited only by machine size. Big holders that would need huge injection molding machines become doable with RIM. The low-pressure molds cost less to build and keep up. Design changes also cost less because the tooling is simpler.
RIM fits jobs needing both stiffness and impact resistance. Lab gear that gets dropped or bumped benefits from this toughness. The process also handles parts with deep shapes, undercuts, or complex curves that regular molding finds hard to make.
Thermoforming and Pulp Molding
Thermoforming for Thin-Wall Designs
Thermoforming starts with a flat plastic sheet. Heat softens the sheet until it becomes bendy. A vacuum or pressure then pulls the material over a mold shape. After cooling, the formed part gets cut from the sheet. This process works best for simple, thin-wall designs.
For a reaction cup holder with a basic shape, thermoforming offers quick turnaround. Tooling costs stay low compared to injection molding. The process suits shallow parts without tight tolerances. Wall thickness stays fairly even across the part. Production runs of a few hundred to several thousand pieces make economic sense here.
Pulp Molding for Eco-Friendly Options
Pulp molding takes recycled paper or plant fibers and shapes them into form. The material gets mixed with water into a slurry. A screen mold pulls the fibers from the slurry. Vacuum and heat then dry the formed part. The result is a holder that breaks down naturally.
This option appeals to food service and single-use jobs. A throwaway reaction cup holder made from pulp cuts plastic waste a lot. The material cannot handle harsh chemicals or high temperatures. But for gentle mixing or short reactions, it works fine. The green story resonates with eco-minded customers.
Silicone Molding and Sheet Metal Fabrication
Silicone Molding for Flexibility and Heat Resistance
Silicone molding creates parts from liquid silicone rubber. The material hardens into a flexible, heat-resistant final product. Silicone handles temperatures far beyond what most plastics can take. It also stays flexible in extreme cold. This mix makes silicone molding great for reaction cup holders that must seal tightly or survive autoclaving.
The silicone molding process uses either compression or liquid injection methods. Both ways produce parts with excellent chemical resistance. Silicone does not react with most reagents. It also resists bacterial growth, making it good for medical settings. The flexibility allows easy insertion and removal of reaction cups without breaking.
Sheet Metal Fabrication for Structural Integrity
Sometimes plastic cannot give you the strength you need. Sheet metal fabrication builds reaction cup holders from flat metal stock. Cutting, bending, and welding change the sheet into a rigid structure. Stainless steel and aluminum work well for these jobs.
Metal holders handle heavy loads and repeated use without wearing out. They resist high temperatures and harsh chemicals. Welded joints create permanent, leak-proof connections. The fabrication process suits custom, one-off designs or small batches. Metal holders cost more than plastic ones but last much longer in tough environments.
Each alternative process serves a specific need. RIM handles large, tough parts. Thermoforming and pulp molding offer low-cost or green options. Silicone molding provides flexibility and heat resistance. Sheet metal fabrication delivers unmatched structural strength. Match the process to your performance needs and production goals.
Design Considerations for Reaction Cup Holder
Designing for Manufacturability (DFM)
Draft Angles, Wall Thickness, and Tolerances
Start with the right draft angles. They help the part come out of the mold. For injection molding, you need 1 to 2 degrees per side. Without enough draft, the part sticks and causes flaws.
Keep wall thickness the same throughout. Uneven walls cool at different speeds. That leads to warping or sink marks. A typical wall for a reaction cup holder is 0.030 to 0.125 inches thick. Remove thick sections. Add ribs for strength instead.
Tolerances depend on the manufacturing process you pick. CNC machining holds ±0.005 inches. Injection molding holds ±0.010 inches. Each method has its own range. Choose a tolerance that fits your needs. Asking for more than needed raises costs.
Avoiding Common Pitfalls
Sharp corners create stress concentration points. A sharp inside corner can crack under load. Add fillets with a radius of at least 0.020 inches to spread the stress.
Deep ribs without proper design cause sink marks. Keep rib thickness at 40 to 60 percent of the main wall. Undercuts add complexity to the mold. They need slides or lifters, which raises tooling cost. Avoid undercuts if you can.
Integrating Functional Features
Snap Fits, Threads, and Inserts
Snap fits let you put the holder together without extra fasteners. Design the snap with a slow ramp and a sharp return angle. The ramp angle should be 15 to 25 degrees. The return angle should be 45 to 90 degrees. Test the snap fit in a prototype first.
Threads can be molded or machined. Molded threads need unscrewing cores. For small runs, cut threads after molding. For large runs, mold them in place. Threaded inserts give strong metal threads. Install them with heat or ultrasonic tools.
Ensuring Compatibility with Reaction Cups
The reaction cup holder must fit the cup exactly. A loose fit lets the cup move around. A tight fit makes insertion hard. Measure the cup under real conditions. Cups expand when hot, so the holder must allow for that change.
Thermal expansion rates matter. A plastic cup in a metal holder expands at different rates. That can cause binding or loosening at high or low temperatures. Also check chemical compatibility. Any reagent that spills must not harm the holder. Test the material before scaling up.
Balancing Performance and Cost
Material vs. Process Selection
The material you pick limits your options. High-temperature plastics like PEEK need special processing methods. They require hotter molds and longer cycle times. Cheap plastics like PP run on standard equipment.
The total cost includes material and process. The material costs X per pound. The process adds Y per part. The mold cost divides by the total volume. Run that math for your expected volume. A pricier material with a faster cycle might cost less overall.
Prototyping Strategies to De-Risk Production
Start with 3D printing for form and fit testing. Print the reaction cup holder in a few days. Check the fit. Adjust the design. Print again. This loop catches problems early.
Move to CNC machining for functional testing. Machined parts have the same material properties as production parts. Test chemical resistance and mechanical strength. Check the design under real conditions.
Then invest in injection molding tooling. By this point, the design is proven. The tooling investment is safe. Each step lowers risk before full production.
Selecting the Right Process for Reaction Cup Holder
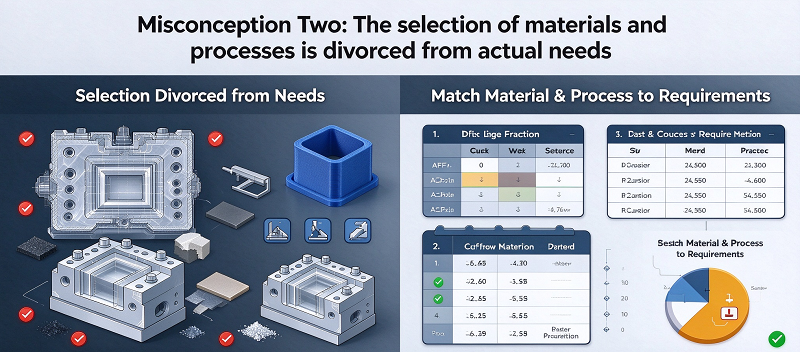
Picking how to make your reaction cup holder comes down to three questions. How many do you need? What is your timeline? And what is your budget? Each answer leads to a different path. No single method works for every situation. You need to match the process to your specific needs. Different processes fit different stages of development.
Evaluating Production Volume and Lifecycle
From Prototype to Pilot Run
Early-stage work needs flexibility. 3D printing lets you test shapes and fits in days. You can print a few parts, check the design, then adjust. No hard tooling means changes cost almost nothing. For a pilot run of 50 to 200 pieces, CNC machining makes sense. It keeps tight tolerances without paying for a mold. You can try different materials in the same batch. This phase is about proving the design works.
Scaling to Full Production
After your design is final, think about volume. For 1,000 parts or more, injection molding starts to win on unit price. The table below gives a rough cost breakdown.
| Volume | Method | Tooling Cost | Estimated Per‑Part Cost |
| 1–50 | 3D Printing / CNC | $0 – $500 | $15 – $80 |
| 200–1,000 | CNC Machining | $0 | $10 – $40 |
| 5,000+ | Injection Molding | $5,000 – $100,000 | $0.10 – $2.00 |
Higher volumes spread tooling cost across more parts. Your per‑part cost drops fast. This is when production runs become efficient. The right manufacturing technology for this stage depends on volume.
Assessing Budget and Lead Time Constraints
Tooling Costs vs. Per-Part Costs
Tooling is the big upfront expense. A simple aluminum mold may cost $3,000. A steel multi‑cavity mold can run $50,000 or more. That investment only makes sense if you plan to make many parts. For low volumes, the per‑part cost of machining stays lower because you skip the mold. Write down your total cost: tooling plus (part cost times quantity). Compare that across methods. The cross‑over point is usually between 500 and 2,000 parts for a typical cup design. Choosing the right manufacturing technology early saves money.
Expedited Manufacturing Options
Sometimes you need parts fast. Prototyping services can ship 3D-printed parts in 3–6 days. CNC shops often offer a 1‑week turnaround for an extra fee. Injection molding takes longer because mold building takes 4–8 weeks. If speed is your top priority, choose a technology that avoids long tooling lead times. A fast technology keeps your project moving.
Consulting with Manufacturing Experts
The Value of a Technical Partner
You do not have to figure this out alone. An experienced partner brings knowledge of materials, tolerances, and scaling. They can spot problems in your design before you cut steel. For example, NOBLE is a leading Chinese manufacturer with deep expertise in CNC machining, injection molding, and finishing. They offer prototyping support and full‑scale production. Their team gives DFM feedback early, helping you avoid costly redesigns. A good partner simplifies the entire journey from concept to delivery. They apply the right manufacturing technology for your part.
Key Questions to Ask Before Committing
Before you choose a shop, ask these questions. What is their typical lead time for a part like mine? Have they worked with my chosen material before? Can they handle the volume ramp‑up? Do they offer in‑house finishing and assembly? Clear answers build trust. A competent manufacturer will walk you through each step. You want a partner who communicates openly and delivers on time.
NOBLE: Your Partner for Reaction Cup Holder Manufacturing

When you work with NOBLE, you get more than just parts. You get a team that knows the whole manufacturing process. They use proven technology at every step. From the first sketch to the final shipped box, they handle all the details. That matters when your reaction cup holder needs to work well in a lab or medical setting.
Our Capabilities in Metal and Plastic Machining
CNC Machining, Injection Molding, and Finishing
NOBLE runs a full range of production equipment. Their CNC machining centers use advanced technology to work with both metals and plastics at tight tolerances. Need a stainless steel holder with threaded ports? They cut it clean. Need a PEEK prototype with thin walls? Their machines hold the right sizes.
For larger runs, they offer injection molding. Their molding presses range from small to large tonnage. That means they can mold a tiny cup holder or a bigger multi-well rack. After molding, their finishing team steps in. They handle deburring, polishing, bead blasting, and anodizing. You get a part that looks good and works well.
In-House Design Support and DFM Feedback
Their engineers review your design before any metal gets cut. They look for draft angles, wall thickness issues, and possible molding problems. This design for manufacturability feedback saves you money. Finding a problem on screen costs nothing. Finding it after tooling starts costs a lot.
They also suggest material changes when needed. Maybe your chosen plastic won’t survive autoclaving. Their team points that out early. Maybe a different alloy cuts cost without losing strength. They show you the option. This kind of input comes from years of hands-on experience.
Certifications and Quality Assurance
ISO 9001:2015 for Quality Management
NOBLE holds ISO 9001:2015 certification. This standard covers their entire quality management system. It means they document their process steps, track their performance, and fix problems in a set way. Every part that leaves their floor follows the same proven path. You can trace each batch back to its raw materials.
ISO 13485:2016 for Medical Devices
For medical applications, they also meet ISO 13485:2016. This standard goes further than general quality management. It focuses specifically on medical device manufacturing. Their process meets stricter requirements for traceability, risk management, and cleanliness. If your reaction cup holder supports diagnostic testing, this certification matters.
A Full-Service Approach from Design to Assembly
Streamlined Project Management
One team handles your project from start to finish. You get a single point of contact. That person coordinates machining, molding, finishing, and assembly. You avoid the headache of managing five different vendors. Updates come to you in one place. Questions get answers fast.
Why Partner with NOBLE for Your Reaction Cup Holder
NOBLE brings together the right technology, the right certifications, and the right people. Their manufacturing technology covers both prototyping and full-scale production. Their quality systems protect your reputation. Their engineers improve your design before you commit to tooling.
When you need a reaction cup holder that performs, NOBLE delivers. They combine technical skill with practical manufacturing technology. That combination turns your design into a reliable product. Talk to their team about your project. They will help you choose the best path forward.
Choosing the right manufacturing path for your reaction cup holder comes down to four factors: volume, materials, budget, and compliance rules. No single process wins every time. A scientific lab needing ten prototypes should pick 3D printing. A medical device company ordering 50,000 units should invest in injection molding. Each technology serves a different purpose. Weigh the trade-offs between cost, lead time, and scalability. Think about where your product sits today and where it might go next year. Production needs change as projects mature. That’s normal. A good manufacturing partner helps you navigate those shifts. NOBLE offers expertise across multiple technologies. Their team guides you from prototype to full production. Talk with them about your project. They will help you find the right process for your specific needs.
FAQ of Reaction Cup Holder
What is the best way to make a reaction cup holder?
No single way works for every case. It depends on how many you need, what material you pick, and your money. 3D printing is good for test parts. CNC machining works for small to medium batches. Injection molding is best for making many parts.
How do I pick between CNC machining and injection molding?
Look at how many parts you will make total. CNC machining does not need a mold, so it costs less for small batches. Injection molding has a high starting cost for the mold, but each part costs much less when you make a lot.
Can 3D printing make reaction cup holders for real use?
3D printing works for test parts and small custom jobs. For large amounts, injection molding gives better strength and lower cost per part. This method is best for research and testing.
What materials go with each making method?
PP and PE work well with injection molding. PEEK and stainless steel cut cleanly with CNC. 3D printing uses SLA, SLS, or FDM materials. Pick your material first, then choose the process.
How do I get my design ready for production?
Add slant angles of 1-2 degrees. Keep wall thickness the same all over. Avoid sharp corners. Use ribs instead of thick walls. Get feedback from a manufacturing partner early in the design stage.
What papers should a reaction cup holder maker have?
ISO 9001:2015 covers general quality control. ISO 13485:2016 is needed for medical device work. These papers make sure quality stays the same through proven methods.
Does NOBLE help with test parts and full production?
Yes. NOBLE does CNC machining for test parts and small batches. They also run injection molding for large production. Their team gives design feedback and manages the whole project from start to finish.