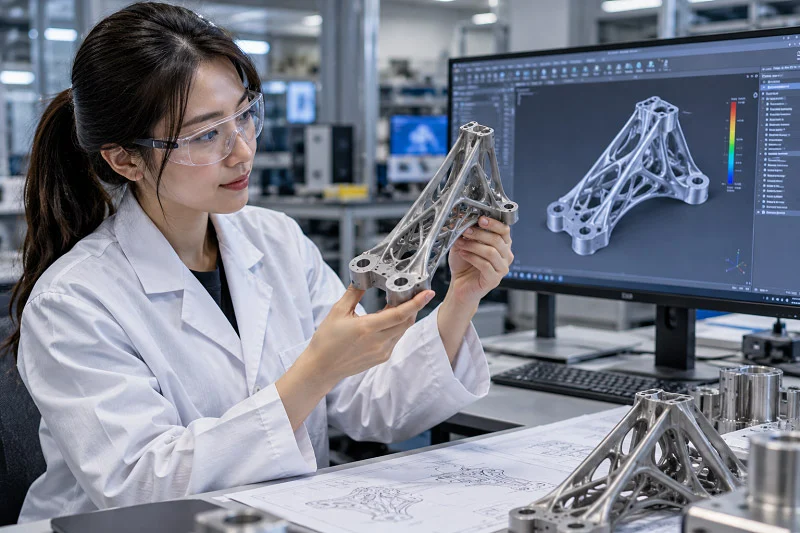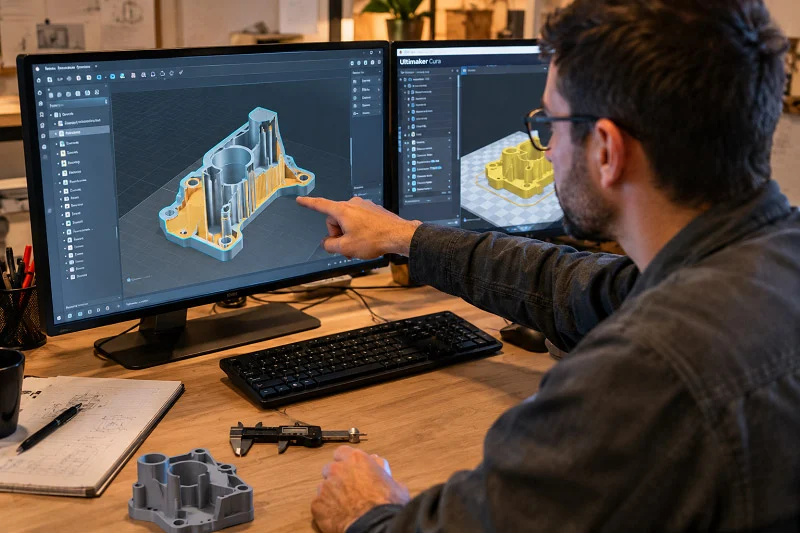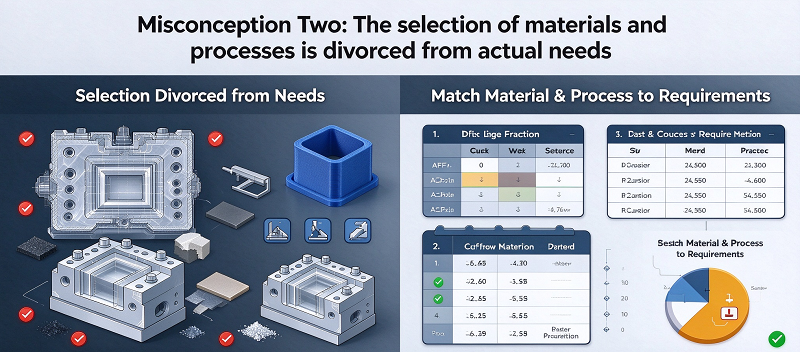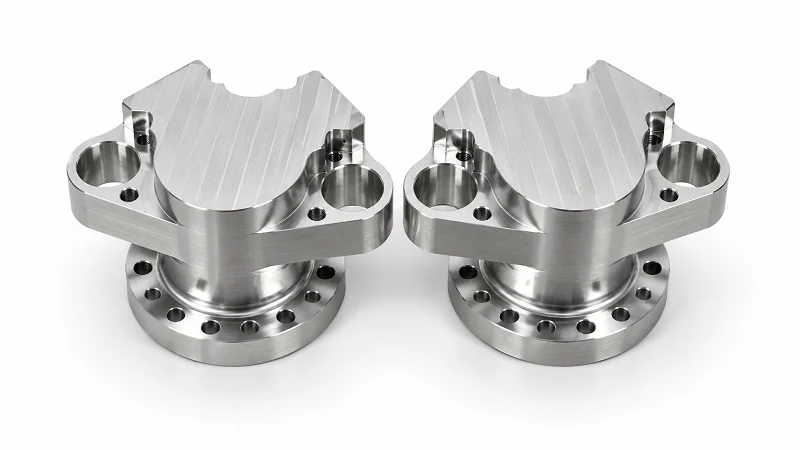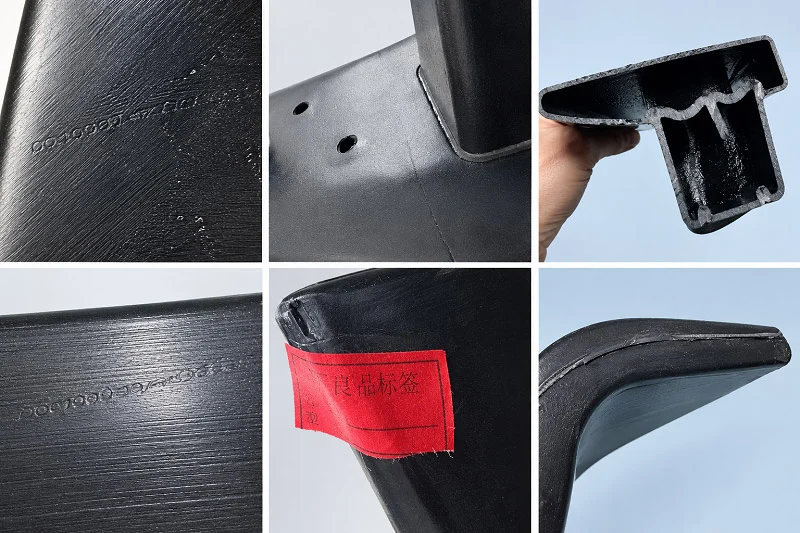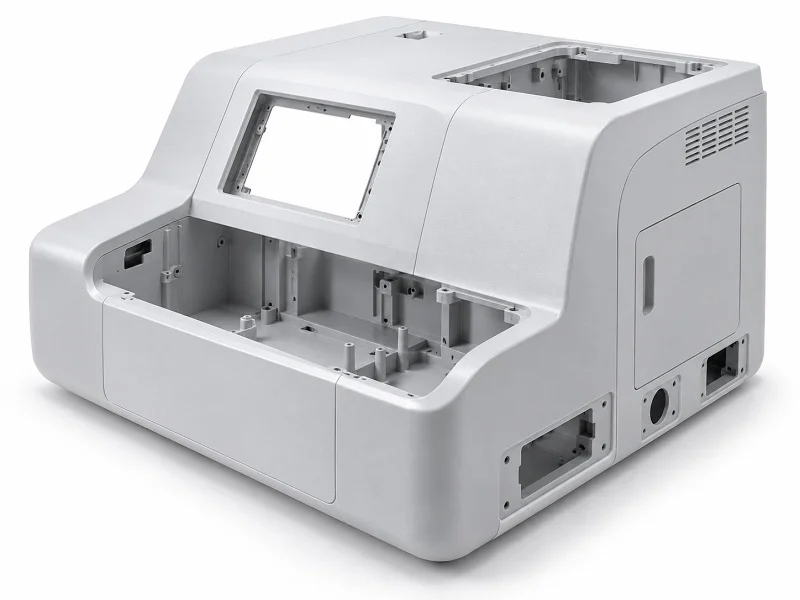
Injection molding, thermoforming, and Reaction Injection Molding (RIM) are the main ways to make a portable medical device enclosure. For materials, you’ll find thermoplastics like PC, ABS, Kydex, and PVC, high-performance polymers such as PEEK, polyurethane, and poly-DCPD, plus metals including stainless steel 316L, aluminum, and titanium. This guide compares these choices based on durability, chemical resistance, regulatory compliance, cost, and production volume. You’ll get useful guidance to help you decide for your next medical device enclosures project. Whether you’re thinking about a strong enclosure for a handheld monitor or a light shell for a wearable, the right mix of process and materials makes a big difference.
Critical Requirements for a Portable Medical Device Enclosure
Impact Durability and Enclosure Surface Finish
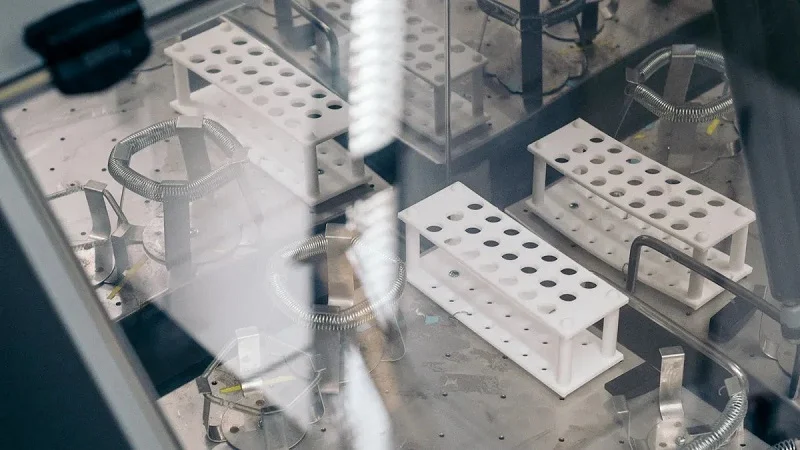
A portable medical device enclosure must handle tough real-world use. Drop tests are a normal requirement. Devices fall from tables, carts, or hands. The enclosure has to protect the electronics inside. Polycarbonate gives better impact resistance for this job. One diagnostics manufacturer switched from standard acrylic to a custom PC compound. This led to a 40% reduction in part failures. Surface finish is just as important. Medical device enclosures need a Class A cosmetic surface. That means no visible flaws or flow lines. The surface must look clean and professional. It also needs to resist scratches from daily use. Optical clarity helps in some medical applications. A clear window lets clinicians see displays. Materials like polycarbonate stay clear while staying tough. Good material selection balances impact strength with visual quality.
Chemical Resistance and Sterilization Compatibility
The healthcare environment is hard on devices. Hospital-grade disinfectants have strong chemicals. Alcohol, bleach, and hydrogen peroxide are common. These cleaners can break down weak materials fast. An enclosure must handle repeated exposure without cracking or swelling. Sterilization adds another layer of stress. Some devices go through autoclaving at 134°C. Others face gamma radiation or ethylene oxide. Each cycle tests what the material can take. Gaskets must survive these conditions. The enclosure material must do the same. Bacterial growth is a real concern in clinical facilities. They need microbial resistance to stop biofilm. Good material choice helps lower healthcare-associated infections. Polycarbonate gives excellent chemical resistance to sterilization agents. It also provides dimensional stability for tight tolerances. It must withstand these harsh conditions reliably. Hygiene is a top priority in clinical settings.
Regulatory Compliance and Certifications
Strict rules govern compliance. ISO 13485 sets the quality management standard. FDA device registration is required for US markets. UL 60601-1 covers electrical safety for equipment. These standards exist to keep patients safe. Product safety regulations make sure these parts meet baseline requirements. Biocompatibility testing follows ISO 10993 or ISO 13732. Non-implantable surfaces must pass these tests. Choosing an approved plastic saves time. Plastics used in medical instrument housings must meet these requirements. Working with an experienced manufacturer early helps. They guide you toward materials that comply. Infection control protocols demand parts that resist bacterial growth. Following established guidelines ensures device reliability.
Injection Molding of a Portable Medical Device Enclosure
Process Overview and Tooling Considerations
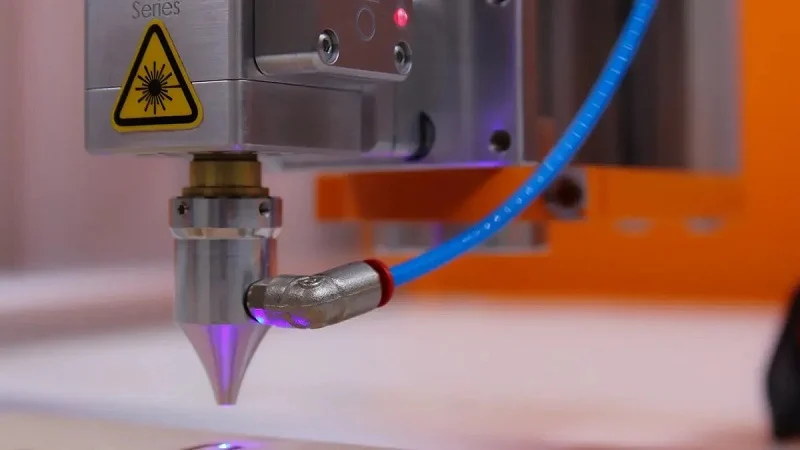
Injection molding melts plastic pellets and forces the melt into a shaped mold. The plastic cools, the mold opens, and the part drops out. Each cycle takes just seconds once the tool runs. That speed makes molding the best choice for making lots of portable medical device enclosures.
The tool itself does the real work. Steel molds take 4–8 weeks to cut and cost tens of thousands of dollars, based on part complexity. Medical programs add more steps: Installation Qualification, Operational Qualification, and Performance Qualification must all pass before production can start. Cleanroom molding in ISO Class 7 or 8 spaces keeps dust and dirt out. Full lot tracking from resin to finished part is needed for FDA 21 CFR Part 820 and ISO 13485 rules.
Special types expand what molding can do. Micro-molding makes tiny, precise parts. Insert molding bonds plastic around metal. Overmolding adds soft grips in a second shot. Liquid silicone rubber molding gives flexible, body-safe parts. Thin-wall molding cuts weight from handheld cases. Early DFM talks help you pick the right type and avoid costly changes later.
Production Volume and Cost Trade-Offs
Your tooling choice drives the cost. Aluminum tools cut upfront cost by 30–60% compared to steel and last 1,000–10,000 shots. That works for test runs and small builds. Steel production tools cost more up front but give 100,000–1,000,000+ parts at a lower cost per piece. Machine rates range from $9–$35 per hour on small presses up to $55+ per hour on large ones.
| Tooling Type | Lead Time | Upfront Cost | Production Capacity |
| Aluminum tooling | 2–6 weeks | 30–60% lower | 1,000–10,000 shots |
| Steel production tooling | 8–20+ weeks | Higher upfront investment | 100,000–1,000,000+ parts |
For small-to-medium enclosures, the break-even point is usually between 3,000 and 10,000 units. Below that, thermoforming’s cheaper tooling often wins. Above it, molding’s low per-part price takes over. Large enclosures and panels rarely make sense for molding at any volume. That’s because tooling and press needs get worse as the part gets bigger.
Material choice shapes both part cost and volume viability. PC and PC/ABS blends cost more than ABS but give the toughness and heat resistance that medical device enclosures need. PP stays cheap and resists chemicals, but it lacks stiffness for precision parts. Conductive and EMI-shielded plastics cost more yet remove the need for separate shielding parts. These trade-offs matter most in medical uses where durability and rules leave little room for change. Following biocompatibility guidelines like ISO 10993 during material choice keeps your project on track.
Thermoforming a Portable Medical Device Enclosure
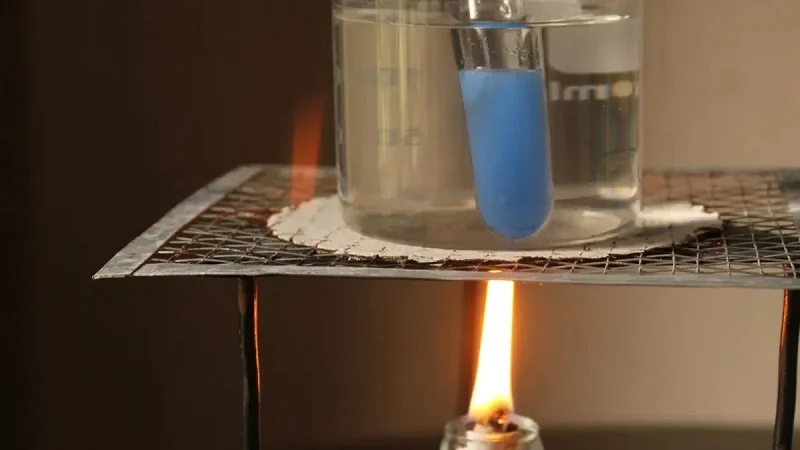
Thermoforming of KYDEX and PC Sheets
Thermoforming begins with a flat plastic sheet. Heat makes the sheet soft until it sags, then vacuum or pressure pulls it down over a mold. The part cools, and the shape stays. That’s all there is to it. No melted plastic gets injected, and no costly steel tool needs to be cut.
KYDEX and polycarbonate are the main materials used here. KYDEX provides fire resistance and chemical strength. PC provides clarity and impact strength. Both hold up well in clinical settings. KYDEX is a top pick for housings that get wiped down often. PC works when you need a window or a clear cover. A portable medical device enclosure made from either sheet can meet strict cosmetic standards, especially with pressure forming.
Pressure forming is the step up. Vacuum forming depends on atmospheric pressure, about 14.7 PSI. Pressure forming adds compressed air on top of that. This extra force pushes plastic into tight corners as small as 0.020″. The result looks sharp and detailed, close to injection molded quality. You can skip secondary painting in many cases.
Thermoforming can make products that have the needed material properties, including fire resistance or EMI shielding. EMI shielding is a key concern for medical device manufacturers. Making sure devices work safely while keeping the complex shapes needed in the design often requires special material selection for plastic enclosures. A thermoforming process can reduce the design limits found in enclosures, extrusions, and housings that use sheet metal or other materials.
Benefits for Low-to-Mid Volumes
Tooling cost is the big advantage. Thermoforming tooling costs $2k–$15k. Injection molding tooling costs much more. Turnaround is fast too, often 2–4 weeks. That speed matters when you’re racing to market.
Thermoforming beats injection molding on cost below about 3,000–5,000 units per year. Single-sided aluminum or composite tools avoid heavy non-recurring engineering costs. For a portable medical device enclosure in a pilot build or a niche diagnostic tool, that math works out.
The flexibility also stands out. Design changes are easier to handle. You can adjust a mold without losing a fortune. Medical device enclosures for covers and equipment housings fit this model perfectly. Custom sterile plastic enclosures also benefit. Mid-volume runs stay affordable, and the per-part cost doesn’t blow up.
Design Constraints and Finishing Options
Thermoforming has rules you can’t ignore. Material gets thin over complex shapes. Sharp corners make it worse. Uniform walls and smooth radii help. Plug assists control thickness on deep parts. Draft angles matter for clean removal. Textured surfaces need more draft. Depth-to-width ratios should stay conservative. Undercuts and snap fits are hard here. They often need mechanical assists or secondary operations.
| Design Constraint | Explanation |
| Material thinning | Stretching over complex shapes causes uneven wall thickness; uniform walls and smooth radii help |
| Draft angles | Needed for easy part removal; textured surfaces need greater draft |
| Depth-to-width ratios | Shallow parts work best; deep cavities risk too much thinning |
| Trimming | Extra flange removed by die-cutting or CNC trimming; design must allow tool clearance |
| Mold and surface texture | Aluminum molds suit high-volume or precision work; textures hide flaws but add draft |
| Undercuts and snap fits | Harder than injection molding; often need assists or post-forming steps |
After forming, the part cools and hardens. Then comes trimming and finishing. Quality inspection checks fit, form, and function. Surface enhancements come next. Material choices range from ABS, PETG, polycarbonate, polystyrene, PVC, and HDPE to advanced options like TPO, TPE, Royalite, KYDEX, and Boltaron. Each brings different properties for medical device housings.
Reaction Injection Molding for a Portable Medical Device Enclosure
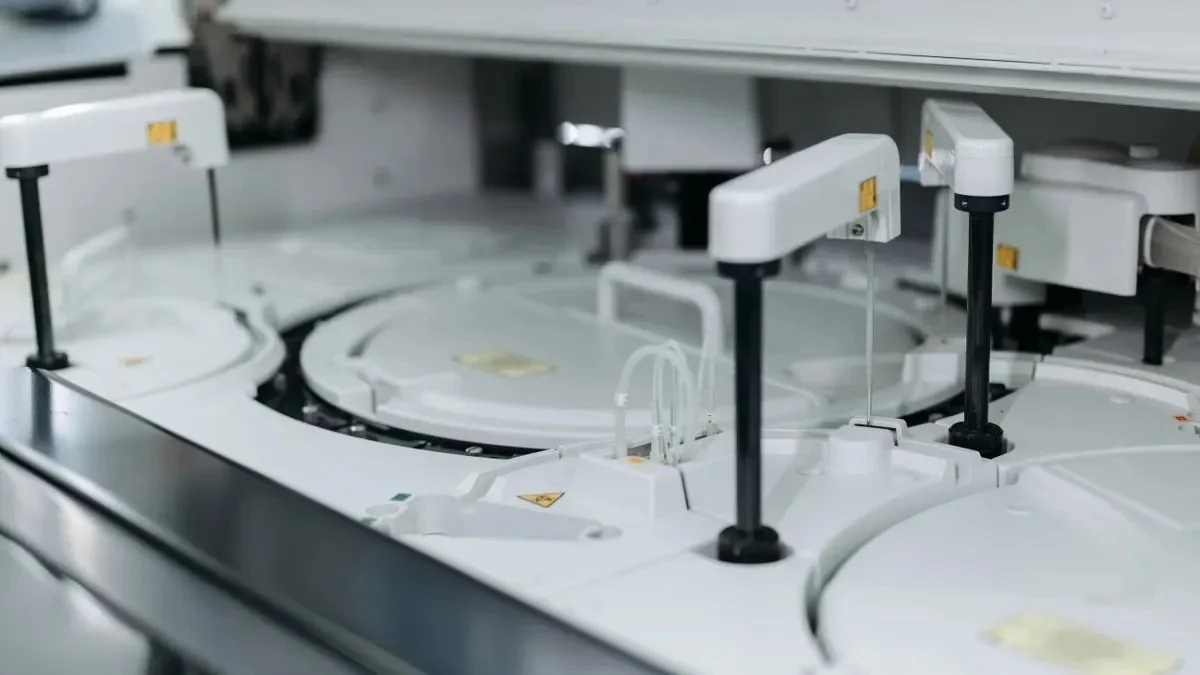
Process and (Polyurethane, Poly‑DCPD) Materials
RIM is not the same as normal injection molding. Two liquid streams meet in a mixing head. They get shot into a mold at low pressure. Then they react and turn into a solid part. Nothing melts. The chemistry does all the work. This low-pressure fill changes everything about tooling. Molds cost much less because they don’t face the harsh forces of high-pressure plastic injection. Tooling usually runs $10k–$50k, a small share of what steel injection tools cost.
Polyurethane and poly-DCPD are the two main materials here. Polyurethane gives toughness, flexibility, and strong resistance to chemicals and abrasion. Poly-DCPD gives outstanding impact strength, even in cold conditions. Both materials handle thick walls and complex shapes with ease. They also take color and texture well, so a finished part often needs no paint.
Advantages for Large or Impact‑Critical Parts
Size is where RIM shines. The process can fill very large molds without needing extreme hydraulic pressure. That makes it good for oversized medical device enclosures. Think imaging system covers, cart-mounted housings, or floor-standing equipment shells. Injection molding struggles with parts that big. Press tonnage and tooling costs spin out of control. RIM avoids both problems.
Impact performance is the other big win. RIM makes flawless exterior panels for heavy hospital carts. It supports impact-critical and portable medical device housing uses. The material absorbs shock instead of cracking. That matters when a nurse bumps a cart into a doorframe at 2 a.m. Key advantages include:
- Low-pressure filling that handles very large molds
- Excellent impact resistance for carts and rugged housings
- Lower tooling cost than injection molding
- Good surface finish straight from the mold
When to Choose RIM Over Injection Molding
Volume decides a lot here. RIM fits low-to-mid production runs, roughly 500–10,000 units. Below that range, thermoforming usually wins on cost. Above it, injection molding’s per-part price drops fast. In the middle, RIM offers a sweet spot. You get durable parts without a six-figure tooling bill.
Part geometry pushes the decision too. Thick walls, deep draws, and large footprints favor RIM. So does impact-critical use. A handheld monitor shell might not need it. A mobile ultrasound cart almost certainly does. Talk to your manufacturer early about materials and mold design. The right call depends on your volume, your part size, and how rough the clinical environment will be.
Machining Processes for a Portable Medical Device Enclosure
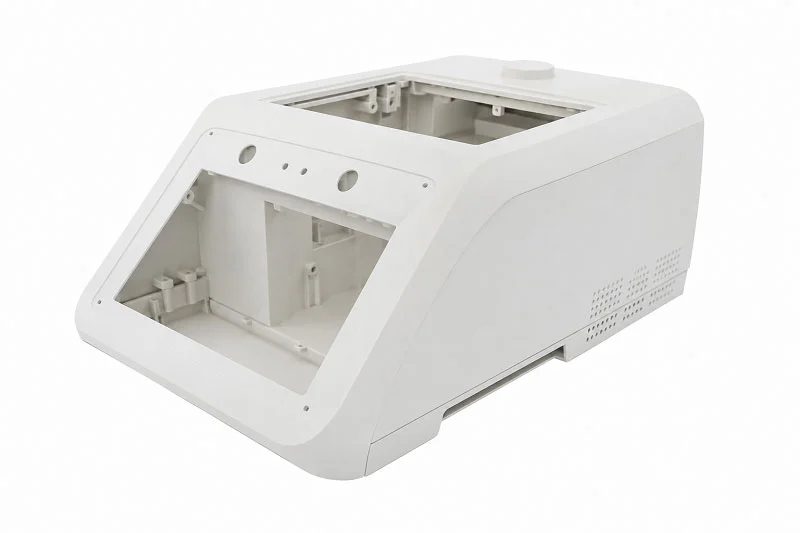
CNC Machining and 5‑Axis Milling
CNC machining carves parts out of solid blocks of plastic or metal. A spinning cutting tool follows a set path and removes material until the shape matches the design. This process gives you tight tolerances and precise features.
Five-axis milling takes things a step further. The tool and the part move in five directions at the same time. Curved surfaces, pockets, slots, and complex 3D shapes get done in one setup. You don’t need to move the part around. This helps a lot for a portable medical device enclosure that needs mounting holes, connector openings, and heat sink fins on different sides. Aluminum CNC machining works great here. It’s light and easy to machine.
The numbers prove it. Flatness within ±0.010 inches allows IP65 or IP67 sealing. Position control within ±0.005 inches keeps displays and controls lined up. Wall thickness and reinforcement help pass drop testing per IEC 60601-1. But watch out for deep cavities and extreme shapes. They may need special tools or extra steps. A DFM review early on catches those problems.
NOBLE offers professional CNC machining for both prototyping and production. Their team helps clients avoid design mistakes and shorten timelines.
Sheet Metal Fabrication and Welding
Sheet metal starts as flat sheets. Laser cutting makes precise openings for displays and connectors. CNC bending folds the panels into shape. Welding holds everything together. The result is a strong, stable enclosure.
The process follows a clear order. Engineering review checks the design first. Laser cutting, bending, welding, and surface finishing come next. Hardware like hinges and brackets get installed. A final inspection checks dimensions and weld quality. These steps support reliable medical equipment.
Why pick sheet metal? Aluminum and stainless steel give structural strength and dimensional stability. That matters when the box protects sensitive electronics. Smooth surfaces make cleaning easy. That helps in medical settings. Production scales well too. A good supplier keeps quality consistent from prototype to full runs.
3D Printing for Prototyping (SLA, SLS, FDM, DMLS)
3D printing builds parts layer by layer. No molds needed. It works great for prototyping and short runs. Each technology fits different needs.
SLA gives ultra-high resolution. Layer height goes down to 0.025 mm. Great for parts that need optical clarity. SLS uses engineering-grade nylon with no support structures needed. FDM handles large parts up to 914 mm with industrial thermoplastics like ULTEM. DMLS prints metal parts with high strength for rugged portable gear.
One case study showed a diagnostic equipment housing made with SLA and SLS. It had built-in light guides and optical alignment features. The part achieved optical clarity and impact resistance for field use.
Bridge production is another use. Compact SLS printers make functional parts while injection tooling gets built. That lets you test and refine your design without waiting months. For medical applications, that speed makes a real difference.
NOBLE brings all these machining capabilities together. Their experience helps move your project from prototype to production efficiently.
Commonly Used Materials for a Portable Medical Device Enclosure
Common Thermoplastics
Choosing the right plastic for a portable medical device enclosure begins with knowing what each option can do. These common thermoplastics cover most medical uses, and each one has good points and bad points worth learning about.
PC
Polycarbonate gives great impact strength and see-through clarity. It stands up to strong disinfectants without cracking. That mix makes it a top choice for handheld monitors and diagnostic equipment housings.
ABS
ABS balances toughness, cost, and easy molding. It takes paint and texture well. Many low-cost medical devices use ABS when UL-recognized materials matter more than top performance.
PVC
PVC offers chemical resistance and flame retardancy at a low price. It shows up in tubing and some housing parts. How flexible it is depends on how much plasticizer it contains.
PP
Polypropylene resists chemicals and fatigue well. It stays cheap and molds easily. Living hinges and parts that flex again and again benefit from what PP can do.
PE
Polyethylene gives good chemical resistance and low friction. It works for parts that need a slick surface or moisture resistance. HDPE and LDPE serve different stiffness needs.
PS
Polystyrene gives excellent clarity and stiffness at low cost. It does not have the impact strength of PC or ABS. Disposable or low-stress housings sometimes use PS.
Kydex
Kydex stands out for fire resistance and chemical strength. This acrylic-PVC blend holds up to repeated wipe-downs with hospital disinfectants. A portable medical device enclosure made from Kydex sheet works well in thermoforming. Kydex also resists scratches and impact. For housings that get cleaned all the time, Kydex is a smart choice. The material takes texture and color well, so finished parts look professional. Kydex works great for covers, trays, and equipment housings.
High-Performance Polymers and Medical-Grade Metals
When standard thermoplastics are not enough, these advanced options step in. They cost more, but they deliver where it counts.
PEEK
PEEK handles extreme temperatures and chemicals without breaking down. It offers high purity with a non-ionic, inert surface that limits contamination. It can be sterilized by autoclave, gamma, or EtO without breaking down, so PEEK suits demanding medical instrument housings.
Polyurethane
Polyurethane brings toughness, flexibility, and strong abrasion resistance. It absorbs shock well. RIM processing turns polyurethane into large, impact-critical enclosures with an excellent surface finish.
Poly-DCPD
Poly-DCPD delivers outstanding impact strength, even in cold conditions. It handles thick walls and complex shapes with ease. Color and texture come straight from the mold.
Stainless Steel 316L
Stainless steel 316L is preferred for harsh sterilization environments. Its passive oxide layer resists corrosion. Tensile strength runs 500-700 MPa, but density near 8.0 g/cm³ makes it heavy for portable designs.
Titanium
Titanium alloy Ti-6Al-4V offers an excellent strength-to-weight ratio. Tensile strength reaches 830-1100 MPa with density around 4.4 g/cm³. The inert TiO2 layer resists corrosion. High-end portable enclosures benefit from titanium when weight matters.
Aluminum
Aluminum alloy 6061 weighs just 2.7 g/cm³. Tensile strength runs 290-310 MPa. With anodizing, corrosion resistance improves. Excellent EMI shielding makes aluminum a preferred choice for portable devices.
Comparing Properties and Selection Criteria
Material selection for a portable medical device enclosure balances several factors. Density affects portability. Tensile strength determines durability. Chemical resistance predicts sterilization survival. UL 94 flammability ratings matter in patient environments. ISO 10993 biocompatibility covers patient contact surfaces.
| Material | Density | Tensile Strength | Chemical Resistance | UL Flammability | Biocompatibility |
| PC | Low | High | Excellent | V-0 available | ISO 10993 grades |
| ABS | Low | Moderate | Good | V-0 available | ISO 10993 grades |
| Kydex | Low | Moderate | Excellent | V-0 rated | Medical grades available |
| PEEK | Low | High | Excellent | V-0 rated | USP Class VI |
| Stainless Steel 316L | High | 500-700 MPa | Excellent | N/A | Implant-grade |
| Titanium Ti-6Al-4V | Moderate | 830-1100 MPa | Excellent | N/A | Implant-grade |
| Aluminum 6061 | Low | 290-310 MPa | Good (anodized) | N/A | Medical grades |
For polymer enclosures, UL 94 V-0 or 5VA ratings are common targets. Material choice affects enclosure thickness, ribbing, and vent patterns. Confirming the exact flammability target early prevents last-minute substitutions. Surfaces that touch patients or caregivers may need cytotoxicity, sensitization, and irritation testing per ISO 10993. Enclosure paints, labels, and adhesives count as surfaces, not just the base resin. Set up a material ledger that maps every touchpoint to compatible tests. Document finishes, adhesives, and substrates within a bill of materials that auditors can follow. Identify patient contact types, cleaning agents, ingress conditions, and service access early. Then map to IEC 60601, ISO 10993, IP targets, and UL 94. Choose resins, coatings, and gaskets with known flammability and biocompatibility data. Confirm color and texture availability for those grades. Following these guidelines keeps your healthcare device on track for regulatory approval.
Design Considerations for a Portable Medical Device Enclosure
Wall Thickness, Draft Angles, and Ribs
Good design rules begin with wall thickness. A wall that stays the same keeps shrinkage even all over the part. This stops sink marks, empty spots inside, and warping. Aim for 1.5 mm to 3.0 mm, and keep the difference under 25%. When you get this right, you can cut cosmetic rejects by up to 40% and speed up cycle times by 20–30%.
Draft angles are just as important. At least 1–2 degrees per side lets the part come out clean. Textured surfaces need 3–5 degrees. Deeper features need more draft, so a 1-inch deep feature may need 1–2 degrees based on thickness. Skip this and you risk drag marks, ejection failure, and tool damage.
Ribs add stiffness without thick walls. Keep rib thickness at 50–60% of the normal wall to avoid sink marks. Limit rib height to 2.5 times the wall, and space ribs two to three times the wall apart. Add a base fillet of 0.25T–0.5T, and give each rib at least 0.5 degrees of draft per side.
| Parameter | Recommendation | Rationale |
| Nominal wall thickness | 1.5–3.0 mm, uniform | Prevents warpage and voids |
| Draft angle | 1–2° per side; 3°+ textured | Clean release, no scuffing |
| Rib thickness | 50–60% of wall | Avoids sink marks |
Assembly Features, Sealing, and Gaskets
Sealing decides whether your enclosure makes it on the clinical floor. Continuous gasket channels keep compression even and stop pinching. Silicone and EPDM are common picks because they resist compression set and cleaning chemicals. Build the gasket feature right into the enclosure shape, then check it with pressure differential and fluorescence leak testing.
Ports and doors need attention too. Recessed pockets protect charging ports and data connectors, and a steady latch force keeps doors sealed. Test lanyards and hinge cycles before field release. Set a realistic IP rating based on real cleaning and splash risks, not marketing wishes. For seams, overlapping joints with conductive gaskets cut emissions, and antenna zones should stay clear of metal bosses.
DFM Best Practices for Injection Molding, Thermoforming, and RIM
Each process has its own design rules. For injection molding, use a core-cavity approach to avoid deep ribs in the mold. That makes venting, ejection, and finishing simpler. Bosses should stay under 60% of wall thickness with 0.5–1 degree of draft inside and out.
Thermoforming rewards smooth radii and careful depth-to-width ratios. Material thins over sharp corners, so uniform walls and plug assists keep thickness even. RIM handles thick walls and deep draws with ease, which suits large, impact-critical housings. Bring your manufacturer in early. A quick DFM review catches problems before tooling starts, and that saves both time and money in any healthcare product program.
NOBLE: Your Partner for Portable Medical Device Enclosure Manufacturing
Comprehensive Manufacturing Capabilities
NOBLE handles every main process in one place. Injection molding, thermoforming, RIM, CNC machining, sheet metal work, and 3D printing all happen in-house. Your parts never travel between different vendors. One team is in charge of the whole build. This lowers shipping delays and keeps everyone talking. Finishing work like anodizing, bead blasting, and medical-grade powder coating is done here too. So your portable medical device enclosure goes from raw material to finished part without leaving the building.
That range is a big deal for medical device manufacturing. A handheld monitor may need a molded shell with a machined aluminum faceplate. A cart-mounted unit could use a RIM housing with sheet metal brackets. NOBLE takes care of both without juggling outside suppliers. The result is fewer handoffs, fewer delays, and better accountability.
Quality Certifications (ISO 9001:2015, ISO 13485:2016)
Quality systems set serious manufacturers apart from the rest. NOBLE holds ISO 9001:2015 for quality management and ISO 13485:2016 for medical devices. These aren’t just plaques on a wall. They mean audited processes, full traceability, and paperwork that backs up your regulatory submissions. When an auditor asks for material certs or process records, the documents are there.
This matters most for quality control in medical applications. Every batch gets tracked. Every process gets checked. For healthcare customers, that traceability builds trust. It also speeds up FDA device registration and helps you meet UL 60601-1 requirements without hunting for records. Standards compliance becomes a normal part of the workflow, not a last-minute panic.
From Design to Assembly: A Full-Service Approach
NOBLE doesn’t just manufacture. The team runs the entire development cycle. Here’s how that works:
- A dedicated project manager watches your enclosure from start to finish, handling timeline, budget, and communication while keeping FDA and ISO requirements on track.
- DFM support and prototyping come first, so design problems get caught before tooling starts.
- Production and assembly follow, with metal and plastic processing handled in-house.
That single point of contact makes a real difference. You’re not chasing updates across three vendors. One person knows where your project stands. For medical applications where timelines are tight, that clarity saves weeks. Whether your portable medical device enclosure needs thermoforming for a pilot run or injection molding for full production, NOBLE scales with you. The goal isn’t just parts. It’s high-quality medical components delivered on time, with the documentation to prove it.
Injection molding is best for making many parts. Thermoforming gives fast results for low volume. RIM works for large or impact-critical designs. Every process has its role in the portable medical device enclosure market.
You must balance chemical resistance, biocompatibility, and cosmetic needs when choosing materials. For most Class I medical uses, you can choose a PC with UL 94 V-0 and an ISO 10993 surface finish that gives reliable performance without high cost. Over-specifying biocompatibility grades adds extra expense.
Work with a certified manufacturer early. Their DFM support finds design problems before tooling begins. Fixing certification at the end is risky. You save time and avoid costly problems. Contact the NOBLE team for a feasibility review or quote. We support your next healthcare project from concept to production.
FAQ of Portable Medical Device Enclosure
Which process fits a portable medical device enclosure at 2,000 units per year?
Thermoforming usually wins at that volume. Tooling costs $2k–$15k, and it takes 2–4 weeks to finish. Injection molding needs more units to pay off, around 3,000–10,000. RIM also works in that range, but its tooling costs more than thermoforming’s.
How do I pick between polycarbonate and ABS for a housing?
Polycarbonate gives better impact strength and chemical resistance. ABS costs less and is easy to mold. For a portable medical device enclosure that gets wiped down a lot, PC is the safer choice. ABS works fine when UL recognition matters more than top toughness.
Does my enclosure need ISO 10993 testing?
Only surfaces that touch patients or caregivers need it. That includes paints, labels, and adhesives, not just the base resin. Set up a material ledger early. Match every touchpoint to its compatible test, and confirm the data before tooling starts.
What wall thickness should I target?
Aim for 1.5 mm to 3.0 mm, and keep the variation under 25%. Uniform walls prevent sink marks and warping. Ribs should stay at 50–60% of the nominal wall. That mix cuts cosmetic rejects and speeds up cycle times.
Can RIM handle a large cart-mounted enclosure?
Yes. RIM fills very large molds at low pressure, so press tonnage stays manageable. Polyurethane and poly-DCPD absorb shock well. That makes RIM a strong fit for impact-critical housings in the 500–10,000 unit range.
Is 3D printing good enough for production parts?
Not for full runs, but it bridges the gap. SLS and SLA make functional parts while injection tooling gets built. DMLS handles metal prototypes. For a portable medical device enclosure in pilot testing, additive manufacturing saves months of waiting.
What draft angle keeps parts releasing cleanly?
Use 1–2 degrees per side for smooth surfaces. Textured surfaces need 3–5 degrees. Skip this, and you risk drag marks, ejection failure, and tool damage. Deeper features need more draft, based on thickness.
Why does certification matter when choosing a manufacturer?
ISO 13485:2016 means audited processes and full traceability. That paperwork backs your FDA registration and UL 60601-1 submissions. A certified partner catches compliance gaps during DFM, not after tooling. That saves both time and money.