Introduction
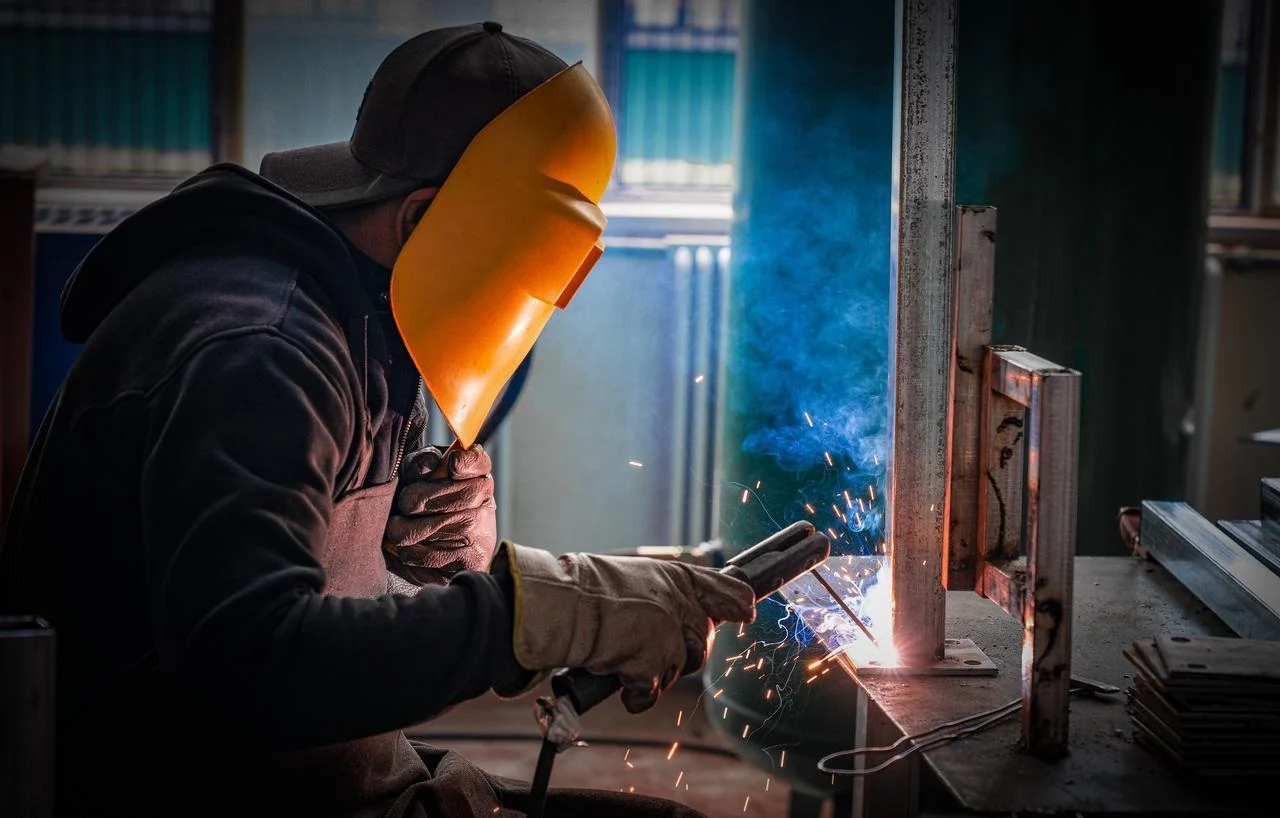
Fatigue in welded joints is a recurring issue across various industries—including bridges, cranes, pressure vessels, and heavy equipment. While static strength is not a problem, dynamic life is often short. Fatigue failure of welded joints is a hidden cause of premature structural failure.
This guide explains the causes of weld fatigue. More importantly, NOBLE’s engineers propose practical solutions for use in both the factory and the design office.
Why Do Welded Joints Fail Under Fatigue?
Static Strength Is Fine, Dynamic Strength Is Not
A welded joint under a static load holds up fine. Same as the base metal. However, once subjected to alternating loads, its performance deteriorates—and not just slightly, but significantly. The joint geometry—the notch, the toe, the undercut—determines how fast the crack starts.
Early Designs Ignored Fatigue
Older structures were designed for dead loads. Nothing moved. No cycles. Fatigue was not in the calculation. It is now known that the welding details from that era were flawed. This was not due to poor welding techniques, but because relevant design codes did not yet exist at the time.
Misapplied Design Rules
Some people directly apply the fatigue design criteria for bolted joints to welded joints. This approach does not work. Bolted joints have no notches, whereas welded joints have sharp root areas. The stress concentrations and failure modes differ between the two. Simply applying these rules will not solve the actual problems.
Cost and Weight Pressures
Lighter structures save material. Lower cost wins contracts. But thin sections under high stress cycle faster. Higher service loads push the stress higher. The fatigue life shortens. Welding fatigue is the price paid for aggressive design targets.
Faster, Heavier Equipment—Research Lags Behind
Industry demands are becoming increasingly stringent: cranes must be faster, have greater load-carrying capacity, and operate over longer radii. However, research into the details of welded joints has not kept pace with these demands. New designs often outpace proven data. Welded joint fatigue failure becomes a field problem, not a calculation problem. Relevant experience can only be gained through actual use, which comes at a high cost.
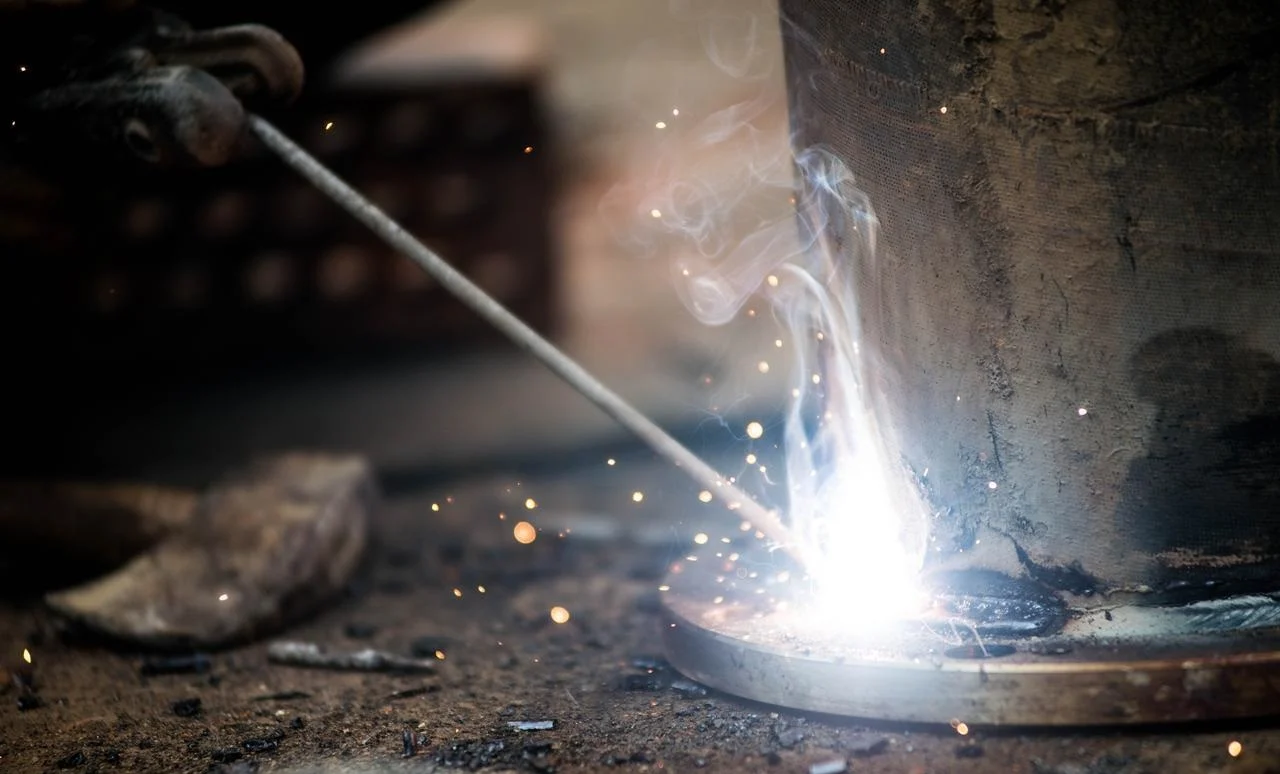
Joint Fatigue Cracks: Where They Start and What to Do
Two Critical Zones
Cracks typically originate at one of two locations: the weld root, where the weld metal meets the base metal; or the weld root, where the weld does not fully extend to the bottom of the joint. Root cracks are more difficult to repair because they are located inside the joint. If root cracking gets controlled, the toe becomes the main focus. That is easier to see and treat.
Three Core Strategies
First, reduce defects. Visible defects—such as cracks, lack of fusion, and porosity—serve as crack initiation points. They bypass the crack initiation stage and are cracks in their own right. They must be eliminated.
Next, improve the geometry of the weld beads. Sharp weld beads can cause stress concentration. Grind them smooth to ensure a natural transition to the base metal. This reduces stress concentration and extends fatigue life.
Finally, adjust the residual stresses. Welding shrinkage places the joint under tensile stress, which promotes crack propagation. Compressive stress, on the other hand, inhibits crack propagation. Post-weld treatments—such as shot peening, hammering, or localized heating—can reverse the stress state. Tensile stress is converted to compressive stress, thereby slowing the weld fatigue rate.
Process optimization not only helps mitigate fatigue but also increases static strength and improves the metal’s microstructure. A single effective process improvement yields multifaceted benefits. This is not a theory but a reality in production. Welded joint fatigue failure can be prevented by doing the basics well.
Route 1: Improve Toe Geometry (Lower Stress Concentration)
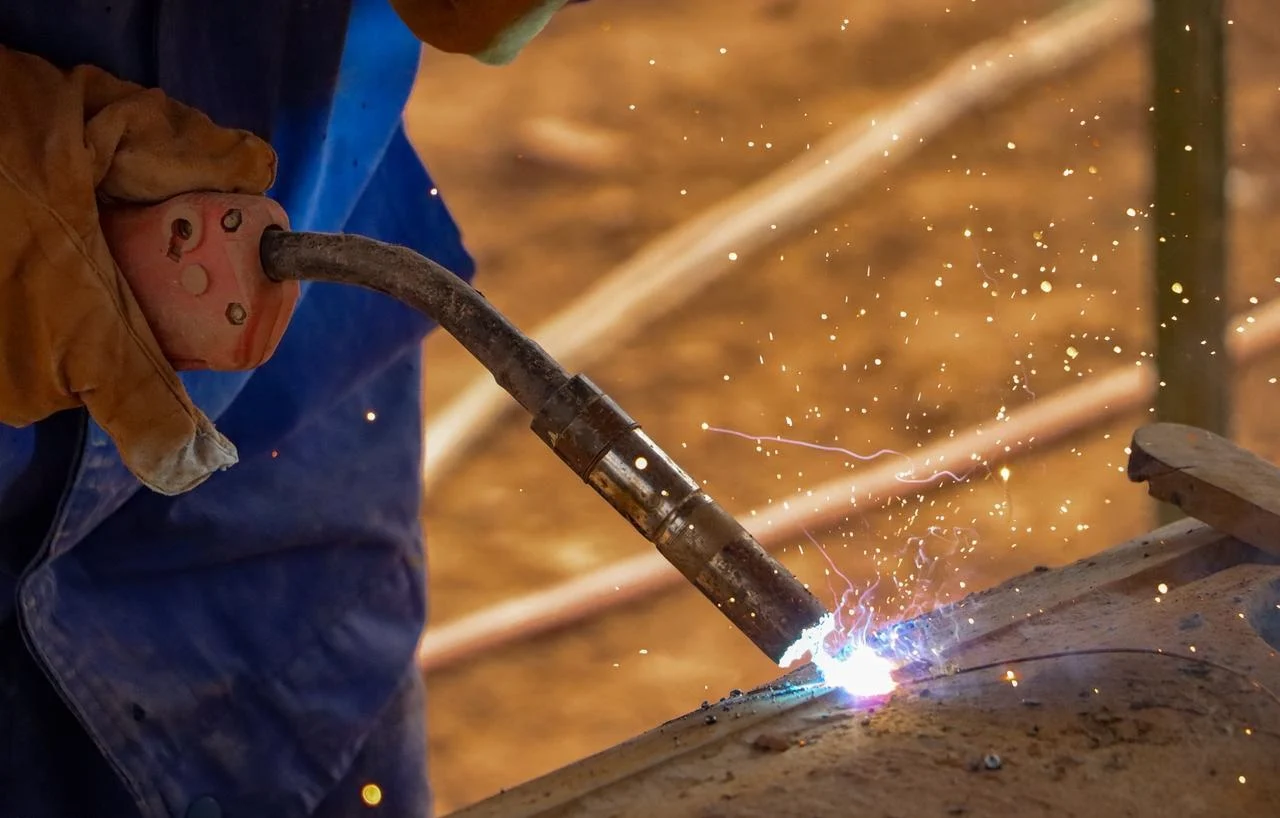
The toe is a notch. Notches concentrate stress. Smooth the notch, and welding fatigue improves. Here is how.
TIG Dressing
A TIG torch passes over the weld toe. No filler added. Just remelting. The sharp toe disappears. A smooth blend replaces it. Micro-inclusions burn off. The stress concentration drops. The fatigue gain is well-documented. This works everywhere. The cost is moderate.
Mechanical Machining
A cutter or a burr removes the toe material. The surface becomes smooth. The geometry improves. If the weld is defect-free, fatigue strength can exceed the base metal. That is the best case.
High cost is the problem. Machining only reaches accessible areas. It cannot treat deep joints or tight corners. And here is the warning. If a root defect exists—lack of penetration, for example—machining the toe does nothing. The crack shifts to the root. Cracks will propagate to the weld root, and fatigue failure of the weld will still occur, albeit at a different location.
Grinding (Abrasive)
Grind the leading edge with a grinding wheel. Although the results are not as good as those achieved through machining, this method is less expensive and faster. What is the key principle? You must grind along the line of force. Grinding across the grain will leave scratches perpendicular to the direction of the load. These scratches will become new stress concentration points, which can trigger cracks and negate any original advantages.
Special Electrodes
Some electrodes have enhanced wetting action. The molten weld metal flows out. It wets the base plate more. The toe radius increases. The angle decreases. Lower stress concentration. Better fatigue life.
The limitation lies in the welding position. These electrodes perform well in flat and horizontal positions. But what about vertical-down and overhead welding? In these positions, the molten metal tends to drip and has poor flow, so the advantages are minimal. Please select the appropriate application based on actual conditions.

Route 2: Adjust Residual Stress (Generate Compression)
The weld shrinks. The joint ends up in tension. Tension drives cracks. Compression stops them. If you can flip the stress state at the toe, fatigue life extends. Here are three ways to do it.
Pre-overloading (Proof Loading)
Apply a tensile overload before use. This causes localized yielding in the notched area, resulting in plastic deformation of the material. When the load is removed, compressive residual stress remains at the notch root. This works on large structures—bridges, pressure vessels—because the load is easy to apply. No special tools. No localized heating.
Local Heating
When a specific area is heated, the metal expands. Under compressive stress, the metal yields. As it cools, the surrounding material pulls it into a compressed state at the root of the weld. The key lies in the selection of the heating location.
For a single-sided fillet weld, heat about one-third of the plate width from the weld. For a double-sided weld, heat at the center of the plate. Get it wrong, and the stress flips the other way. Tensile stress appears. No improvement. Welding fatigue stays the same or gets worse.
The reported gains are significant: 145 to 150 percent improvement for single-sided heating. 70 to 187 percent for double-sided. That range is wide because geometry matters. But the potential is real.
Local Compression (Mechanical Squeezing)
Direct pressure is applied at the stress concentration point. A tool squeezes the toe. The material yields locally. Compression remains after the tool releases.
This works better on high-strength steel than mild steel. High-strength steel has a higher yield stress. The compression zone stays deeper. The fatigue benefit lasts longer. Mild steel relaxes more quickly under subsequent service loads.
All three methods share one rule. If the residual stress at the toe is compressive, the crack initiation is delayed. If it stays tensile, the welded joint fatigue failure happens earlier. The choice depends on the structure, the access, and the cost. Local heating is cheap. Preloading is simpler. Mechanical squeezing is precise. Pick the one that fits.
Route 3: Combined Approach (Both Smoother and Compressive)
Smoothing the toe helps. Compressing the toe helps. Doing both helps more. Two methods do exactly that.
Hammer Peening
A pneumatic hammer strikes the weld toe repeatedly. The impact flattens the sharp notch. The surface geometry improves. At the same time, the plastic deformation leaves compressive residual stress underneath.
The International Institute of Welding recommends specific parameters: 5 to 6 bar air pressure, an 8 to 12 millimeter tip diameter, and a peening depth of about 0.6 millimeters. That depth takes roughly four impacts per spot.
The result? Up to 54 percent improvement in fatigue life for non-load-carrying T-joints at two million cycles. That is not incremental. That is transformative.
Shot Peening
Small steel or ceramic spheres bombard the surface. The micro-impacts create a shallow compressive layer—about 0.1 millimeters deep. It is effective on high-strength steel. Sometimes it outperforms TIG dressing, especially on harder materials where heat treatment is not an option.
The best practice is to combine both. TIG dressing first. It remelts the toe. It removes the sharp notch and any surface defects. Then, shot peening follows. It adds the compressive layer on top of the smooth geometry. The combination gives the strongest protection against welded joint fatigue failure.
These methods do not replace good design. They extend the life of a joint that is already well-designed. They are not a fix for a bad weld. But on a sound weld, they push fatigue limits far beyond the as-welded state. Welding fatigue becomes manageable. Not eliminated. Managed.

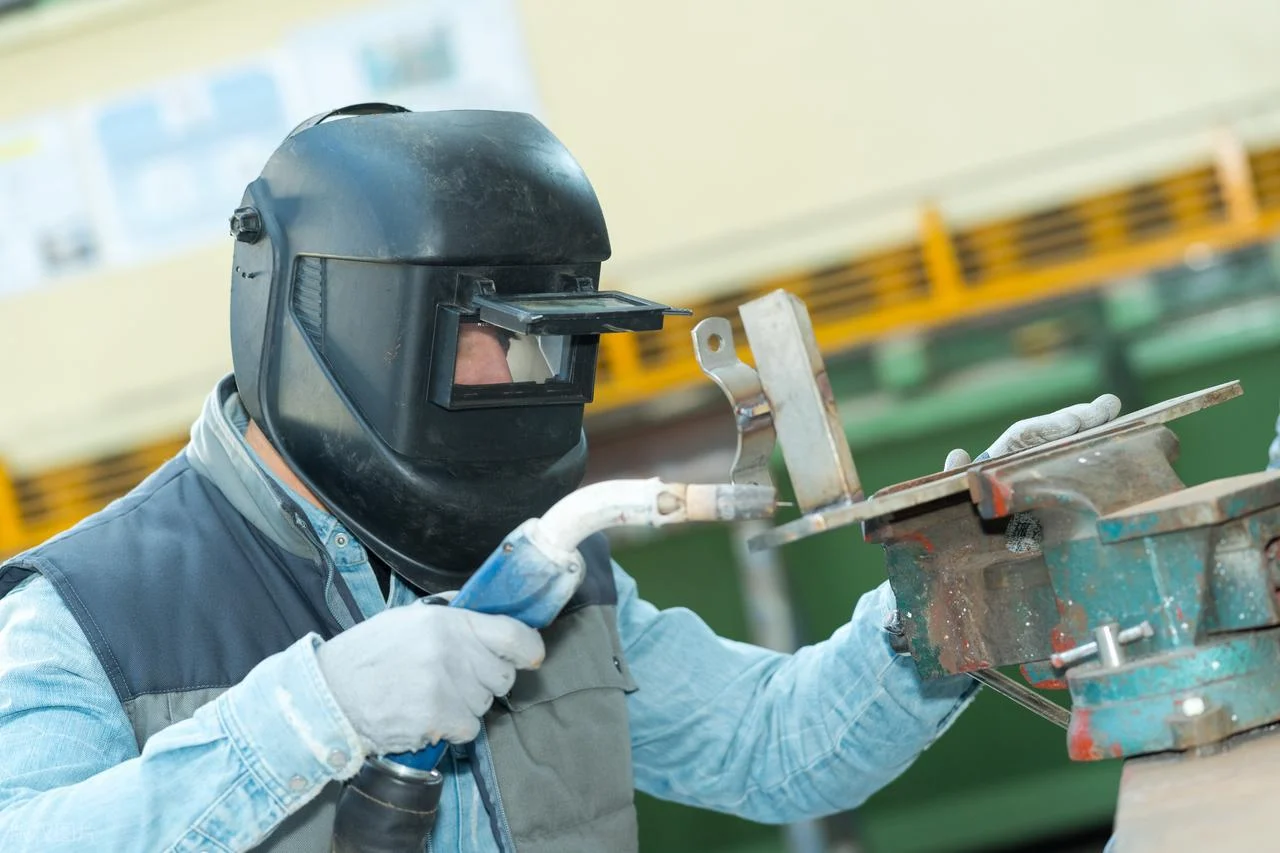
About NOBLE – Your Manufacturing Partner from Design to Delivery
NOBLE is primarily engaged in two business areas: metal parts machining and plastic parts manufacturing. These are our core businesses. The title “Full-Service Partner” is not just a marketing gimmick; it means we take full responsibility for the entire project.
Certified Quality You Can Rely On
ISO 9001:2015 covers industrial quality management. ISO 13485:2016 covers medical device standards. These are not badges on a wall. They dictate how work gets done. Every process is documented. Every part traceable. Every non-conformance is investigated.
For fatigue-critical welded assemblies, this matters. Traceability means knowing the material history. Process control means consistent weld preparation. The certifications back the practice.
Why It Matters for Fatigue-Related Applications
Precision machining directly affects welded structures. A smooth surface at a weld preparation reduces stress concentration. A tight tolerance on a mating part prevents misalignment that adds bending stress. Defect control in the base material removes crack initiation sites.
All these factors extend service life. They do not eliminate welded joint fatigue failure on their own. But they remove the manufacturing contributions. The design and the weld process still need attention. NOBLE ensures the metal parts that go into the welded assembly start clean and accurate. That is a prerequisite for fatigue resistance. Welding fatigue starts at the surface. Smooth surfaces delay the start.
FAQ
What is fatigue failure in welded structures?
Progressive cracking under repeated or fluctuating loads. Unlike static failure, it occurs at stress levels well below the material’s ultimate strength—this is the core of welded joint fatigue failure.
Where do fatigue cracks usually start in welded joints?
Almost always at the weld toe or weld root. These are areas of high stress concentration and potential defects, making them the primary initiation sites for welding fatigue.
Is grinding always helpful for fatigue life?
Yes, but only if done correctly. Grind along the force lines—cross-grinding creates new stress raisers, and grinding is ineffective if root defects like lack of penetration exist.
Can post-weld heat treatment help?
Local heating can help, but placement is critical. Wrong placement can actually create tensile stress, making things worse, so it is not a one-size-fits-all solution.
Does eliminating weld defects guarantee fatigue strength?
It helps significantly, but it is not the whole story. Even defect-free welds need good toe geometry and favorable residual stress for optimal fatigue life against welded joint fatigue failure.