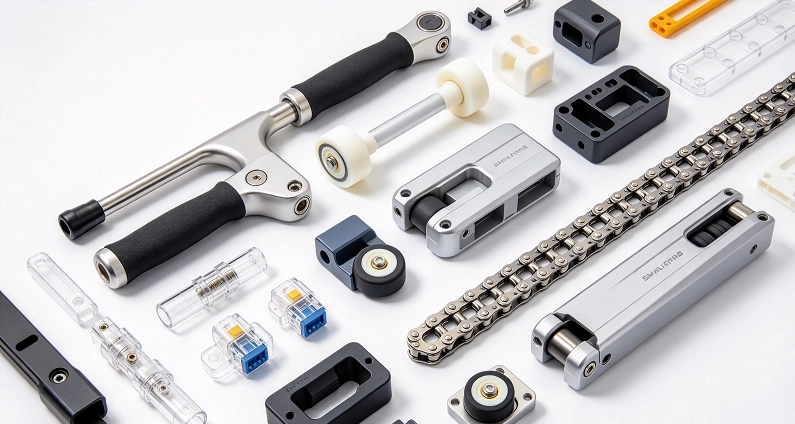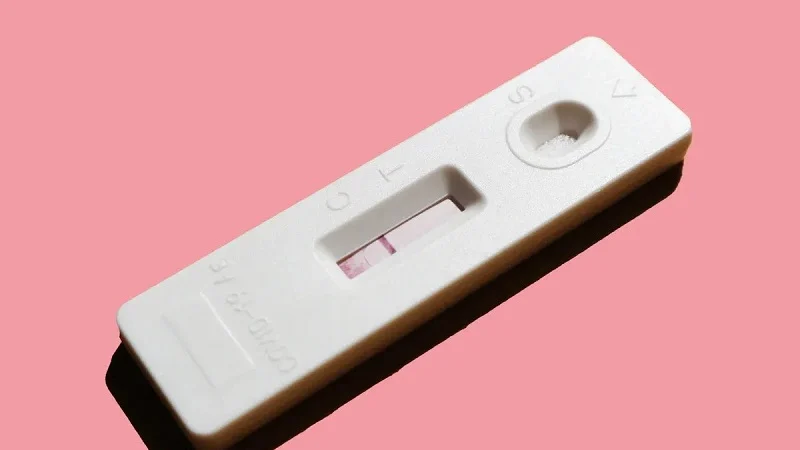
Rapid diagnostic device parts are made using different methods. Injection molding, 3D printing, CNC machining, and precision etching each have their own benefits. These approaches differ in speed, accuracy, and how well they can scale up. Your production volume and how complex the parts are often decide which method works best. Quality standards also matter a lot in this choice. NOBLE, a top company based in China, provides great service and skilled machining know-how. They help clients with both quick prototypes and large-scale production smoothly. Their team understands what medical device manufacturing needs. Picking the right method for your parts makes a big difference.
Injection Molding for High-Volume Rapid Diagnostic Device Parts
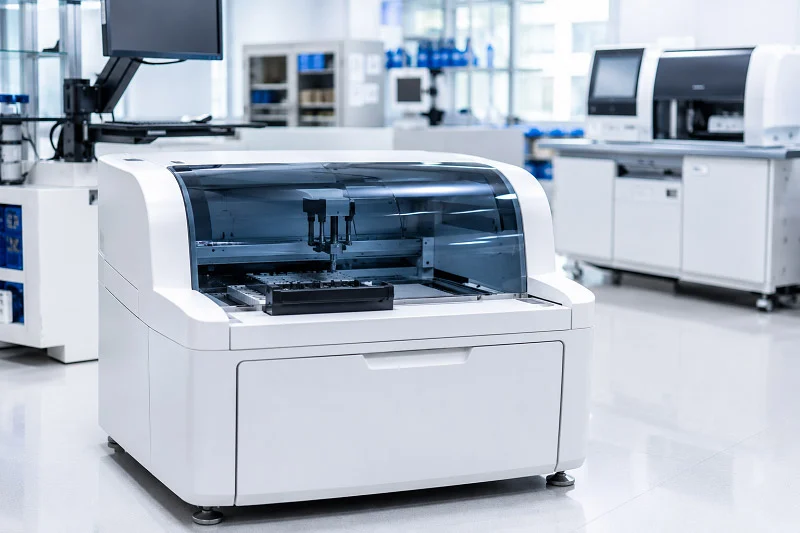
When you need to produce many identical rapid diagnostic device parts, injection molding is often the best option. This method suits high-volume production well. It delivers consistent results across thousands or even millions of parts. The key is choosing the right tooling strategy, materials, and quality checks. Let’s go through each piece.
Tooling Strategies for Speed and Scale
Prototype Molds vs. Production Molds
The mold you pick changes everything. Aluminum molds cost less and arrive faster. Steel molds last longer and handle larger volumes. Here’s a look at the numbers:
| Criteria | Aluminum Molds | Steel Molds |
| Initial cost | $1,500 – $5,000 | $25,000 – $100,000+ |
| Lead time | 1 – 2 weeks | 6 – 12 weeks |
| Mold lifespan | 5,000 – 50,000 shots | 1,000,000+ shots |
Aluminum tooling works great for pilot runs and early validation. You can get parts in days instead of months. That speed matters a lot during rapid prototyping. Steel tooling makes sense when you’re ready for full-scale production. It costs more upfront, but each part costs less over time.
Low-volume injection molding fills a special spot. It sits between prototyping and mass production. Bridge tooling lets you validate your design before committing to expensive steel molds. You get production-quality parts that beat 3D prints in strength and finish. These parts use real production resins. You can test them under real-world conditions. This approach works for runs of thousands to tens of thousands of parts. Companies use it for blood test locators and pressure clips. You get design-for-manufacturing feedback early. And the whole process has ISO certification backing it up.
Multi-Cavity and Family Mold Designs
Multi-cavity molds let you make several parts in one cycle. That saves a lot of time. Family molds produce different but related parts in the same shot. This approach has several benefits:
- Time savings: You skip the need for separate tool changes.
- Fewer production variables: One mold means more consistent color and quality.
- Less press time: More parts per shot cuts down total run time.
- Lower costs: Fewer tools to maintain over the long run.
For medical device components, family molds work especially well. Housings for diagnostic kits or handheld devices often use this method. The parts stay aligned in supply. And you get consistent quality across all the pieces.
Material Options for Molded Components
Medical-Grade Plastics and Fillers
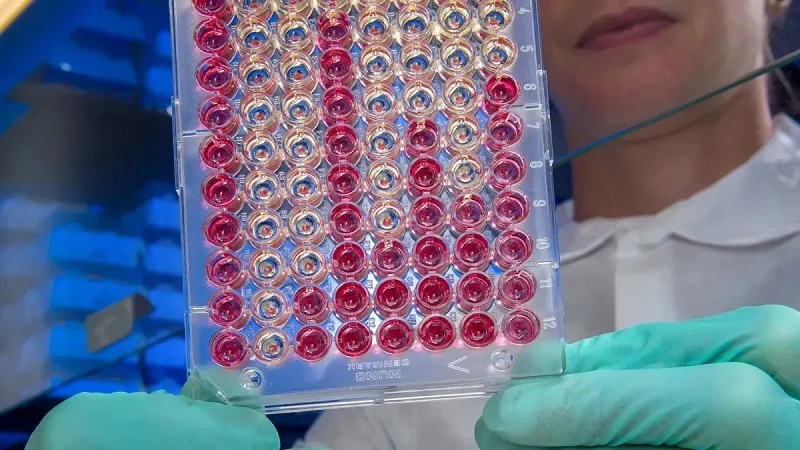
The material you pick has to match your application. Polycarbonate (PC) stands out for its high impact resistance and optical clarity. It’s a great choice for transparent viewing windows in diagnostic devices. Polyethylene (PE) and polypropylene (PP) offer good chemical resistance. They also handle sterilization well. Medical-grade polyetheretherketone (PEEK) works for tougher applications. It keeps its properties under high heat and harsh chemicals.
These materials form the backbone of medical parts manufacturing. Each one has to meet strict biocompatibility standards. The wrong choice could ruin a device’s performance. You need to think about the whole lifecycle of the part.
Additives for Optical or Conductive Properties
Sometimes basic plastics aren’t enough. You need to add something extra. For optical clarity, PC comes in UV-resistant grades. That’s perfect for parts that need to stay clear over time. Some parts need conductive properties. Additives can provide that without hurting biocompatibility. Others need better lubricity for moving parts. The right filler makes it possible. You can tune the material to match your exact needs.
Quality Control in the Molding Cycle
Process Monitoring and Validation
Quality starts during the molding cycle itself. You can’t just check parts at the end. You need to monitor the process in real time. Here are some methods used in the industry:
| Method | What It Does | Why It Matters |
| Checkpoint Go/No-Go gauge | Confirms microfeature filling and mold closure | Proves internal channels are intact |
| Cavity pressure monitoring | Tracks melt pressure in real time | Catches incomplete filling early |
| AI-driven quality control | Uses computer vision to spot defects | Ensures only good parts move forward |
| Simulation (CFD/Moldflow) | Predicts filling behavior before production | Prevents costly defects |
Process validation makes sure your process runs consistently. You set up the right parameters during development. Then you prove they work every time. This step is critical for any regulated medical device. Testing during development helps catch issues early.
Dimensional and Surface Inspection
After molding, you need to check the parts. Dimensional inspection looks at size and shape. Surface inspection checks the finish. Surface roughness parameters offer better accuracy than plain dimensional checks. They validate the surface integrity of microchannels. This affects fluid flow and assay performance.
Fast-track quality inspections help speed things up. Automated systems catch defects quickly. You can use checkpoints that provide traceable evidence. This keeps your production line moving without sacrificing quality.
3D Printing for Custom Rapid Diagnostic Device Parts
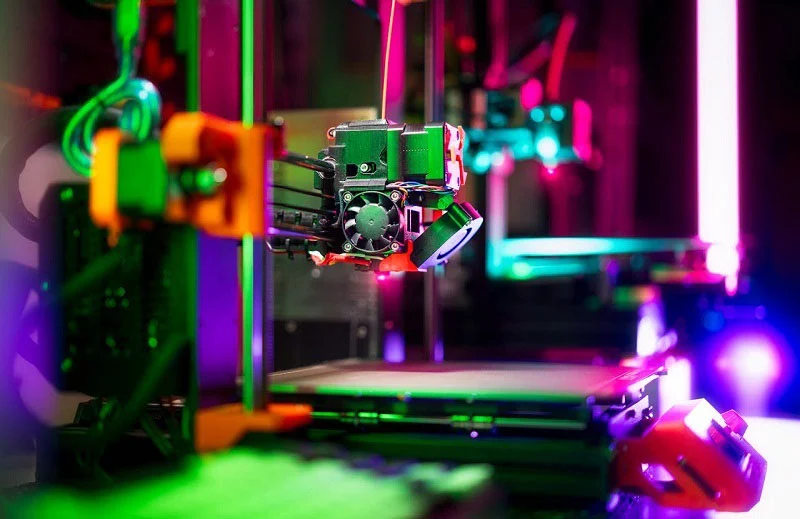
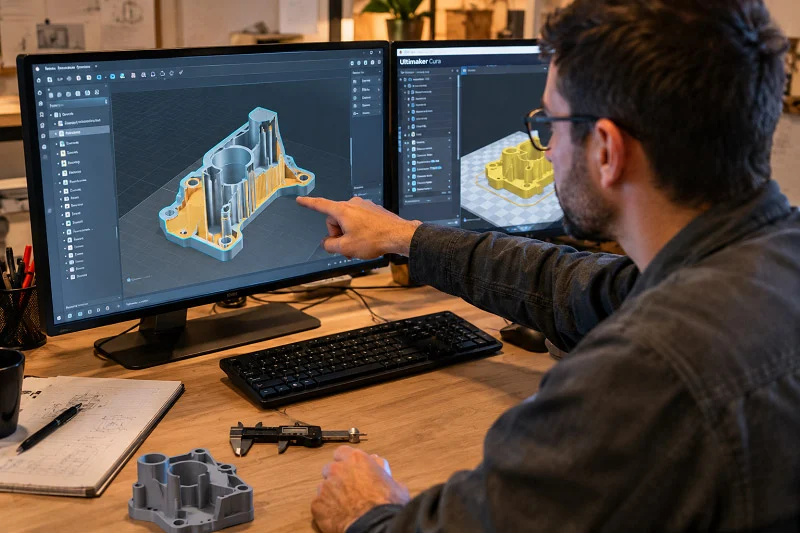
When your project needs complex internal channels or custom shapes, 3D printing offers another option. This method builds parts layer by layer. It gives you design freedom that traditional machining cannot match. The ISO/ASTM standards group additive manufacturing into clear categories. Powder bed fusion covers methods like DMLS and SLS. VAT photopolymerization covers SLA. Each method has its own strengths. The choice depends on your part shape, volume needs, and timeline. For rapid diagnostic device parts, 3D printing opens up possibilities that other processes cannot touch.
Key Additive Methods for Medical Devices
DMLS for Metal Components
Direct Metal Laser Sintering, or DMLS, falls under powder bed fusion. It uses a laser to melt metal powder into solid parts. This additive method works well for making strong metal components for diagnostic tools. You get parts with good mechanical properties. The process suits both rapid prototyping and low-volume production. When you need 3D printing in metal, DMLS is often the go-to choice. It handles stainless steel, titanium, and other medical-grade alloys. The metal components from DMLS have density close to wrought material. That makes them suitable for functional use.
SLA and Material Jetting for Resins
Stereolithography, or SLA, belongs to the VAT photopolymerization category. This additive technique hardens liquid photopolymer with UV light. The result is parts with smooth finishes and fine details. SLA can produce micro-scale features that other methods struggle with. Material Jetting works differently. It places tiny drops of photosensitive material that harden under UV light. This method gives you smooth surfaces and the option to use multiple materials in one part. Both 3D printing techniques enable complex, branching fluid networks and integrated devices. You can build valve manifolds that combine multiple valves into a single printed unit. Traditional methods like soft lithography and CNC machining cannot easily copy these designs. The geometric freedom lets you design structures that move fluids in ways that mimic natural systems. Leaf-inspired vascular networks modeled on natural branching structures are one example. These designs enable fluid dynamics studies that would be impossible with standard lab-on-a-chip formats. The direct application for diagnostics is clear. You can create microfluidic channels that mix, separate, and detect samples in ways that improve test accuracy.
Advantages
Rapid Prototyping for Design Verification
The speed of 3D printing changes the game for rapid prototyping. Traditional methods can take up to 18 weeks for a single iteration. With 3D printing, you get components delivered in 24 hours. That shift lets you test multiple design ideas quickly. You do not need to restart the entire fabrication cycle for minor changes. This speed supports design verification testing. You can check form, fit, and function early in the development process. The rapid iteration cycle helps you refine your design based on real test results. This reduces the risk of finding problems late in the development cycle. The complex internal channels and branching networks support the development of rapid diagnostic devices. You can test fluid flow, reaction timing, and detection accuracy with printed prototypes before committing to production tooling.
Bridge Production for Low Volumes
3D printing also works for bridge production. You can produce functional medtech prototypes in small batches without investing in expensive molds. This approach fills the gap between rapid prototyping and mass production. Methods like SLS and DMLS handle low-volume runs well. You get production-quality components without the upfront tooling costs. This makes sense for runs of hundreds to a few thousand parts. You can validate your design under real conditions before committing to high-volume manufacturing. The components you get have mechanical properties close to production-grade materials. This approach reduces risk. You can prove your design works before scaling up. That means your rapid prototyping results are meaningful.
Material Properties and Limitations
Mechanical Strength and Biocompatibility
3D-printed parts have some material limits. Flexural properties tend to be low. This happens because of low double-bond conversion and weak interlayer bonding. The properties are anisotropic. They depend on the print orientation. Post-cure conditions also affect the final strength. Biocompatibility is another concern. Cytotoxicity can arise from uncured monomers and residues. Surface residue must stay below 18 wt% per medical standards. Methacrylate monomers can cause genotoxicity. You need to choose materials carefully. Not all resins meet the requirements for medical use. The material selection process should include biocompatibility testing early.
Surface Finish and Post-Curing Needs
3D printing requires careful post-processing. Many printed items need improved surface finish. Coatings can help achieve the right smoothness. Post-curing location affects color, microhardness, and flexural strength. Over-curing causes brittleness, shrinkage, and dimensional inaccuracies. Sterilization is critical for biocompatibility. UV, ethanol, and autoclaving are common methods. But they can damage parts. Autoclaving, for example, can cause deformation and cracking. Quality depends on getting the post-processing right. Working with an experienced partner helps you navigate these challenges.
CNC Machining and Etching for Precision Rapid Diagnostic Device Parts
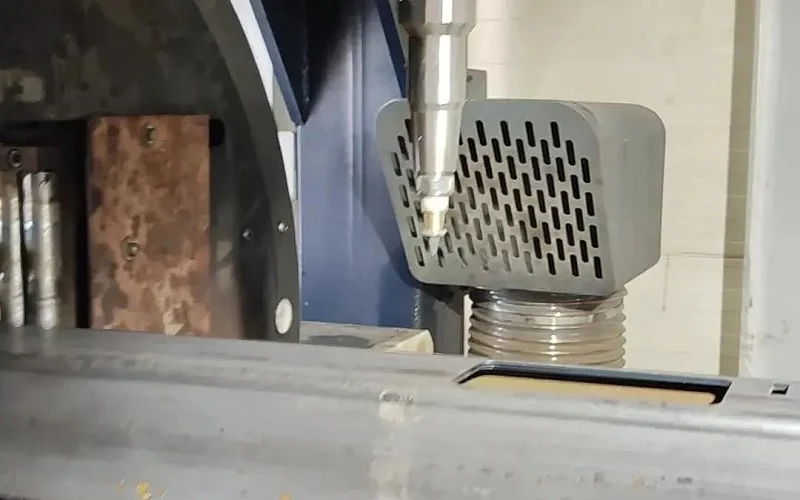
Some parts need precision that other methods can’t reach. CNC machining and photochemical etching fill that gap. They handle tight tolerances and fine features. Both work for rapid diagnostic device parts and prototypes.
High-Precision Machining for Prototypes
5-Axis Capabilities for Complex Features
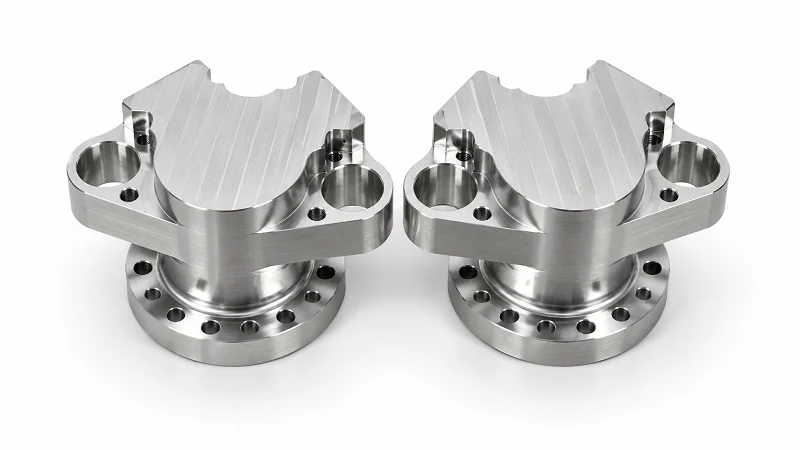
5-axis CNC machining moves the cutting tool along five axes at once. This reaches deep undercuts and freeform surfaces. The single-setup process keeps the workpiece in place. Alignment stays tight. Errors don’t stack up. The result is precision down to ±0.005 mm for critical components. That accuracy matters for diagnostic sensor housings. This precision manufacturing process requires ISO 13485-certified workflows. That guarantees full material traceability. 5-axis CNC machining is also ideal for rapid prototyping of complex parts.
Material Versatility in Metals and Plastics
The same machine cuts titanium, stainless steel, cobalt-chrome, and medical-grade plastics. Titanium offers biocompatibility. Stainless steel resists corrosion. PEEK handles high heat. The machine adjusts its parameters for each one. This manufacturing versatility supports rapid prototyping. You can test different materials in the same design. This speeds up the development cycle.
Photochemical Etching for Fine Features
Producing Mesh Filters and Screens
Photochemical etching uses light and chemicals instead of cutting tools. A metal sheet gets coated in photo-sensitive resist. UV light exposes the pattern. Chemical etchants remove the unwanted metal. The result is a precise part with no burrs. These parts have real-world use in COVID-19 testing devices. They meet ISO 9001:2015 and other certifications. The process handles thin materials down to a fraction of a millimeter. For some applications, laser cutting offers an alternative. But etching gives you perfectly uniform apertures and screen patterns. That means consistent flow and filtration.
Burr-Free and Stress-Free Processing
The non-contact nature brings big benefits. There’s no heat, mechanical force, or tool wear. The material stays flat and warp-free. Unlike filters from stamping, photo-etched ones come from a solid thin metal sheet. They are burr-free and stress-free with zero material degradation. The result is a slimmer, cleaner, more robust filter with consistent quality. The material’s microstructure stays unchanged. Springiness and fatigue resistance remain intact.
Comparing Machining to Molding for Initial Runs
Lead Time and Tooling Cost Analysis
CNC machining wins on speed and upfront cost. There are no molds to build. You load the CAD file and start cutting. Parts arrive in days. The cost per part is higher, but there’s no tooling investment. Quality inspection happens at every step. Injection molding costs more upfront. The molds are expensive and take time. But each part costs less once the mold is ready.
Transitioning from Machined to Molded Parts
The smart approach uses CNC machining during rapid prototyping and development. You iterate quickly on the design. Test fit and function. Make changes fast. Once the design is locked, you move to molding for production. The machined parts become the master reference for inspection. This two-step process reduces risk. You don’t invest in expensive molds until you’re sure the design works.
Finishing and Post-Processing for Rapid Diagnostic Device Parts
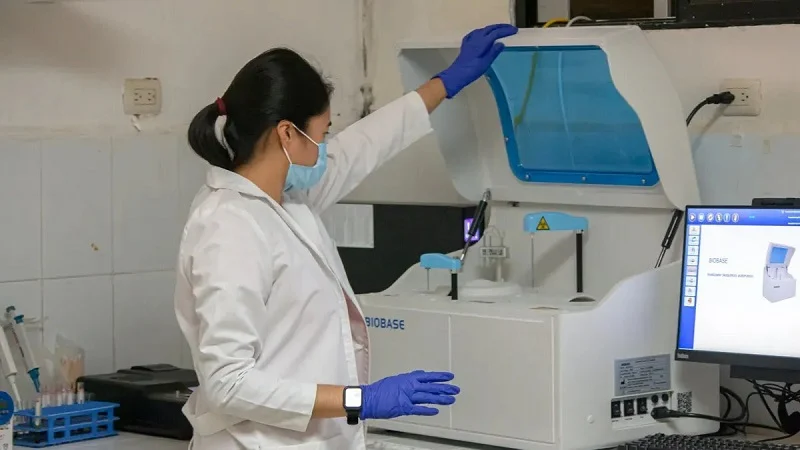
Surface treatments and assembly methods turn raw parts into working products. The coatings you choose control how fluids move through channels. The joining methods you pick decide if a device leaks or stays sealed. Cleanroom rules make sure the final product meets medical standards. Each step directly affects how well your rapid diagnostic device parts perform.
Surface Treatments for Fluid and Optical Control
Hydrophilic and Hydrophobic Coatings
Surface chemistry controls how fluids act inside microchannels. Structured surface functionalization gives you exact control over chemical properties. This affects fluid flow, biomolecule interactions, and detection sensitivity. The result is better signal-to-noise ratios and less non-specific binding. Complex biochemical assays fit into compact lab-on-chip systems.
Hydrophilic coatings make water spread instantly. The surface pulls liquid into a thin flat sheet. This matters for sample confinement in diagnostics. Hydrophobic coatings push water away. It beads up instead. You can use them together to create microfluidic patterns without physical barriers. Your device stays smaller. Unwanted wicking stops. Fluid goes exactly where it needs to go. This approach improves product quality during development.
Anti-Fog and Anti-Reflective Layers
Diagnostic devices often have clear windows. You need to see through them. Fogging happens when water vapor condenses into many small curved micro-droplets. Those droplets scatter light. The surface looks hazy.
Anti-fog coatings fix this problem. They promote a near-zero contact angle. Water spreads into a thin continuous transparent sheet. No more light-scattering droplets form. The coating achieves a water contact angle below 20 degrees. Water spreads instantly. Visualization improves. Fluid management in microfluidics gets better. The coating stays functional after gamma, ETO, or steam sterilization. That makes it perfect for medical devices.
Assembly and Sealing Techniques
Insert Molding and Overmolding
Insert molding places a pre-formed component into the mold. Plastic flows around it during the injection cycle. You get a single sealed part. This works well for multi-material components. The bond is strong. No adhesives are needed. Assembly steps shrink.
Overmolding adds a layer over an existing part. A soft grip goes onto a hard plastic handle. A metal insert seals inside a plastic housing. The bond is mechanical and chemical. Leak paths disappear. The assembly stays sealed.
Ultrasonic Welding and Adhesive Bonding
Ultrasonic welding uses high-frequency vibrations. The plastic at the joint melts and fuses together. This works fast. For inserts under 0.250 inches in diameter, ultrasonic installation is faster than other methods. Cycle times shrink. The same machine can also weld plastic to plastic. That gives you flexibility.
Adhesive bonding uses chemical glues. The bond takes time to cure. But it works for materials that do not melt. Your choice depends on part geometry and production volume. Both methods create sealed assemblies for fluid-tight diagnostic parts. Quality inspection checks each joint for leaks.
Cleanroom Cleaning and Packaging
Ensuring Sterility and Biocompatibility
Terminal sterilization happens at the end. EtO, gamma, and autoclave kill microbes. They cannot remove embedded particles. Those particles can shield microorganisms. That risks non-sterile products.
Cleanroom manufacturing solves this. ISO Class 7 or Class 8 environments control air particles. HEPA filtration removes contaminants. Temperature and humidity stay regulated. This prevents microbial growth. ISO 11737-1 defines bioburden as the sum of microbial contributions from raw materials, manufacturing, and the environment. Cleanroom machining keeps bioburden within limits before sterilization. ISO 10993 requires evaluation of process contaminants. Cutting fluids, particles, and machine lubricants get checked. The result is parts that meet biocompatibility standards.
Final Functional Testing and Kitting
Cleaning happens under controlled conditions. Methods include vacuum extraction, ultrasonic baths, and wipe disinfection. Plasma cleaning removes organic residues. Reverse osmosis systems purify the water. Each step removes contaminants.
After cleaning, parts go through functional testing. This checks that every part works as designed. Fluid flow meets specifications. Optical windows stay clear. Seals hold pressure. Quality inspection confirms each part meets its requirements. Kitting groups the right parts together for assembly. The final package is clean, sterile, and ready for use.
Materials for Rapid Diagnostic Device Parts
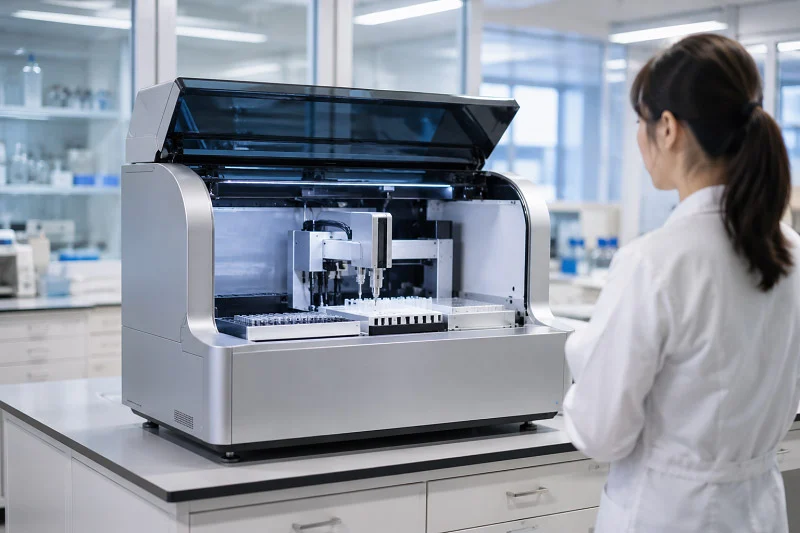
The material you pick affects how your part works. It also decides which manufacturing process you can use. Some materials are great for optical windows. Others handle structural loads. A few need to bend many times. Knowing these groups helps you match material to its job.
Medical-Grade Plastics and Polymers
Plastics are used most in rapid diagnostic device parts. They are light, cheap, and simple to shape. Medical-grade plastics meet strict safety rules for use in the body. They resist chemicals and survive sterilization. The right polymer keeps your device safe and dependable.
PC, ABS, and COC for Clarity and Strength
Polycarbonate, or PC, gives excellent clarity and impact strength. It is great for viewing windows and fluid reservoirs. You can watch what happens inside the device. PC also handles gamma sterilization without turning yellow. That makes it a top choice for single-use tests.
Acrylonitrile butadiene styrene, or ABS, offers toughness and shape stability. It stands up to repeated handling and light impacts. ABS fits housings and structural frames. It does not give the clear view that PC does. But it keeps tight measurements during injection molding. That steadiness matters for snap-fit parts.
Cyclic olefin copolymer, or COC, gives superior optical clarity and low protein sticking. This polymer shines in microfluidic uses. Assays need clean surfaces. COC stops biomolecules from attaching where they should not. It also has strong moisture barrier properties. That shields reagents inside the device. Each material plays its own role in your design.
Chemical Resistance and Sterilization Compatibility
Diagnostic devices face harsh chemicals. Samples contain acids, bases, and enzymes. Cleaning agents can harm polymers. Your material must resist all of these. Polypropylene handles a wide range of chemicals. It survives autoclaving at high heat. Polyethylene terephthalate, or PET, also offers good chemical resistance.
Sterilization compatibility is a must. Ethylene oxide, gamma radiation, and steam all stress materials. Some polymers break down under certain methods. PC handles gamma well. Polypropylene tolerates autoclave cycles. COC resists both. You must check that your chosen material survives your sterilization method. Testing early in development stops costly failures later. The wrong pick could harm device integrity and patient safety.
Metals for Structural and Thermal Applications
Plastics cannot do everything. Some parts need metal’s strength and heat handling. Metals show up in sensors, heating elements, and structural supports. They offer durability that polymers cannot match. The metal you choose depends on what your application needs.
Stainless Steel and Titanium Alloys
Stainless steel is the workhorse of medical devices. It resists rust and keeps strength at high heat. You will find it in needles, connectors, and reusable instrument housings. Stainless steel also handles repeated sterilization cycles. That makes it perfect for long-lasting parts.
Titanium alloys offer an even better strength-to-weight ratio. They are safe for the body and resist bodily fluids. Titanium fits implantable sensors and surgical tools. It costs more than stainless steel. But its performance earns the extra cost for critical uses. Both metals machine well with CNC processes. They also work with additive manufacturing methods like DMLS. Your manufacturing choice changes the final material properties.
Aluminum for Lightweight Heat Dissipation
Aluminum brings two key benefits: lightweight and heat transfer. Diagnostic devices often create heat. Electronic parts need cooling. Aluminum heat sinks pull heat away well. That keeps sensors at steady temperatures. Accurate readings depend on thermal stability.
Aluminum also fits structural frames. It weighs less than steel. Portable diagnostic devices gain from that weight savings. Anodized aluminum resists rust and wear. The coating also provides electrical insulation. Aluminum works well with CNC machining and die casting. You can make complex shapes with tight measurements. For rapid prototyping, aluminum is quick to machine. That speed supports fast design changes during development.
Material selection directly affects manufacturing success. Each process has compatible materials. Injection molding works with thermoplastics. CNC machining handles both metals and plastics. 3D printing needs specific resin or powder formulas. Match your material to your process early. That fit ensures steady quality across every part you make.
NOBLE: Your Partner in Rapid Diagnostic Device Parts

Finding the right partner makes a big difference for your rapid diagnostic devices. NOBLE offers all services in one place. From the first design review to the final assembled product, we handle the whole process. This saves time and lowers risk during medical device development. Our rapid prototyping services help you test your design early. Let’s see what that means for your project.
Our Manufacturing Capabilities
In-House Metal and Plastic Processing
NOBLE does both metal and plastic processing in-house. We control every step of manufacturing. Our 5-axis CNC machines handle complex shapes in one setup. They keep tight tolerances down to 0.01mm. That accuracy matters for optical paths and fluid channels. We cut titanium, stainless steel, and medical-grade plastics. Having both skills in one place speeds up your development. No waiting for parts to move between suppliers. Rapid prototyping also benefits from this setup. You get faster turnaround on working prototypes. This combined approach supports quicker medical device development.
Design Support and DFM Expertise
Your design can get better before production starts. Our engineering team reviews material, surface finish, structure, and process. That is where design for manufacturability analysis helps. We give expert advice to improve features and reduce tool wear. This early review catches problems before they get costly. During rapid prototyping, we move fast. You get working prototypes that test like production parts. That feedback loop helps you change designs quickly. The result is a design ready for scale and a smoother medical device development cycle.
Certifications and Quality Assurance
ISO 9001:2015 and ISO 13485:2016 Certified
Quality drives every step of medical device development. Our quality management system has both ISO 9001:2015 and ISO 13485:2016 certifications. Full traceability runs from design to delivery. We provide document packages for FDA, MDR, and ISO submissions. That paperwork supports your regulatory path during medical device development. A certified partner lowers your audit load.
Rigorous Inspection and Documentation
Our quality system includes thorough checks at every stage. QC workers verify materials before production. They watch parts during processing and check finished products before shipping. Pre-production assessments review your 3D and 2D drawings. On request, we provide material certifications with heat number, grade, and mechanical properties. Automatic position checks stop early machining errors. Routine checks happen every two hours. Full-dimensional reports cover quantity, critical dimensions, threads, tolerances, and appearance. Third-party testing is available too. This careful approach to inspection gives you confidence in every part.
Full-Service Solutions from Concept to Assembly
Component Manufacturing and Integration
We make parts and put them together. Modular assembly services turn machined parts into finished products. Integration saves you from managing many suppliers. Everything comes together in one place. Assembly includes sealing, bonding, and functional testing. Every part gets checked before it ships. This full service supports your medical device development from start to finish.
Supporting Your Journey to Commercialization
The jump from prototype to production is the hardest part of medical device product development. NOBLE supports that change. We start with rapid prototyping to test your design. Then we scale to full production. Our systems handle low-volume runs and high-volume manufacturing. We support the whole development of medical products with traceability and documentation. The document packages help with FDA or CE marking submissions. The journey from concept to commercial product is long. Having a partner who handles every stage of medical device product development makes it easier.
Choosing the right process for rapid diagnostic device parts comes down to your volume, timeline, and tolerance needs. Injection molding wins for large production runs. 3D printing gives you design freedom for complex internal channels. CNC machining delivers the precision you need for rapid prototyping and tight tolerances. Each method has trade-offs, so match the process to your specific part requirements.
Quality stays central across every option. NOBLE brings all these manufacturing capabilities under one roof. Our ISO 13485 certification and full-service approach reduce risk during development. We help you move from prototype to production smoothly. Contact NOBLE today to discuss your project needs.
FAQ of Rapid Diagnostic Device Parts
How do I choose between injection molding and 3D printing?
Think about your volume first. Injection molding makes sense for thousands or millions of identical parts. 3D printing works better for prototypes or small batches under a few thousand units. Your timeline matters too. Molds take weeks to build. Printed parts arrive in days.
What tolerance can CNC machining hold?
5-axis CNC machines hold precision down to ±0.005 mm for critical components. That level of accuracy works well for sensor housings and optical paths. The single-setup process keeps alignment tight. Errors don’t stack up across multiple operations.
When should I use photochemical etching instead of laser cutting?
Choose etching for thin metal parts needing fine mesh or screen patterns. The process leaves no burrs and creates no heat-affected zones. Material stays flat and warp-free. Laser cutting works for thicker materials but cannot match etching’s uniformity on fine features.
Which medical-grade plastic offers the best optical clarity?
Cyclic olefin copolymer, or COC, gives superior clarity with low protein sticking. Polycarbonate also provides excellent transparency and handles gamma sterilization well. Your choice depends on whether protein binding or sterilization method matters more for your specific diagnostic test.
Do surface coatings really affect test results?
Yes, they change everything. Hydrophilic coatings make samples spread evenly across channels. Hydrophobic coatings keep fluids where they belong. Anti-fog layers keep optical windows clear during reads. These treatments directly impact signal-to-noise ratios and detection sensitivity in your final device.
What does ISO 13485 certification mean for my project?
It means the manufacturer follows strict quality management systems for medical devices. You get full traceability from raw material to finished part. Documentation packages support your FDA or CE marking submissions. This certification reduces your audit burden and regulatory risk.
Can I start with machined parts and switch to molded parts later?
Absolutely. CNC machining works great for rapid prototyping and design validation. Once you lock the design, move to injection molding for production. The machined parts become master references for inspection. This approach prevents expensive mold investments before your design proves itself.
How clean do parts need to be before sterilization?
Cleanroom manufacturing keeps bioburden low before terminal sterilization. ISO Class 7 or Class 8 environments control airborne particles. Cutting fluids and machine lubricants get checked against ISO 10993 standards. Cleaner starting parts mean sterilization works more reliably on your final device.