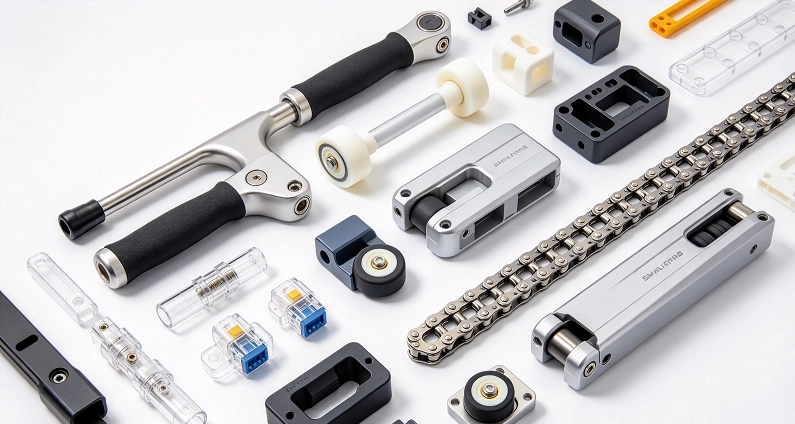
A catheter hub cracks after its first steam autoclave cycle. The polymer met biocompatibility standards, but it couldn’t handle the heat. This failure happens more often than you’d think.
How do you pick the right materials and methods for medical device components? During medical device development, this choice shapes everything. Getting it wrong puts medical device component safety and patient safety at risk.
This blog walks you through key criteria and a practical framework. Real-world examples show how to balance safety, performance, and cost. We’ll look at material selection, sterilization compatibility, and manufacturing trade-offs. The goal: components that survive real-world conditions.
Key Materials for Medical Device Component Selection
Critical Factors in Material Selection for Medical Device Components
Biocompatibility and Regulatory Standards
Biocompatibility is the top priority. The material must be non-toxic and not cause immune reactions. It must not cause adverse side effects. The FDA sets the rules. They accept ISO 10993 as the main standard. This standard looks at risk. Tests depend on how the device touches the body and for how long. USP Class VI is another test. It requires very low reaction in the body. Following these standards is a must for medical device components. These rules keep patients and devices safe.
Mechanical and Chemical Performance
Biocompatibility alone is not enough. The part must do its job. A bone plate needs to be strong and not break easily. A catheter needs to bend. Chemical resistance matters too. It must survive body fluids and cleaning products. Often, it needs very exact sizes down to micrometers. This is where choosing materials gets tricky. You cannot pick based on just one feature. You must balance safety and how well the device works. For orthopedic implants, you need both strength and biocompatibility.
Choosing Biocompatible Materials for Implants and Tools
ISO 10993 and USP Class VI Compliance
Let’s look at these standards more closely. ISO 10993 has a set of tests. For new devices, start with tests for cell harm. Then add tests for allergies and irritation. For longer contact, include tests for gene damage and implant studies. USP Class VI materials pass tests in living animals for low reactivity. Many medical-grade materials have this label. It makes it easier to choose polymers for housings and seals.
Surface Chemistry and Tissue Response
Surface features matter as much as inside features. Making processes can change the surface chemistry. Cutting or molding can leave leftovers. These changes affect how tissues react. A rough surface might help bones grow. That helps an implant. But that same surface could cause swelling in a blood vessel. Paying attention to surface chemistry from the start is very important, especially when biocompatibility rules are strict.
Sterilization Compatibility and Mechanical Fit
Steam Autoclave, Gamma, and ETO Effects
Sterilization is a big stress test. Steam autoclave uses high heat and pressure. Gamma radiation uses ionizing energy. ETO uses chemical gas. Each method affects materials in different ways. Stainless steel 316L can handle many autoclave cycles. PEEK can handle autoclaving, ETO, and gamma radiation. But polyethylene has trouble with high heat. Match your material to your sterilization needs early on. Sterilization compatibility can make or break a design.
Balancing Strength, Flexibility, and Fatigue Life
This is where you have to make trade-offs. A strong option might be brittle. A flexible option might not last under repeated stress. For orthopedic implants, you need both strength against breaking and strength against repeated use. Titanium alloys offer a good balance. They are strong and resist rust. Cobalt-chrome alloys resist wear for joint surfaces. The right choice depends on the specific use. Every option has its limits.
Matching Material Selection for Medical Device Components with Manufacturing Methods
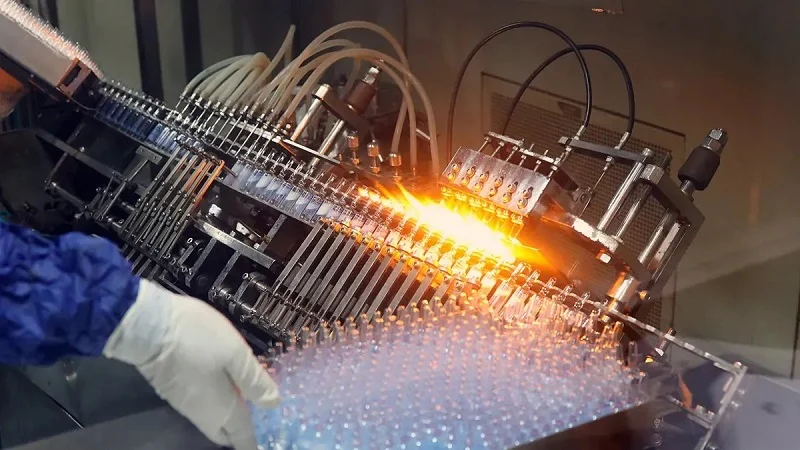
Once you know which material fits your device, the next question is how to shape it. The right manufacturing method can make a good material choice work even better. The wrong one can ruin it. This is where material selection meets real-world production.
Subtractive Methods for High-Precision Components
CNC Machining for Metals and Hard Polymers
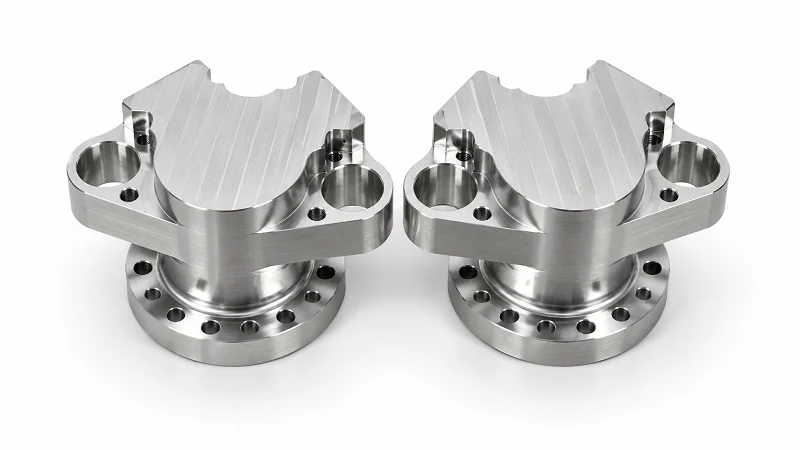
CNC machining removes stock from a solid block. It works well for metals like stainless steel and titanium. It also handles hard polymers like PEEK. The big advantage is precision. Tight-tolerance CNC machining services typically achieve tolerances of ±0.001 inches (±0.0254 mm) or better. For critical medical device components, precision manufacturing can reach ±0.0001 inches (±0.0025 mm). Parts for laser eye surgery need tolerances of 1–3 microns. That level of accuracy is hard to match.
But there are limits. CNC machining cannot create complex internal features easily. The tool has to reach every surface. Harder grades wear down tools faster. Softer ones might deform during cutting. You need to match the stock to the machine’s capabilities.
Material Waste and Lead Time Trade-offs
CNC machining wastes stock. You start with a block and cut away everything you do not need. This can be expensive for costly titanium. But for simple parts and high volumes, the per-part cost drops. Setup time is short, so you can get parts quickly.
The trade-off is clear. You get high precision and fast turnaround. But you pay for waste. For high-volume production of simple parts, CNC machining is hard to beat. For complex geometries, you need something else.
Additive Manufacturing for Complex Geometries

3D Printing of Polymers and Metals
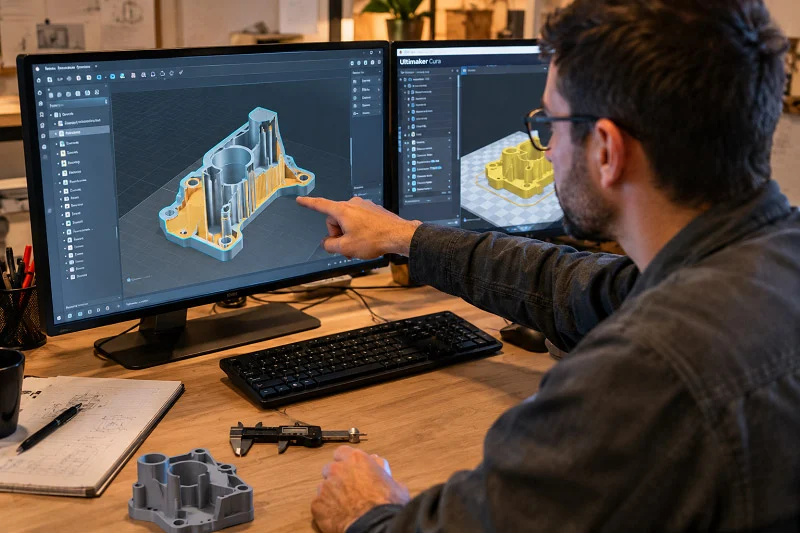
Additive manufacturing builds parts layer by layer. It adds resin instead of removing it. This opens up new possibilities. You can create internal channels, lattice structures, and organic shapes. These are impossible with subtractive methods. 3D printing works for both polymers and metals. Medical-grade materials like PEEK, titanium, and cobalt-chrome are all printable.
The catch is process validation. Each printer and process combination needs 1–2 years of experience to validate. Material properties are only reliable after that validation. Build orientation and location also matter. A part printed vertically has different strength than one printed horizontally. You must account for this anisotropic behavior.
| Criterion | How it guides matching |
| Form | Complex internal features may limit options, restricting compatible grades. |
| Volume/cost | High-volume methods have high tooling costs but low per-part cost. |
| Lead time | Rapid prototyping allows iterative testing. Tooling methods need upfront qualification. |
| Material properties | Required properties must match grades available within a given process. |
Under ISO 13485, the selection is not independent of manufacturing method. The standard requires that every component be qualified with documented biocompatibility, purity, and traceability. This qualification must be validated within the specific manufacturing process used. Temperature ranges and sterilization cycles affect performance differently across methods.
Prototyping and Custom Implant Benefits
Additive manufacturing shines for prototyping and customization. It eliminates tooling. That means you can make one-off parts for testing. Design changes are fast and cheap.
The real magic is in patient-specific implants. Custom implants based on medical imaging ensure a precise fit. They reduce operative time because the surgeon does not need to reshape the implant during surgery. Complex porous geometries like trabecular lattices encourage bone ingrowth. This leads to better long-term stability. Clinical cases in spine, craniofacial, and orthopedic surgery show restored stability and better outcomes.
For very small batches, additive manufacturing wins on speed and cost. There is no tooling, so setup is minimal. As volume increases, subtractive methods become more economical. The crossover point is typically around 100 units.
Forming Processes for High-Volume Production
Injection Molding for Polymer Parts
Injection molding forces molten plastic into a steel mold. It is fast, with cycle times of 20–60 seconds. The tooling cost is high. Precision steel molds and hot runners are expensive. But for high volumes, the per-part cost is very low. Economical volumes start at around 10,000 units.
This method works best for thermoplastics. Medical-grade polymers like polycarbonate and ABS can be injection molded. The process produces minimal waste because dosing is precise. Automation reduces labor costs.
Compression Molding for Silicone Seals
Compression molding is different. You place the silicone in a heated mold and press it into shape. It works well for seals and gaskets. The tooling cost is low. Simple molds made from aluminum are feasible. Cycle times are slow, ranging from 1–10 minutes. Labor costs are higher because the process needs more manual oversight.
| Cost Parameter | Injection Molding | Compression Molding |
| Tooling Cost | High | Low |
| Cycle Time | 20–60 seconds | 1–10 minutes |
| Labor Cost | Lower | Higher |
| Waste | Minimal | Higher |
| Economical Volume | 10,000+ units | 10–1,000 units |
Waste is also higher. Compression molding produces flash that cannot be recycled. For expensive medical-grade silicone, this adds to the cost. For low to medium volumes, compression molding is cheaper overall. Tooling costs are 3–5 times lower.
The choice between injection and compression molding comes down to volume. For high-volume silicone parts, liquid silicone rubber injection molding is more cost-effective. For low volumes or R&D, compression molding makes more sense.
Secondary processes can also influence your initial choice. Overmolding adds a soft grip to a hard handle. Ultrasonic welding joins two plastic parts without adhesives. These operations might require specific properties. Plan ahead early in the design phase.
Aligning Material Selection with Medical Device Components Manufacturing
Metals and Alloys for Structural Integrity
Stainless Steel and Titanium Applications
Orthopedic implants often use two main metals: stainless steel and titanium. Stainless steel 316LVM is easy to machine and costs less. That makes it a good choice for fracture plates and bone screws. These parts need stiffness to help a broken bone heal.
Titanium alloys like Ti-6Al-4V ELI offer a different balance. Their elastic modulus is about 110 GPa. That is much closer to natural bone than steel’s 190–210 GPa. This flexibility reduces stress shielding, where a stiff implant takes too much load, and nearby bone weakens over time. Titanium also causes fewer imaging problems on CT and MRI scans. The trade-offs? It costs more, takes longer to get, and is harder to machine. For permanent implants where long-term bone health matters, titanium often wins.
Nitinol for Flexible, Self-Expanding Devices
Nitinol, a nickel-titanium alloy, acts differently from regular metals. It remembers its shape. You can compress a Nitinol stent into a catheter, and it springs back to its designed form once released inside a blood vessel.
Heart and blood vessel treatments use self-expanding Nitinol stents the most. Rising heart disease rates and ongoing product development drive this growth. Early tests in dogs and patients’ peripheral arteries showed a temporary tissue response that peaked at three to six months. The stent’s removability was also confirmed. This opened the door for temporary arterial support. This shape-memory behavior makes Nitinol very useful for medical device components that must move through twisted body paths.
Engineering Polymers for Durability and Imaging
PEEK, PEKK, and Medical-Grade Silicone
Polymers fill a different role. PEEK and PEKK offer high strength, chemical resistance, and radiolucency — they do not block X-rays. Surgeons can see bone healing around a PEEK interbody cage on follow-up images. That visibility is a big plus over metal.
Medical-grade silicone brings flexibility and biocompatibility to seals, gaskets, and implantable housings. It handles repeated sterilization cycles well. These materials must meet strict rules like ISO 10993 before reaching patients.
Thermoplastic Elastomers for Soft Components
Thermoplastic elastomers (TPEs) sit between rigid plastics and rubber. They feel soft to the touch yet process like thermoplastics in injection molding. Catheter hubs, syringe grips, and wearable device parts benefit from TPE’s comfortable feel and resistance to fatigue. Choosing among these medical-grade materials depends on your sterilization method and mechanical needs.
Ceramics and Specialty Glass
Alumina and Zirconia for Wear-Resistant Joints
Ceramics shine where wear matters. Alumina has excellent tribological properties — low friction and high wear resistance — but struggles under tension. Zirconia offers higher toughness and great crack resistance, making it a popular choice. Hip replacement bearings made from these ceramics release far less wear debris than metal-on-metal pairs. That debris, containing cobalt and chromium, can trigger immune responses and cell damage. Ceramic-on-ceramic surfaces reduce this risk dramatically.
Glass for Optical and Diagnostic Applications
Specialty glass serves diagnostic tools. Endoscopes, fiber-optic sensors, and lab-on-a-chip devices rely on precise optical properties. Glass resists scratching and chemical attack while transmitting light accurately. For implantable metals used in medical devices, the choice between ceramic, polymer, or metal ultimately depends on load, environment, and imaging needs. Each manufacturing process — machining, molding, or pressing — shapes how these materials perform in the final product. NOBLE’s machining expertise helps bridge the gap between prototyping and mass production, ensuring your material selection scales efficiently.
A Practical Decision Framework For Medical Device Components

A clear plan turns guessing into a repeatable process. It keeps your choices smart and your schedule on track. Here is how to go from rough ideas to proven medical device components.
Step 1: Define Functional and Regulatory Requirements
Creating a Material Requirements Document
First, write down what the device must do. Do not think about materials yet. Think about the user. A surgeon needs to see clearly. A nurse needs fast sterilization. A patient needs comfort. Write these needs as simple sentences.
Then turn each need into a property you can measure. This step separates good notes from vague ones. The table below shows how this works:
| Functional Requirement | Measurable Property | Verification Method |
| Device must be portable | Total weight ≤ 450 g including battery | Weigh measurement |
| Device must be portable | Dimensions ≤ 120 × 80 × 40 mm | Dimensional inspection |
| Device must withstand cleaning | Surfaces survive 100 cycles of 70% IPA disinfection | Material test |
This table becomes your Material Requirements Document. It links every user need to a test you can run. It also helps your regulatory paperwork later. Regulators like clear proof from need to result. Industry standards like ISO 10993 show you what to record.
Identifying Key Performance Indicators
Now pick the metrics that matter most. These are your Key Performance Indicators. For an orthopedic implant, fatigue life is the top one. For a wearable monitor, weight and flexibility lead. For a surgical tool, stiffness and rust resistance win.
Each KPI needs a target number. Write the number down. If you cannot measure it, you cannot prove it. This clarity stops fights later in medical device component development when someone wants to change the design. It also keeps your regulatory records in line with real engineering.
Step 2: Shortlist Materials and Match Processes
Using Selection Charts and Supplier Data
With your requirements document ready, start comparing options. Material selection charts plot properties like strength against density. They help you rule out whole groups fast. Supplier datasheets give you exact numbers for each grade.
Look for medical-grade versions of good candidates. Check their certifications against ISO 10993 and USP Class VI. Ask suppliers about batch consistency. A material that changes between shipments causes headaches in production. These components must perform the same every time.
Considering Cost and Volume Constraints
Cost changes everything. A perfect material that costs too much will never reach patients. Think about your expected volume early.
For low volumes, avoid expensive tooling. Advanced mold features like slides and lifters add high upfront costs. They only make sense when volume justifies them. For complex shapes, test with 3D-printed prototypes before paying for steel molds. This approach saves money and time.
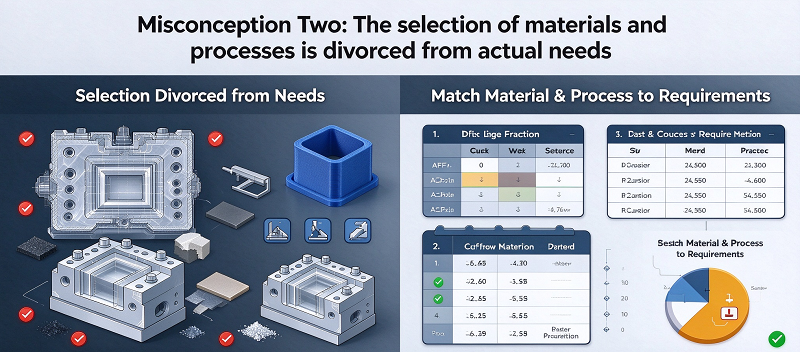
A simple rule: match process complexity to production volume. Simple parts in high volume justify injection molding. Complex parts in low volume favor additive manufacturing or CNC machining. Your material selection for medical device components must respect this money reality.
Step 3: Validate Through Testing and Iteration
Biocompatibility and Sterilization Validation
Your shortlist looks good on paper. Now prove it works. Run biocompatibility tests per ISO 10993. Check sterilization compatibility with your chosen method. Steam autoclave, gamma, and ETO each stress materials differently.
This phase reveals surprises. A polymer that passes first checks might fail after repeated sterilization cycles. A metal alloy might show unexpected rust in fake body fluids. Catching these issues now beats finding them after regulatory submission.
Pilot Production and Design Adjustments
Validation happens through a step-by-step prototyping process. Each stage uses more realistic materials and methods:
- Concept Prototyping: Test the core idea with simple models. 3D-printed parts confirm the mechanism works without worrying about final materials.
- Alpha Prototyping: Explore different material properties and surface finishes. Test core functions through many rounds.
- Beta Prototyping: Use near-final materials to ensure test results show real performance. Run reliability tests under real use conditions.
- Pre-Production Prototyping: Use production-intent tooling and final materials. Confirm the manufacturing process consistently makes devices that meet specs.
Throughout these stages, you refine your choice. Surgical tools benefit from 3D-printed prototypes that test feel before committing to investment casting. Prosthetics use beta prototypes in titanium to check durability and fit. Diagnostic devices iterate quickly on handheld designs with user feedback.
This back-and-forth loop is where medical device component safety gets proven. Each cycle builds trust. Each failure teaches something new.
When you need to speed up this move from concept to production, NOBLE stands out as a leading manufacturing company in China. Their machining skills and quick service help teams move through prototyping and into mass production smoothly. They understand the tolerances and paperwork that medical device component manufacturing demands.
The framework works because it forces order. Define requirements first. Shortlist with data. Validate through iteration. Your sterilization requirements and regulatory requirements stay visible at every step. That visibility protects your timeline, your budget, and finally your patients.
Choose NOBLE For Your Medical Device Components Project

You have the plan. You know the materials. Now you need a partner who can get the job done. NOBLE has the machining skills and production ability that medical device component manufacturing requires. Their team works on all types of component production, from single prototypes to large runs.
Metal and Plastic Processing Abilities
CNC Machining, Stamping, and Finishing
NOBLE works with both metal and plastic parts with equal skill. Their CNC machining makes surgical tools, implantable device casings, and fluid-contact parts with very tight sizes. For high-volume metal parts, stamping gives a faster option. The finishing steps matter just as much. Electropolishing smooths surfaces to lower bacterial adhesion. Passivation removes free iron from stainless steel surfaces, improving rust resistance. These finishing steps help parts meet medical cleanliness standards.
The range of plastic parts includes tubing and catheters. Each making method gets matched to the material and the part’s job. A rigid casing needs different handling than a flexible catheter shaft. NOBLE’s engineers know these differences and change their method as needed.
Injection Molding and Extrusion
Injection molding at NOBLE serves high-volume polymer parts. The method works well for parts that need steady quality across thousands of units. Extrusion handles continuous shapes like tubing. Both methods need careful temperature control and exact tools. NOBLE’s experience with medical-grade materials makes sure the material flows correctly and keeps its properties through the making process.
Assembly and Packaging Services
Making parts is only part of the story. NOBLE also offers assembly services. They can join subcomponents, apply adhesives, or install seals. Packaging services keep finished parts clean and protected. This full-service approach makes your supply chain simpler. One partner handles everything from raw material to product ready to ship.
ISO 9001:2015 and ISO 13485:2016 Approved
Certifications matter in medical device component manufacturing. NOBLE holds both ISO 9001:2015 and ISO 13485:2016. These ISO standards show a serious commitment to quality. ISO 9001 covers general quality management. ISO 13485 goes further, dealing with the specific needs of medical device components.
The path to ISO 13485 approval follows a clear order:
- Build a Quality Management System that meets ISO 13485 needs, setting up processes for product safety and effectiveness.
- Run internal checks to find and fix problems within the QMS.
- Fix any problems found during the internal check phase.
- Go through an outside check by a certified group to see if the QMS meets ISO 13485 standards.
- Get approval after passing the outside check.
This approval touches every part of the operation. Written steps guide each action. Design controls make sure new products meet their specs. Risk management finds hazards early. Supplier controls check incoming materials. Traceability systems link every part back to its records.
For you, this means confidence. When NOBLE makes your parts, the regulatory paperwork comes ready. The making process follows proven steps. Sterilization compatibility gets checked against your chosen method. You get parts that meet the standards your device needs.
The right partner makes the difference between a project that stops and one that moves forward. NOBLE’s mix of technical skill, approved processes, and full-service abilities helps you move from prototype to production smoothly. Your medical device components deserve that level of care.
FAQs of Medical Device Components
What are the most common options for medical device components?
Stainless steel, titanium, PEEK, and medical-grade silicone are the top picks. Your choice depends on what the device does and how it touches the body. Each material has its own strengths.
How do I check biocompatibility for a material?
Look for materials that pass ISO 10993 or USP Class VI tests. These tests check for harmful reactions. Always get supporting paperwork from your supplier.
Which sterilization method works best for different materials?
Steam autoclave works well for stainless steel. Gamma radiation is good for many polymers. ETO handles heat-sensitive parts. Match your sterilization choice to your material early in the design.
How does manufacturing method affect material selection?
CNC machining works best for metals and hard polymers. Injection molding is good for high-volume polymer parts. Your manufacturing method can limit which materials you can use.
What regulatory documentation do I need for medical device components?
You need supplier certificates, biocompatibility test reports, and traceability records. ISO 13485 requires documented proof for every part. Keep your paperwork ready for audits.
How do I balance cost and safety when choosing options?
Start with patient needs. Then look for cost-effective options that still meet those needs. Titanium costs more than steel but gives better long-term results for implants.
What standards apply to medical device components?
ISO 10993 for biocompatibility, ISO 13485 for quality management, and FDA guidance documents. These rules shape your material choice and paperwork needs.