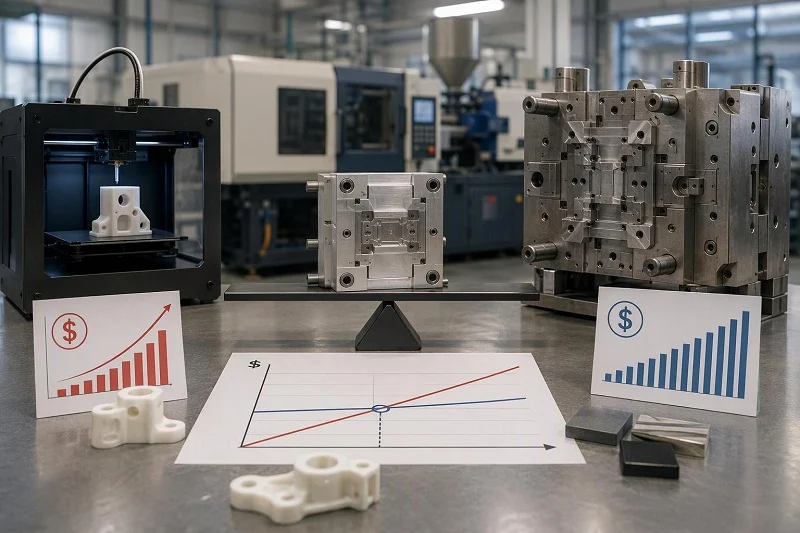
Low volume injection molding occupies the awkward middle of plastic part sourcing. Below a few hundred parts, 3D printing usually wins because it carries no tooling bill. Above a few hundred thousand, a hardened production tool amortizes so cheaply that nothing else competes. In between sits most first commercial runs, clinical builds, pilot programs and niche products — and the decision there is not a matter of category. It is arithmetic.
This guide is written for procurement engineers, product managers and engineering teams taking a part from prototype to its first saleable run. No prior molding experience is assumed. Every term is defined where it first appears: a tool (also called a mold) is the machined metal block whose cavity gives the part its shape; a shot is one complete molding cycle, one injection of molten plastic; a cavity is the shaped void that forms one part, so a single-cavity tool makes one part per shot; a gate is the narrow opening through which plastic enters the cavity; draft is the slight taper on vertical walls that lets the part release; and an SPI class is a five-level industry convention (101 to 105) describing a tool’s expected cycle life.
By the end you should be able to set your own volume band, compare tooling routes on cost, lead time, tool life, tolerance and finish, run a break-even with assumptions you can defend, complete DFM checks before approving tooling, and design the first tool so it hands off cleanly to production.
What “Low Volume” Actually Means — and Why the Boundary Is Economic
“Low volume” is not a fixed number, and any supplier who quotes you one is describing their own service model rather than an industry standard. The published ranges differ because they measure different things.
In UK usage, low volume commonly means annual quantities below roughly 50,000 units, high volume means above roughly 250,000, and everything between is a contested middle ground where either approach can work. That is an annual figure. On-demand molders often draw the line differently, splitting prototyping from on-demand manufacturing at lifetime volumes around 2,000 parts. That is a lifetime figure, and it describes when a lower part price justifies a higher mold price within a supplier’s own service tiers. Some shops describe their low-volume service as covering quantities above 100 and up to 10,000 pieces — a service envelope, not a market definition.
Annual versus lifetime volume, service model and tool material all move the line. A part at 40,000 units a year for five years is a 200,000-unit program and should be tooled accordingly; the same 40,000 units as a one-off launch batch is not.
Three variables decide your band:
- Total lifetime volume. Not the first order — the realistic total across the product’s life, including spares and variants.
- Required material properties. If the part must be validated in the production resin grade — for regulatory submission, mechanical testing or customer shipment — you need real molding, not a substitute process.
- Time-to-market pressure. A tool that takes eight weeks to build is not an option for a launch in three.
When all three point to the middle — hundreds to low thousands of parts, in production-grade thermoplastic, needed in weeks — low volume molding is usually the right route. When any one skews to an extreme, another process serves better.
Comparing Injection Tooling: Aluminum, Steel, Printed and Silicone

The table below consolidates figures typical of the low volume injection molding market. The ranges are wide because alloy, part geometry, resin and maintenance all move the outcome. Treat it as a starting frame for a quote conversation, not a price list.
| Tool type | Tool cost | Mold life (shots) | Lead time | Typical use |
| 7075 aluminum | $2,000–$10,000 | 1,000–100,000 | 1–3 weeks | Prototype and pilot runs |
| Soft steel (S50C) | $3,000–$12,000 | 50,000–200,000 | 2–4 weeks | Low volume with texturing needs |
| P20 steel | $5,000–$25,000 | 100,000–500,000 | 3–6 weeks | Bridge tooling |
| H13 steel | $10,000–$100,000+ | 500,000–2,000,000+ | 8–16 weeks | Production volumes |
| 3D-printed (SLA) insert | $50–$500 | 10–100 | 1–3 days | Design validation (10–50 parts) |
| Silicone / urethane soft tool | $500–$3,000 | 25–300 | 5–15 business days | 10–200 cast parts |
Cost, life and lead-time figures above reflect commonly quoted industry ranges for the metal and printed routes; the soft-tooling shot-life ladder follows the same pattern as rapid-tooling practice.
Where the numbers diverge on aluminum. Most molders quote aluminum tooling at 10,000 shots or fewer, while molds made of harder 7000-series aluminum may last significantly longer. 3D-printed molds are often cited at around 100 shots, against aluminum tooling that can support 10,000-part runs in some cases, and well-maintained aluminum molds often see service past 10,000 shots. The spread is not an error: alloy grade, part geometry, resin temperature and maintenance regime all shift the number. Ask your molder which alloy and which maintenance schedule sit behind their quoted life.
SPI classes. The five-class convention describes expected cycle life, from Class 105 (up to about 500 cycles, soft aluminum, prototype) through Class 104 (under 100,000 cycles, mild steel or aluminum allowed) to Class 101 (1,000,000+ cycles, hardened tool steel at 48 Rc minimum). A quoted class is a starting point, not a full specification — it does not name the steel brand, and two Class 102 molds may use different steels. Ask for steel grade, hardness and finish in writing.
Tolerance. Typical published mold cavity tolerances run at ±0.005 in. when machining the mold, plus an additional ±0.002 in. per inch when calculating for shrink rate, with part-to-part repeatability of ±0.004 in. or less. Those are stated capabilities, not a universal molding limit; confirm your molder’s numbers against your drawing before committing.
Finish. Aluminum tools typically run SPI B-2 to C-3 finishes, with SPI A polished finishes possible but wearing faster in aluminum; printed inserts need draft angles of 5° or more and larger gates than aluminum tooling. If your part is cosmetic, specify the finish class explicitly.
Choosing Between Low Volume Injection Molding, CNC, 3D Printing and Casting
Run the three variables from the first section as a short sequence of questions. The first one that produces an extreme answer usually settles the route.
1. What is the lifetime volume?
Below roughly 1,000 units, 3D printing is often cheaper per unit than any form of molding because there is no tooling cost. Between roughly 200 and 500 parts, low volume injection molding typically overtakes 3D printing on total cost, depending on part size and material.
2. How exact must the material be?
Urethane casting fills a specific niche: 25–200 parts in rubber-like or optically clear materials, with silicone molds costing $500–$3,000 and parts in 5–15 business days. Its limitation is material fidelity — urethane resins approximate but do not match production thermoplastics like PA66 or POM. If the part must pass mechanical, thermal or regulatory validation in the real resin, casting cannot substitute.
3. How tight is the tolerance?
Where a tolerance tighter than about ±0.02 mm is required, CNC machining is the more direct route. CNC also carries zero tooling investment, but its cost rises linearly with quantity — 100 parts cost roughly 100 times the single-part price — so it competes mainly in the 1–500 part range for materials like ABS, PC and nylon.
4. What cosmetic standard applies?
Cast urethane copies a master pattern very well for first articles, but silicone tools lose edge sharpness and texture consistency after repeated pulls; molding holds texture and gloss more consistently across hundreds or thousands of parts.
5. What is the schedule?
If first parts are needed in days, silicone tooling usually wins. If weeks are acceptable, molding is on the table.
Volume alone does not decide the crossover. Consider a program needing 4,800 sets of complex nylon parts, where the critical quantity — the point at which tooling paid for itself — was just 130 sets, meaning the tool was justified when under 5% of the total order had been molded. Injection molding also handled the part’s design complexity and delivered a better surface finish than the alternative printing process. Complexity, finish and material fidelity can pull the crossover far below a simple volume rule.
A Low Volume Injection Molding Break-Even You Can Rerun

The clearest way to see the crossover is to do the arithmetic yourself. The figures below work through a palm-sized enclosure — no slides, moderate cosmetic finish, one color, no automation — and are illustrative assumptions, not market data.
The arithmetic: urethane casting = $1,200 master plus silicone tooling + $55/part; injection molding = $12,000 aluminum production-intent mold + $6/part. These are stated assumptions, not market data, and exclude freight, tariffs, inspection and scrap. The two lines cross near 250 parts.
- Urethane casting: $1,200 for master plus silicone tooling, $55 per part.
- Injection molding: $12,000 for an aluminum production-intent mold, $6 per part.
The formula for each route is tooling cost plus quantity times unit price.
| Quantity | Urethane total | Urethane effective | Molding total | Molding effective | Better fit |
| 20 | $2,300 | $115.00/part | $12,120 | $606.00/part | Urethane |
| 100 | $6,700 | $67.00/part | $12,600 | $126.00/part | Urethane |
| 250 | $14,950 | $59.80/part | $13,500 | $54.00/part | Near crossover |
| 1,000 | $56,200 | $56.20/part | $18,000 | $18.00/part | Molding |
The crossover sits near 250 parts. Below it, the tooling bill dominates; above it, the per-part saving of $49 compounds faster than the tooling premium.
Now change one assumption at a time and watch the crossover move.
- Higher tooling cost. If the mold quote is $20,000 rather than $12,000, the molding total at 250 parts becomes $21,500 against urethane’s $14,950 — the crossover shifts past 400 parts. Tooling price is the single most sensitive input.
- Lower part price. If molding runs at $3 per part instead of $6, the crossover moves below 150 parts, because each part now recovers more of the tooling cost.
- A second run. If demand doubles to 2,000 parts, molding totals $24,000 against urethane’s $111,200 — but note that urethane would also require remaking silicone molds from the same master, since a silicone mold yields only about 15–30 parts depending on geometry and tear risk.
- A second tool. If the first tool wears out and a second must be commissioned, add its full cost to the molding side before comparing.
One omission matters: this example excludes freight, tariffs, inspection and scrap. Those costs do not fall equally on both routes — a metal tool shipped internationally carries freight and duty that a locally cast part may not, and scrap rates differ between a worn silicone mold and a tuned aluminum tool. Include your own estimates for all four before you treat the crossover as final.
DFM Checks Before You Approve a Low Volume Injection Molding Tool
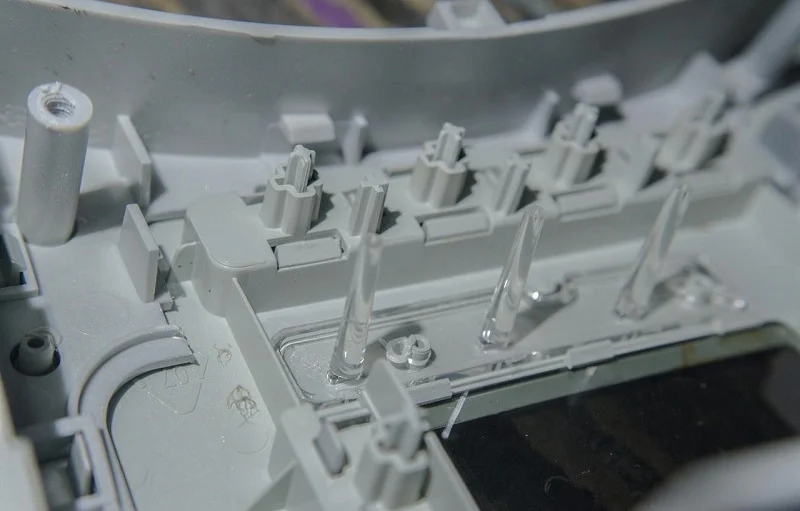
DFM — design for manufacturing — is the review that catches problems while they are still free to fix. A wall-thickness change in CAD costs nothing; the same change after the mold is cut means re-machining metal. Catching a defect after steel is cut costs a tool re-cut plus 1–2 weeks of schedule, and a wall-thickness correction that takes minutes in CAD can add 10–30% to unit cost once the mold is already cut and re-machined.
The checklist below reflects published processing and design guidance. These are common targets, not universal law — your resin, geometry and molder’s process window may justify different values.
- Wall thickness. Keep walls as uniform as the design allows; abrupt transitions cause sink marks and warpage.
- 0.5–1° on smooth surfaces, 1–2° on textured, with 0.5° per 0.025 mm of texture depth as a common rule.
- Thickness at 0.5–0.6× the adjoining wall; height at no more than 3× rib thickness to avoid sink on the opposite face.
- Internal corners need a radius; sharp internal corners concentrate stress.
- Gate and vent sizing. Sized to the resin’s viscosity and shrink rate — which is why material choice locks in at tooling design.
- Undercuts, threads and inserts. Each undercut needs a side action, lifter or manual pick, all of which add cost and schedule.
- Surface finish. Texture, painting, pad printing and plating each change the specification; textured surfaces need more draft and plated surfaces need a plating-grade resin.
- Parting line. A dimension that crosses the parting line inherits mold alignment — typically an extra ±0.1 mm of variability on top of resin shrink. Keep critical dimensions off the parting line.
Separate critical from cosmetic before you approve. List every dimension that carries function or fit — a mating surface, a snap feature, a bore — and mark it for CMM verification. Appearance-only dimensions can tolerate wider bands. Where a critical feature needs to land tighter than the tool can hold directly, ask whether the molder can mill that feature steel-safe and groom the tool to dial it in, a capability many experienced molders offer. Document the critical dimension list before T1 approval — T1 being the first trial shot from the new tool — so the first-article inspection has a defined scope rather than an open-ended one.
Planning the Path to Scale: Tooling Transfer and the Move to Production
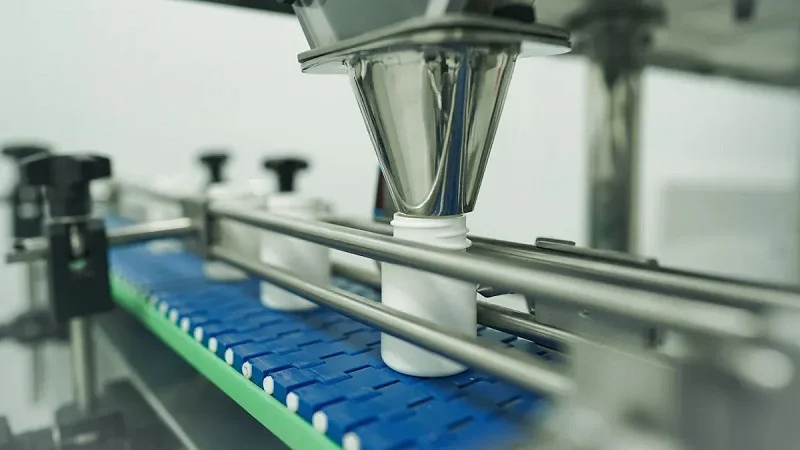
The cheapest production tool is the one you never have to build twice. That outcome is decided at the design stage of the first tool, not at the moment volumes grow.
Design on a standard mold base. Low-volume molds can be built on standard DME or equivalent bases so that inserts can be swapped from aluminum to P20 or H13 without changing the base. Part geometry and gate location stay identical, which means your T1 approval transfers to the production mold. Without that decision, the production tool is a fresh design and a fresh approval cycle.
Design for transfer, not just for the first run. Four decisions should be made with the multi-cavity future in mind:
- Gate location. Moving a gate later changes fill patterns and weld-line positions; fixing it now preserves the validated part.
- Ejection layout. Ejector pin positions that work in a single-cavity tool should map onto the multi-cavity layout.
- Cooling placement. Cooling that suits one cavity should scale to the family.
- Draft that releases cleanly in aluminum will release in steel; the reverse is not always true.
Set the trigger for a production mold. Published tool-life ranges give you a defensible threshold: aluminum at 10,000–100,000 shots, P20 at 100,000–500,000, H13 at 500,000–2,000,000+. Lead times run 1–3 weeks for aluminum against 8–16 weeks for H13. Conservative readings of those figures put aluminum at 10,000 shots or fewer for most grades, P20 at 50,000–100,000 shots and H13 at 500,000–1,000,000. Plan against the lower end of the range you are quoted.
For the middle ground, a useful rule of thumb: below roughly 100,000 units a year with steady demand, a single-cavity P20 tool typically wins on total cost; between roughly 100,000 and 250,000, a two- or four-cavity hardened tool starts to pay back over the run.
One more piece of arithmetic is worth keeping in view: commissioning a second tool later is often cheaper than a full production tool that sits underused. A $50,000 steel tool across a 2,000-part program adds $25 per part in amortization; a $10,000 aluminum tool adds $5. If the steel tool would not pay for itself within about twelve months, staying on the low-volume tool is the rational choice.
Bridge Production and Small-Batch Inventory Strategy
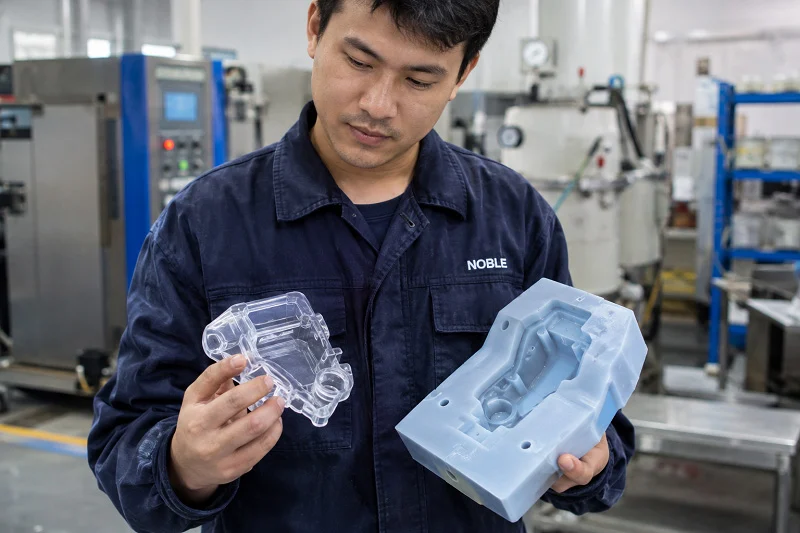
Bridge production means molding saleable parts in the production resin on an interim tool while the production mold is being built. It is a launch strategy, not a compromise: the interim tool confirms the part can actually be molded, and it can produce parts in production volumes — thousands or tens of thousands — while the “official” tool is still in the shop.
The inventory benefit is real. Instead of committing to a large minimum order to hit a production tool’s economics, you produce in smaller batches matched to demand, gauge the market’s response, and adjust before committing to full-scale tooling. If the market wants a tweak, you can make it and be back on the market in days rather than waiting out a steel tool build.
The mechanics shape the economics:
- Mold storage. Common on-demand terms store prototyping molds for around 18 months of inactivity and low volume injection molding tools for up to 3 years. Storage terms matter if you plan to run the tool intermittently.
- Setup fees. Setup fees apply to each run. A tool that is cheap per part but expensive to set up punishes frequent small batches.
- Economic batch size. The right batch is the one where the per-part price plus the amortized setup fee lands below your target cost — not the smallest batch you can order.
Recurring small batches beat a single large run when demand is uncertain, when the design is likely to iterate between releases, when you need regional variants that each sell in small numbers, or when you carry legacy spares with a long tail. They do not beat a single large run when demand is stable and known, because the per-part price is higher and the setup fee repeats with every batch. The decision is a forecast question first and a pricing question second.
Conclusion of Low Volume Injection Molding and Next Step
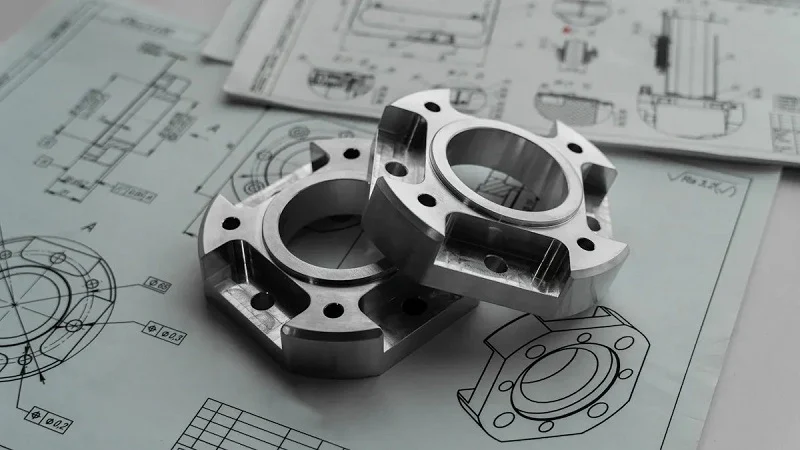
The sequence is short enough to hold in mind:
- Define your volume band economically. Use lifetime volume, material fidelity and schedule — not a supplier’s definition of “low.”
- Compare tooling routes on life and tolerance as well as price. A cheap tool that wears out before your program ends is not cheap.
- Run the break-even with your own assumptions. Tooling plus quantity times unit price, with freight, tariffs, inspection and scrap added in.
- Complete DFM before approving tooling. Document the critical dimension list so first-article inspection has a scope.
- Design the first tool for transfer. Standard mold base, fixed gate location, ejection and cooling that scale.
The boundary between low and high volume is set by amortization and material fidelity, not by a number someone published. A 2,000-part program in PA66-GF30 may justify a tool; a 50,000-part program in a cosmetic ABS part may not.
To get a tooling recommendation matched to your program rather than to a generic band, gather four inputs before you request a quote: lifetime volume (including spares and variants), material grade, tolerance band and target date. Those four answers let a molder tell you which tool material, which SPI class and which cavity count actually fit — and whether molding is the right route at all.
Choose NOBLE for Your Low Volume Injection Molding Project
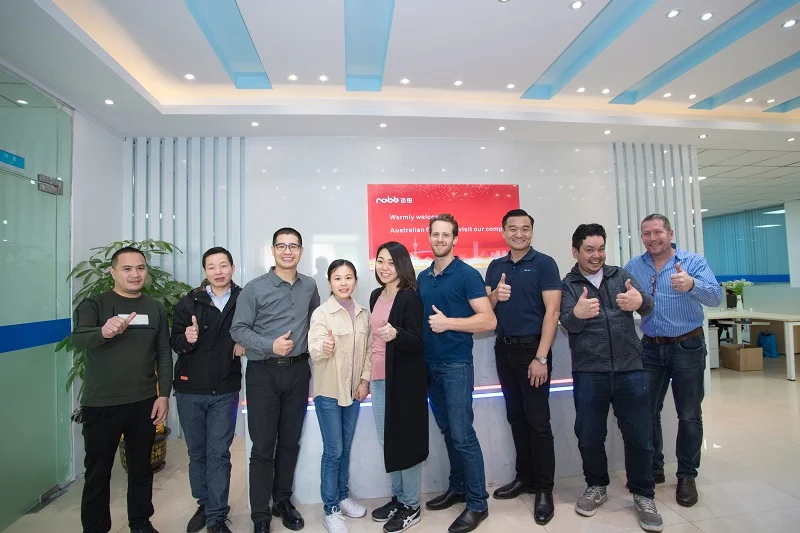
The arithmetic above only pays off when the shop behind the tool can hold the tolerances, the lead time and the finish you specified. That is where NOBLE comes in.
NOBLE is a leading machining and manufacturing partner in China — a Sino-British joint venture recognized by the government as a National High-tech Enterprise, with more than ten years of experience in custom parts production. Our engineering and quality teams carry your low volume injection molding project from prototype through pilot build and into repeatable batch production, so you get one accountable partner instead of a relay of subcontractors.
What that means for your program:
- Certified quality systems. NOBLE holds ISO 9001:2015 and ISO 13485:2016 certification, so medical, automotive and industrial buyers can plug us into their supplier approval process with confidence.
- Full-scope service, not just molding. We cover design support, tooling, sampling, parts machining, finishing and final assembly — the whole chain from a drawing to a boxed, shippable product.
- Speed built into the process. Comprehensive CNC programming and experienced engineers let us finish many parts within 7–10 days, and our team returns a professional quote within 24 hours of an RFQ that carries the information needed.
- Inspection you can audit. A full set of inspection equipment and an overall quality control system keep prototypes and production components within the accuracy your drawing calls for.
If you are weighing a low volume injection molding route and want the tooling, tolerance and break-even assumptions checked against a real manufacturing plan, send over your lifetime volume, material grade, tolerance band and target date. NOBLE will tell you which tool material, which SPI class and which cavity count actually fit your program.
FAQs of Low Volume Injection Molding
What is the minimum order quantity for low volume injection molding?
It depends on the supplier’s service model, not on the process. Some on-demand molders advertise no minimum order quantity at all. Ask each supplier to state its floor and its surcharge in the quote.
Can I use the same mold for prototyping and production?
Yes, if the mold base is designed for it from the start. Low-volume molds built on standard DME or equivalent bases allow inserts to be swapped from aluminum to P20 or H13 without changing the base, and because part geometry and gate location stay identical, the T1 approval transfers to the production mold. If the first tool was not designed this way, expect a new approval cycle.
How long does a low volume mold last?
Published ranges vary by material. Aluminum typically supports 10,000 shots or fewer in most grades, with harder 7000-series aluminum lasting significantly longer; common quotes run 1,000–100,000 shots for 7075 aluminum and 50,000–200,000 for soft steel (S50C). Actual life depends on resin, part geometry and maintenance. Plan against the lower end of your quoted range.
What if my part needs tolerance tighter than ±0.02 mm?
CNC machining is the more direct route at that tolerance. If the part must ultimately be molded, ask whether the critical feature can be milled steel-safe and the tool groomed to dial in the tolerance, on top of the general ±0.005 in. cavity tolerance most molders quote. Post-machining of molded parts is another option, at added cost per part.
Is low volume molding more expensive per part than high volume?
Yes. A low-volume tool is typically single-cavity, so each shot yields one part instead of two, four or more; setup fees recur with each run; and the tool usually runs without a hot runner. All three raise the per-part price. Total cost can still be lower at low quantities, because the tooling bill is a fraction of a hardened production tool’s — which is the whole point of the break-even calculation above.