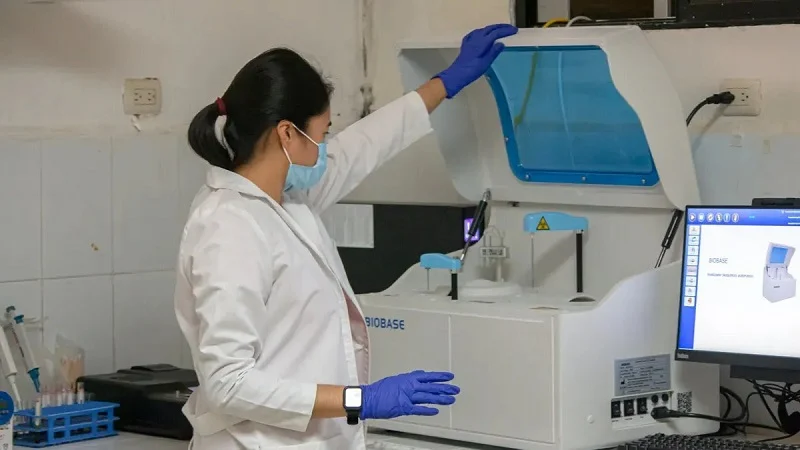
Immunoassay analyzers help run modern medical tests. Their accuracy depends on the quality of their parts. Precision pumps, valves, reaction vessels, and optical detectors form the core of these systems. Each part must work perfectly for reliable results. The immunoassay market reached USD 37.19 billion in 2025, and it is expected to hit USD 63.72 billion by 2034. This growth shows the need for high accuracy in diagnosis and testing. Common immunoassay methods include ELISA, CLIA, and RIA. These methods need careful fluid handling and detection. Clinical chemistry analyzers share similar part needs. Knowing immunoassay analyzer parts helps you maintain performance and extend equipment life. This article explains their functions, materials, and key precautions.
| Metric | Value |
| Market size (2025) | USD 37.19 billion |
| Projected (2034) | USD 63.72 billion |
| CAGR (2026-2034) | 6.17% |
Key Immunoassay Analyzer Parts
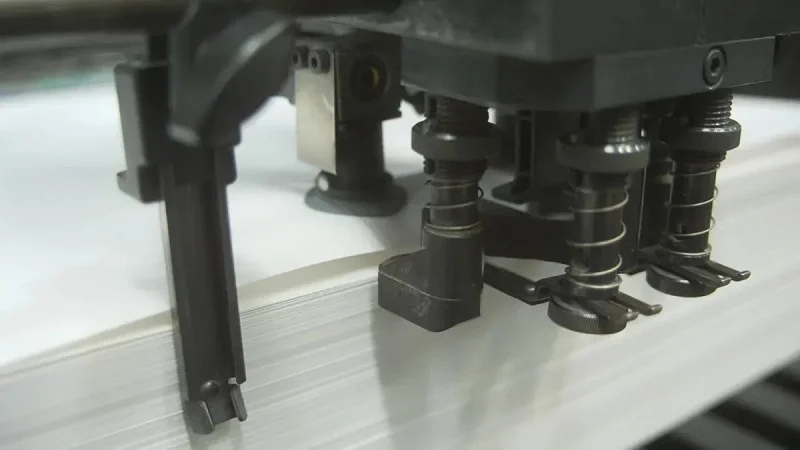
Every immunoassay method uses three core biological components. These are the antibody, the unlabeled antigen, and the labeled antigen or antibody. The antibody binds to a specific target called the analyte. The unlabeled antigen competes or binds alongside it. The labeled component creates a measurable signal. These biological parts connect directly to the physical hardware of the analyzer. The fluid handling system moves the reagents. The reaction vessels hold the mixtures. The optical detectors read the signal. Understanding this link helps you choose better parts for your diagnostics work.
Fluid Handling Components
The fluid handling system controls how liquids move. This system includes pumps, valves, and tubing. Pumps pull reagents from storage bottles. They push these liquids through the tubing in exact amounts. You need accuracy here because even small errors change the test results. A typical pump delivers volumes as small as a few microliters. Valves direct the flow between different paths. They open and close to switch between reagents. Tubing connects everything. The tubing material must resist chemical attack from the reagents. Common choices include PTFE and PEEK. These materials do not react with the liquids. The fluid handling system also supports the washing steps. In a sandwich immunoassay, you need to remove unbound materials. The washing process relies on the same pumps and valves. Proper fluid handling ensures the antibody and antigen interact correctly. Without it, the assay fails.
The pump type matters too. Syringe pumps offer high precision for small volumes. Peristaltic pumps work well for larger volumes. You choose the type based on the assay needs. Clinical chemistry analyzers use similar fluid handling parts. The precision of these components directly impacts the sensitivity of the test. Higher sensitivity means you can detect smaller amounts of the target. The specificity of the test also depends on clean fluid handling. Cross-contamination between samples ruins the results. You need to run regular checks to maintain the assay performance.
Reaction and Detection Modules
The reaction and detection modules perform the actual biological interaction. The reaction vessel holds the mixture of antibody, antigen, and sample. These vessels come in different shapes. Common formats include cuvettes and microtiter plates. The material must allow light to pass through for optical detection. Glass and optical-grade plastics work well. The detection module measures the signal from the labeled component. For ELISA, you measure color change.
For CLIA, you measure light emission. The optical detector converts this signal into a digital value. You then compare this value to a calibration curve. This step converts the signal into a concentration of the analyte. The detection module needs high sensitivity to pick up weak signals. It also needs low noise for accurate readings. The temperature control system keeps the reaction at the right temperature. Incubation typically happens at 37 degrees Celsius. The system must maintain this temperature for the antibodies to bind properly. The reaction and detection modules work together with the fluid handling system. The pumps deliver the reagents to the vessel. The incubation period allows the antibody to bind to the antigen. Then the washing step removes unbound materials. Finally, the detector reads the signal. This whole process needs careful optimization. You need to validate each step for consistent results. Proper validation ensures the system works correctly day after day. The calibration step sets the baseline for each test. Without calibration, you cannot interpret the signal. The reaction and detection modules form the heart of the system. They determine the overall performance of the analyzer. Immunoassay analyzers depend on these modules for all test types.
Core Assay Processes for Immunoassay Analyzer Parts
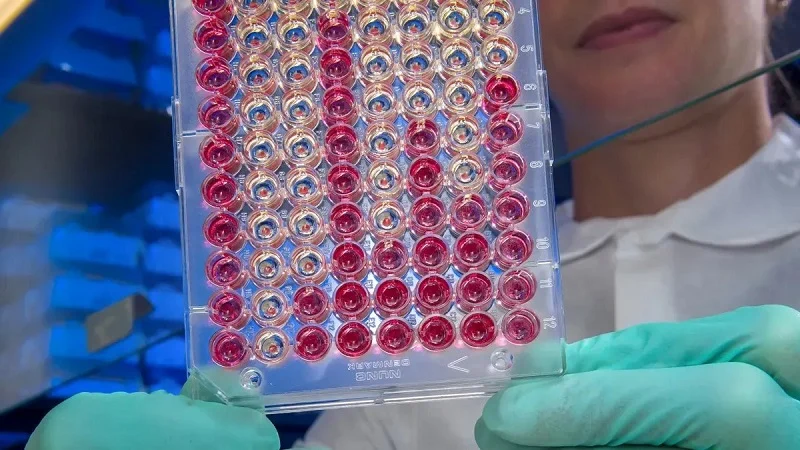
Every test you run follows a set order. The analyzer must measure out reagents, mix and warm them, wash away extra stuff, and then read the signal. Each step needs different hardware. Knowing these steps helps you find problems and keep the machine working well.
Fluid Metering and Dispensing
The process starts with getting the right amounts of liquid. You need exact volumes of sample, buffer, and reagents. The pumps pull liquid from bottles and send it to the reaction container. A syringe pump gives the best accuracy for tiny volumes. A peristaltic pump works for bigger volumes but needs more checkups. The valves switch between different reagent lines without letting in air bubbles. Air bubbles cause wrong readings. The tubing must stay clean to stop mixing between samples. This step directly affects how sensitive your results are. Even a one-microliter mistake can change the outcome. The accuracy of fluid handling also affects how specific the test is. You want the antibody to stick only to the target, not to other things.
Different immunoassay methods change how you measure fluids. In a sandwich immunoassay, you add a capture antibody first, then the sample, then a detection antibody. Each addition needs its own step. In a competitive assay, you mix the sample with a labeled antigen at the same time. The analyzer must handle these changes on its own. Clinical chemistry analyzers work in a similar way but often use different liquid amounts. Setting the right speed and volume for dispensing cuts waste and improves consistency.
Incubation, Washing, and Detection
After dispensing, the mixture is warmed. The analyzer keeps a steady temperature, usually around 37 degrees Celsius. This warmth lets the antibody bind to the antigen. The warming time depends on the test type. Some tests need only a few minutes. Others need up to an hour. The system must control this timing exactly.
The washing step removes stuff that didn’t stick. You need to get rid of any antibody or antigen that didn’t attach to the target. The wash buffer flows through the container many times. Each cycle removes more background noise. Poor washing makes the signal weaker and lowers sensitivity.
Detection happens after washing. The method depends on your immunoassay approach. For RIA, the process works like this:
- Attach a radioactive tag to an antigen.
- The tagged antigen binds to its matching antibody.
- Add a sample with the target antigen. This target antigen competes with the radioactive antigen for binding sites and pushes it off.
- Measure the radioactive signal of the sample. The strength of the signal is directly linked to the amount of target antigen.
For CLIA, you fix a specific antigen or antibody onto a solid surface. Then you add a chemiluminescent substance along with a second antibody that binds to the target molecule. The chemical reaction makes light, and the detector reads it.
Each method needs different detection hardware. The optical detector must match the type of signal. Regular checks and calibration keep the readings accurate. Test development relies on doing each step the same way every time. Quick testing demands faster cycles without losing quality. Good setup of each step ensures reliable results for all immunoassay methods. The whole process supports modern diagnostics with trustworthy data.
Common Materials for Immunoassay Analyzer Parts
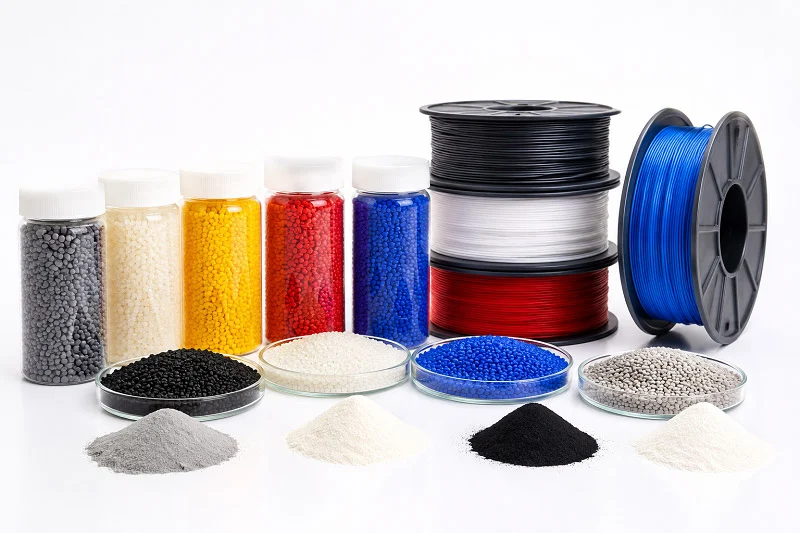
The materials you pick for your immunoassay analyzer parts affect how well tests work. Each part needs a material that can handle chemicals and physical stress. The wrong material causes leaks, contamination, or bad readings. You must match the material to the job it does.
Chemical Resistance: PTFE and Ceramics
Your fluid handling system touches many chemicals. The reagents include buffers, the antibody, and the antigen. The enzyme-linked reagents like horseradish peroxidase and substrate agents like TMB and H₂O₂ create the signal. These chemicals change color during the assay. The washing solutions remove extra material. All these liquids must not damage the parts.
PTFE works well for tubing and seals. It does not react with most chemicals. Clinical chemistry analyzers use similar materials for their fluid paths. This makes PTFE a top choice for fluid paths that need to stay clean and inert.
Ceramics provide another key material for moving parts. Your immunoassay analyzer uses ceramic components in several places. The plungers handle metered displacement. They slide back and forth thousands of times. The stators switch between different fluid paths. Their face condition matters because wear creates particles that can ruin your test. The metering-valve inserts control flow and dosing. The sampling needles pick up and transfer samples. They must withstand many wash cycles without losing their shape.
Zirconia is a common ceramic for these parts. It offers high strength at the wear interfaces. Alumina, silicon nitride, and silicon carbide also work well. These materials resist wear over long periods. The wear resistance of ceramics directly determines the safe service life of your equipment. Parts that wear out cause leaks and volume errors. By choosing ceramics, you extend the time between replacements. This saves you money and keeps your immunoassay running smoothly.
Optical Clarity: Glass and Specialized Plastics
Your detection module needs materials that let light pass through. The antibody binds to the analyte and creates a measurable signal. Different materials have different levels of autofluorescence. This is the light they emit on their own. High autofluorescence creates background noise. It lowers your sensitivity and makes it harder to detect the analyte.
Glass and fused silica give the lowest autofluorescence. They work best for sensitive fluorescence detection. They do not add their own glow to the measurement.
Specialized plastics offer good alternatives. Cyclic olefin polymers (COC and COP) have very low autofluorescence. They come close to glass in performance. PMMA and PDMS have low to moderate autofluorescence. They work for many routine tests. Polycarbonate has high autofluorescence. You should avoid it for sensitive work. The autofluorescence can increase after processing. Injection molding can change the material properties. You need to consider the detection method and the sensitivity of your assay when you choose your material.
The right material for your reaction vessel helps you get accurate results. You need to validate your choice for each immunoassay method you run. The material must let you see the signal from the antigen. Whether you use a sandwich immunoassay or a competitive format, the optical clarity of your parts matters. Good material selection supports the optimization of your test performance. You need ongoing validation to keep your results reliable. You get better calibration curves and more reliable data for your diagnostics work.
Production Considerations of Immunoassay Analyzer Parts
Tight Tolerances and Surface Finish
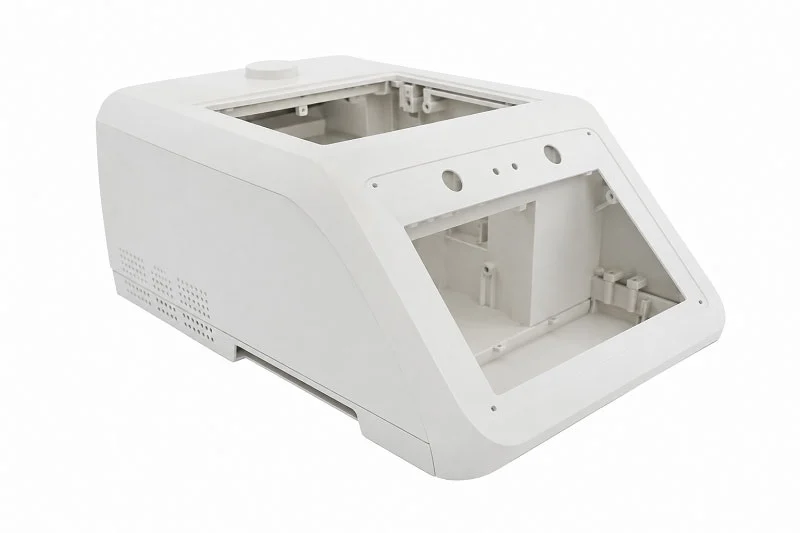
Making immunoassay analyzer parts requires very high precision. You need tight tolerances to stop leaks and keep fluid volumes correct. A pump piston that fits too loosely lets liquid escape. A valve seat with a rough surface traps air bubbles. Both issues ruin your results.
Look at the specs for pump pistons and valve seats. These parts need an outer diameter tolerance of ±0.00001 inches. That equals about 0.25 micrometers. The surface finish must reach Ra 0.25 microinch. This smoothness lowers friction and stops wear. It also keeps particles from breaking off during use.
| Parameter | Specification |
| Outer diameter tolerance | ± 0.00001 inches |
| Surface finish (Ra) | 0.25 microinch |
These tight tolerances affect your assay performance directly. A worn piston changes the reagent volumes you dispense. That error shifts the antibody-to-antigen ratio in your reaction. Your test sensitivity drops. You might miss low analyte concentrations. Checking these parts regularly helps you spot wear early. Proper monitoring extends the life of your immunoassay analyzers.
Cleanliness and Packaging Standards
Contamination is a serious risk to your diagnostics work. One dust particle can cause false readings. The manufacturing area must control airborne particles carefully. Cleanroom production keeps your parts free from contaminants.
- ISO Class 8 cleanroom manufacturing serves as a core capability for diagnostic and IVD device production.
- The facility holds ISO 13485 certification and FDA registration for regulated manufacturing.
- Packaging, assembly, and inspection happen inside the cleanroom environment.
- Immunoassays appear as a supported diagnostic application.
ISO 14644-1 defines the particle limits for cleanrooms. Class 8 allows ≤3,520,000 particles per cubic meter for particles ≥0.5 µm. This level balances contamination control with cost-effective production. Class 7 remains available for stricter requirements. GMP classes C and D also apply to medical device production.
The entire value chain runs under these classifications. Injection molding, assembly, and packaging all occur in controlled spaces. This approach prevents contamination from entering your system. You maintain the sensitivity of your detection module. You protect the antibody-antigen binding from interference. Your calibration curves stay stable. Your validation processes confirm the quality of each batch. Optimizing your workflow depends on clean parts. Clinical chemistry analyzers benefit from the same standards. You get reliable results from every test you run. A sandwich immunoassay needs clean surfaces for proper binding. The analyte must interact with the antibody without background noise. Cleanroom manufacturing delivers that reliability.
Installation and Operation Precautions for Immunoassay Analyzer Parts
Avoiding Interference and Leaks
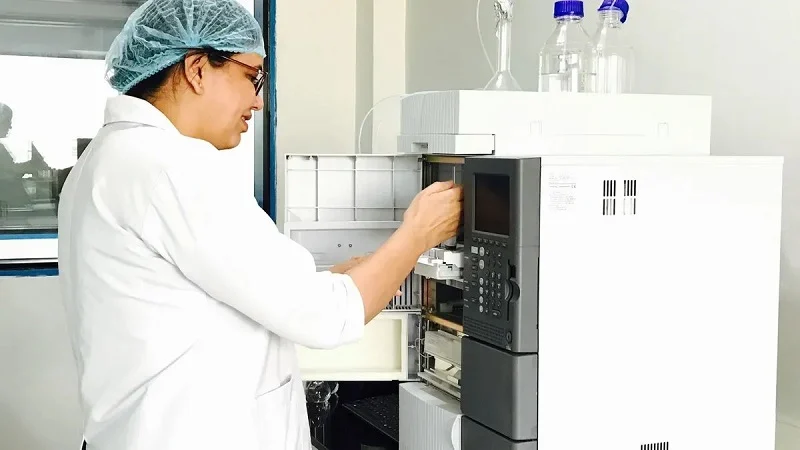
Where you put your analyzer matters more than you think. Strong radiation sources like microwaves and radios can disturb the optical detectors. This electromagnetic interference creates false signals. You need to place your immunoassay analyzer away from these devices. A quiet corner of the lab works best. The detection module reads tiny light changes. Any outside signal can ruin that reading.
Leaks pose another serious threat. You should check tubing and connectors before each use. Look for cracks, loose fittings, or worn seals. A small leak changes the fluid volumes. That change alters the antibody-to-antigen ratio in your reaction. Your test results become unreliable. When you handle leaks or blockages, wear medical gloves. The fluids may contain biological samples. These samples can carry infectious agents. Your safety depends on proper protection.
Calibration and System Checks
Calibration keeps your results accurate. For nonwaived tests, you must check calibration at least once every six months. You also need to recalibrate when quality control results shift or trend outside acceptable ranges. Major preventative maintenance triggers recalibration too. Replacing critical components like pumps or detectors requires a fresh calibration. New reagent lots also demand calibration checks.
The calibration process follows a clear sequence. Start with blanking. Use a blank sample that contains everything except the analyte. This step sets a baseline and removes background noise. Then measure at least two calibrators with different concentrations. These calibrators should cover your linear range. Run each one in duplicate for better precision. Immunoassay methods often show non-linear behavior. Follow the manufacturer’s instructions carefully. Consider duplicate measurements for each calibrator.
Your calibration frequency depends on several factors. The instrument manufacturer sets baseline recommendations. Your specific assay requirements matter too. The stability of your analytical system is important. Most labs calibrate when introducing new reagent lots. You also calibrate after major maintenance or downtime. Quality controls run much more often. You typically run them at the start of each analytical run. Some regulated environments require controls throughout the run.
Regular system checks support your validation efforts. You verify that pumps deliver correct volumes. You confirm that temperature control stays stable. These checks protect your sensitivity and ensure reliable results. Optimizing your workflow depends on consistent performance. Your calibration curves stay stable when you follow these protocols. Your immunoassay results remain trustworthy for patient care.
Maintenance and Longevity of Immunoassay Analyzer Parts
Managing Wear and Tear
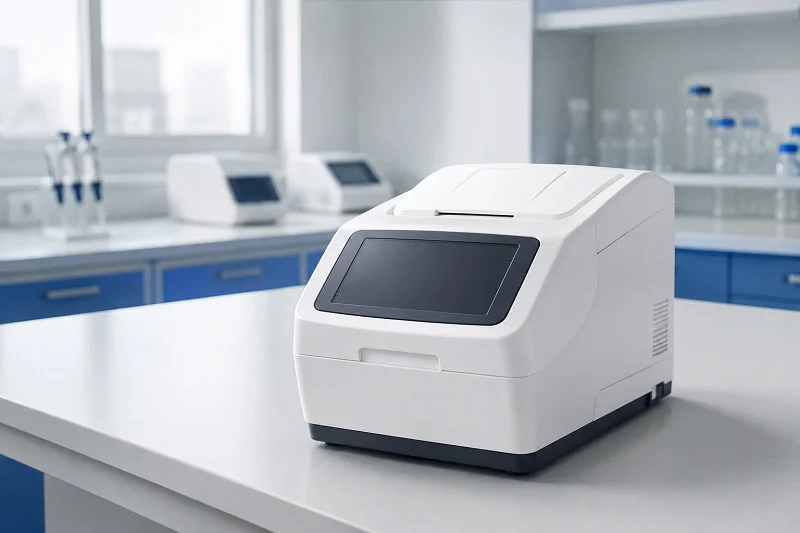
Every moving part in your immunoassay analyzers wears out over time. Pump pistons slide thousands of times each day. Valve rotors change positions again and again. This rubbing creates tiny particles that get into your fluid path. You must follow the maker’s instructions for when to do maintenance. The engineers tested the parts a lot to set these rules.
Your ceramic parts hold up well against wear, but you still need to check them. Look at the plungers and stators for scratches or chips you can see. A damaged surface changes the amount of fluid you deliver. That change affects your test results. The antibody and antigen need exact amounts to bind correctly. Any change lowers your sensitivity.
Biological samples are a real risk when you do maintenance. You must wear personal protective gear when you handle them. Gloves protect your skin from germs. Safety glasses shield your eyes from splashes. These steps keep you safe while you work on the machine.
Routine Cleaning and Replacement Schedules
Cleaning your immunoassay analyzer parts stops cross-contamination between samples. You should wipe down the outside surfaces every day. The fluid handling system needs more careful cleaning. Run a cleaning solution through the tubing after each shift. This step removes leftover reagents and biological material.
Your replacement schedule depends on how often you run tests. High-volume labs replace tubing every three months. Low-volume labs can wait six months. Check the tubing for color change or stiffness. These signs mean the material has broken down. Replace it before it cracks and leaks.
Valves need replacement when they stick or leak. You can test them by running a diagnostic cycle. The system tells you if the valve fails to open or close properly. Keep spare valves on hand so you can swap them fast. Downtime costs you money and delays patient results.
Your calibration schedule ties directly to maintenance. After you replace any critical part, you must recalibrate the system. This validation step confirms that the new part works correctly. You also need to check that your fluid volumes are set right. Regular maintenance keeps your immunoassay running at its best. You extend the life of your equipment and get reliable results for every analyte you test.
Partnering with NOBLE for Your Immunoassay Analyzer Parts Project

NOBLE focuses on making metal and plastic parts for your immunoassay analyzer. We hold two important certifications. Our work supports high-throughput screening and other immunoassay uses. We help you build dependable diagnostic systems. Our team knows what modern diagnostics need.
Manufacturing Capabilities and Certifications
Our factory follows strict quality rules. We have the right certifications to serve the medical device industry. You get parts that meet the highest standards for steady performance.
ISO 9001:2015
This certification covers quality management. It means we follow strict steps for every part we make. Your assay depends on steady quality. Each part must meet tight specs. We control factors that affect sensitivity. We support your validation needs. Our systems maintain proper calibration. We help with assay development and optimization. Every part we ship meets these standards.
ISO 13485:2016
This certification is for medical devices. It covers your immunoassay analyzers directly. We follow rules for design and production. The antibody and antigen binding needs clean surfaces. We control contamination risks. Your analyte detection depends on part quality. We track every batch from start to finish. This helps with validation of your system. We also support clinical chemistry analyzers with similar needs.
From Design to Assembly
We work with you from the start. Our engineers help you choose materials. We consider your assay and immunoassay reagents. The antibody and antigen must interact correctly. We help you pick the right plastic or ceramic. We also support your sandwich immunoassay format. The analyte detection needs optical clarity. We match parts to your sensitivity needs. You get prototypes fast. We move to mass production smoothly. As a leading Chinese manufacturer, we offer exceptional service capabilities. You get professional manufacturing expertise for your entire project. We handle the process from design to assembly.
Understanding your immunoassay analyzer parts protects your diagnostics work. Precision pumps, ceramic valves, and optical-grade vessels each affect your assay results. You must respect material choices and maintenance schedules. These decisions directly impact sensitivity and reliability. Your antibody and antigen interactions depend on clean surfaces and accurate fluid delivery. Fresh reagents and proper calibration keep your analyte measurements trustworthy. Regular validation confirms your system performs correctly. Workflow optimization reduces downtime and extends equipment life. High throughput screening demands consistent part quality. Review your maintenance protocols today. Consider sourcing from certified manufacturers. NOBLE holds ISO 9001:2015 and ISO 13485:2016 certifications. Our cleanroom production ensures contamination-free parts. Partner with us for dependable components that keep your analyzer accurate for years.
FAQs of Immunoassay Analyzer Parts
How often should I replace the tubing in my immunoassay analyzer?
Labs that run many tests should swap out tubing every three months. Labs with fewer tests can wait six months. Look for color changes or stiffness. These signs mean the material has worn down. Change tubing before it cracks and leaks. Regular replacement stops cross-contamination between samples.
What causes poor sensitivity in my assay results?
Poor sensitivity often comes from worn pump pistons or dirty optical surfaces. Check your calibration curves on a regular basis. A worn piston changes reagent volumes. That error shifts the antibody-to-antigen ratio. Your detection module may also need cleaning. Run a diagnostic cycle to find the problem.
Can I use polycarbonate cuvettes for fluorescence detection?
Stay away from polycarbonate for sensitive work. It has high autofluorescence that adds background noise. Glass, fused silica, or cyclic olefin polymers work better. These materials give off almost no light of their own. Your analyte signal stays clean and easy to measure.
Why does my analyzer need recalibration after replacing parts?
New parts change fluid volumes and optical paths. Your system needs a fresh baseline. Recalibration confirms the new component works properly. Run at least two calibrators with different concentrations. This validation step keeps your results accurate for patient care.
What maintenance steps protect my analyzer during high throughput screening?
Run a cleaning solution through the tubing after each shift. Check valves for sticking or leaking. Wear gloves when handling biological samples. Follow the manufacturer’s maintenance schedule. These steps extend equipment life and keep your immunoassay results reliable. Regular optimization of your workflow cuts downtime.