Introduction
Most shops chase big hardware upgrades. They think a faster spindle or a newer five-axis will solve everything. But the real gains—the ones that cut actual minutes off each part—live in the code. Smarter toolpath strategies for metals directly boost tool life, improve part quality, and deliver efficient CNC machining without buying a single new machine.

Here’s the reality. We’re going through ten strategies that work. These aren’t theories. They’re proven methods to optimize your toolpaths, slash CNC machining cycle time reduction by as much as sixty percent, and maintain the tight tolerances required for critical aerospace, automotive, and medical components.
Whether you’re doing the programming yourself or evaluating an outside partner, understanding these principles matters. It changes how you bid jobs. It protects your margins. It keeps your shop competitive. Let’s get into the strategies.
What Is CNC Toolpath Optimization and Why Does It Matter?
Let’s get clear on what we’re actually talking about. CNC toolpath optimization isn’t just generating code and hitting start. It’s the deliberate practice of programming the tool’s route, its speed, and how much material it engages at every single moment. The goal is straightforward: get the finished part while wasting less time, less tool life, and less material.
Why bother? The benefits hit your bottom line directly.
- Cycle time drops. You run more parts per shift. Higher throughput without buying another machine.
- Tool life extends. Carbide isn’t cheap. Making a tool last twice as long cuts your consumable costs dramatically.
- Surface finish improves. Good paths mean less time on a bench with sandpaper or running a secondary finishing operation.
- Machine longevity increases. Smoother tool engagement means less shock to the spindle and axes. Your capital equipment lasts longer.
- Processes become predictable. When the path is right, the result is repeatable. Fewer scrapped parts, less rework.
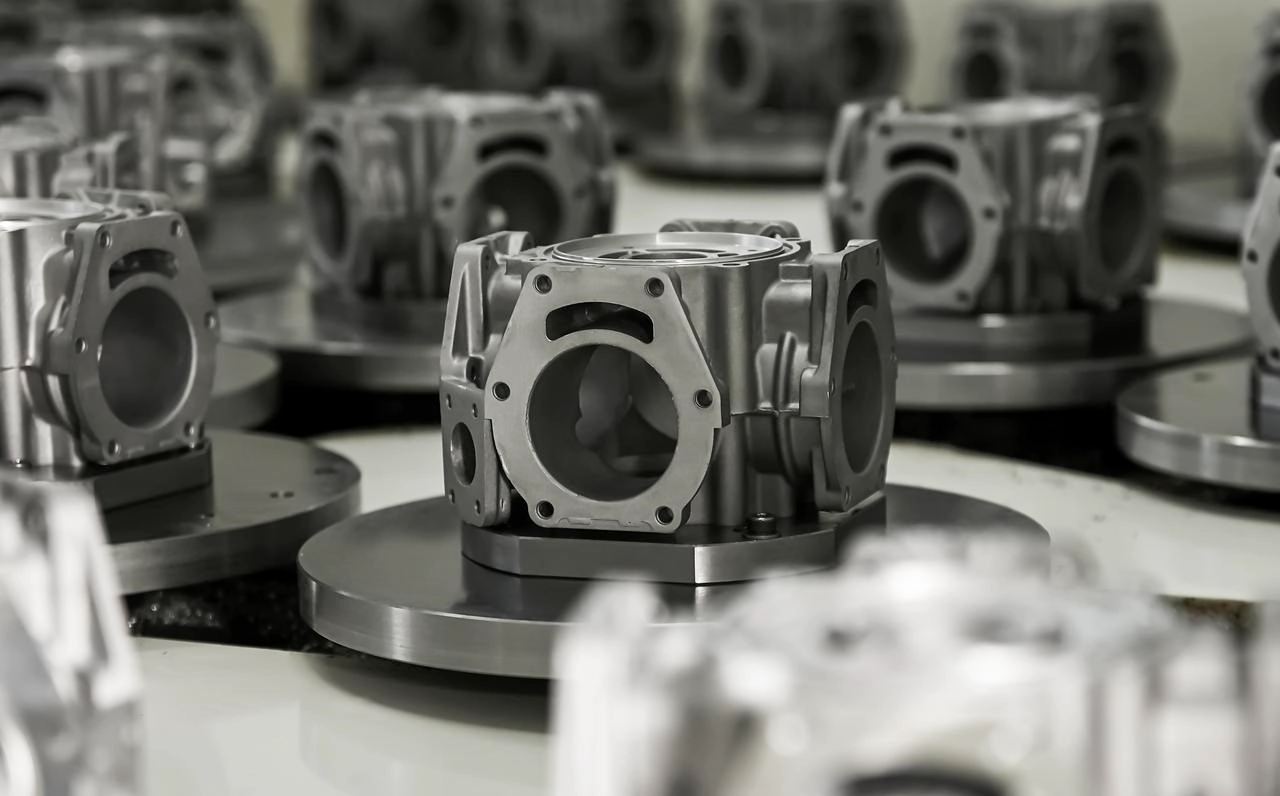
Now, here’s where it gets specific. Metals aren’t all the same. Metal component manufacturing throws different problems at you depending on the material.
Stainless steel work-hardens. If your tool rubs instead of cuts, you’re done.
Titanium holds heat. Let it build up, and the tool edge welds to the chip. Then the tool breaks.
Inconel fights you every step. Tough, abrasive, unforgiving.
Aluminum is softer but gummy. You need high-speed strategies to avoid built-up edge.
An optimized toolpath for metals addresses these issues directly. It manages heat. It maintains chip load. It controls deflection. The right toolpath strategies for metals turn a nightmare material into a manageable job. The wrong ones turn a simple part into a costly disaster.
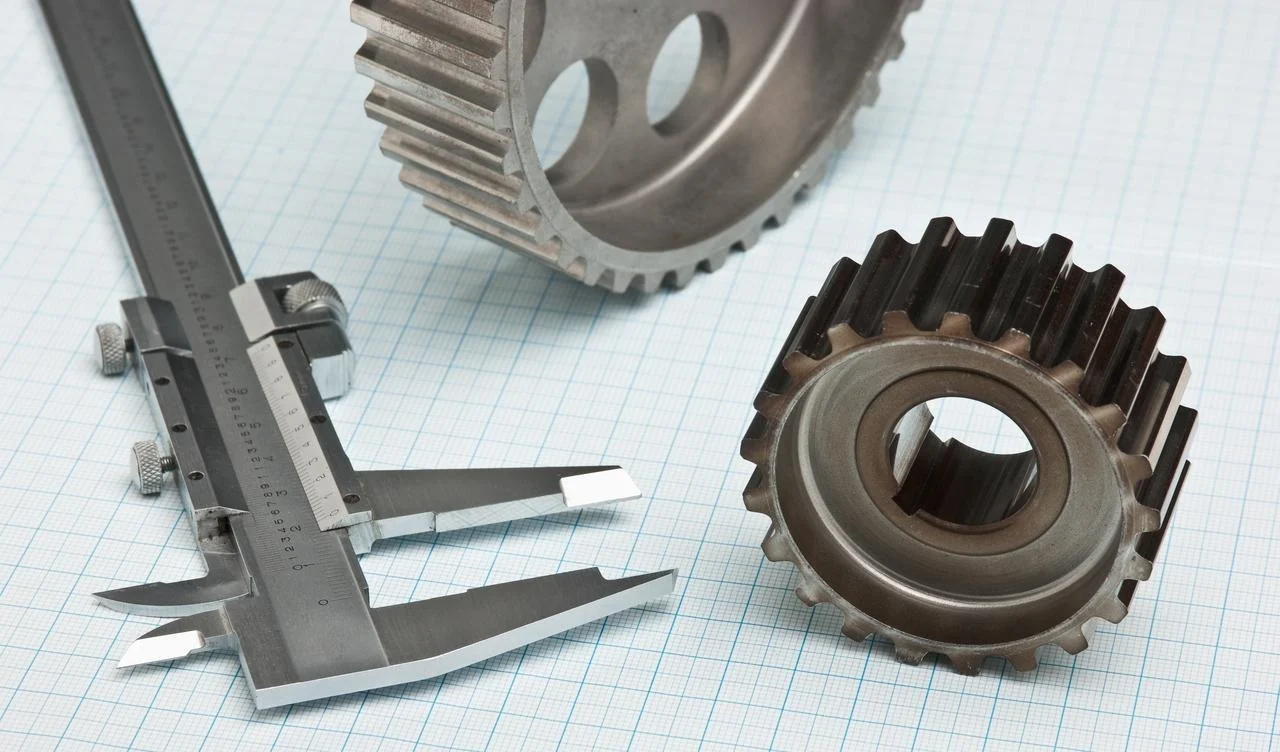
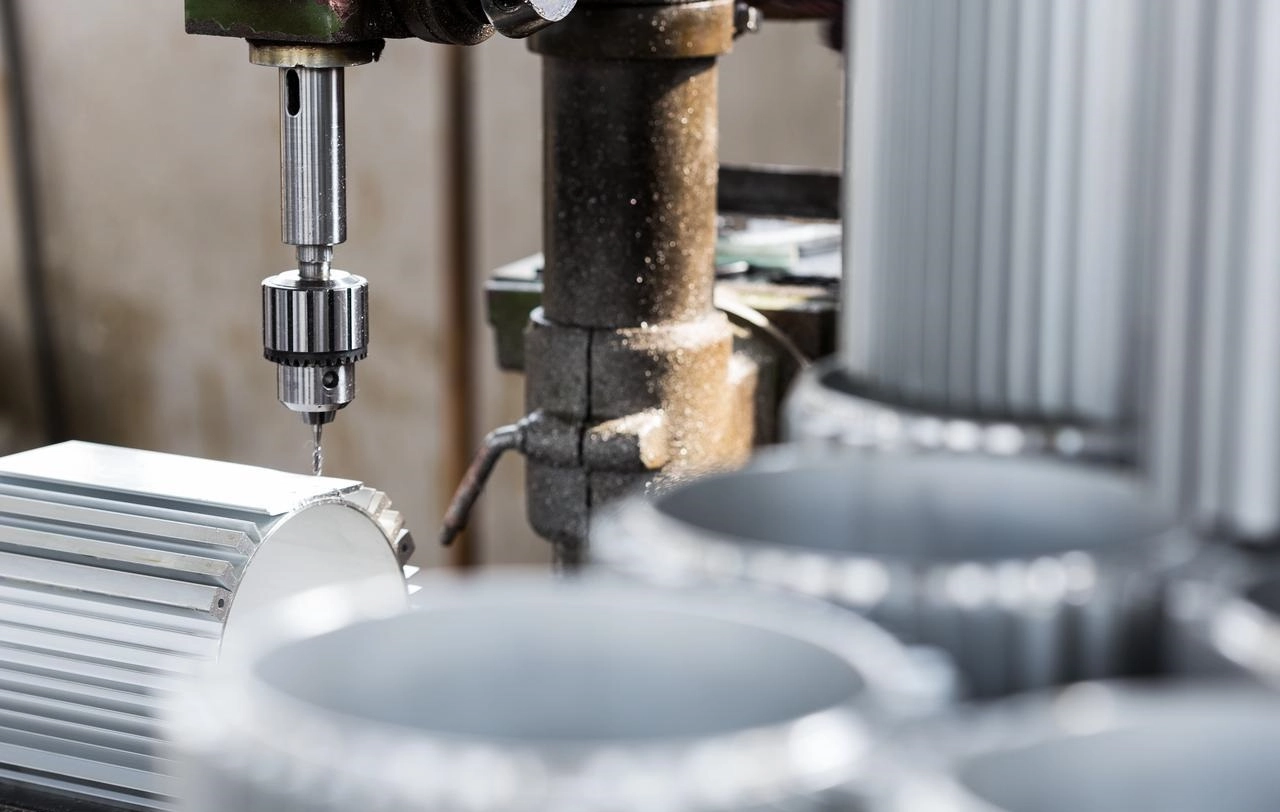
Strategy 1: Use High-Efficiency Milling (HEM)
Let’s start with the first strategy. This is the one that changes everything in roughing.
The old way. Traditional roughing takes a big bite. You set your step-over at fifty percent of the tool diameter. But you go shallow, maybe ten or twenty percent axial depth. The tool hammers into the material, engages hard, then backs off. It creates heat spikes. It wears the tool unevenly.
The modern way. High-efficiency milling flips that logic. You take a very light radial engagement—five to fifteen percent. But you go full axial depth, often the full flute length. Then you push the feed rate aggressively.
Why does this work for metals? Two reasons. First, it maintains a constant chip load. The tool is always cutting, never idling. Thermal stability improves. The heat goes into the chip, not the tool or the workpiece. Second, it prevents work hardening. In materials like stainless steel and titanium, rubbing is death. HEM keeps the cut aggressive enough to cut cleanly, never letting the surface work-harden under a rubbing tool.
The result is simple. You maximize material removal rates. You remove more metal per minute while extending tool life.
For metal component manufacturing, this isn’t an option anymore. It’s the baseline. If your roughing strategy still looks like it did ten years ago, you’re leaving time on the table. HEM is the standard. Use it.
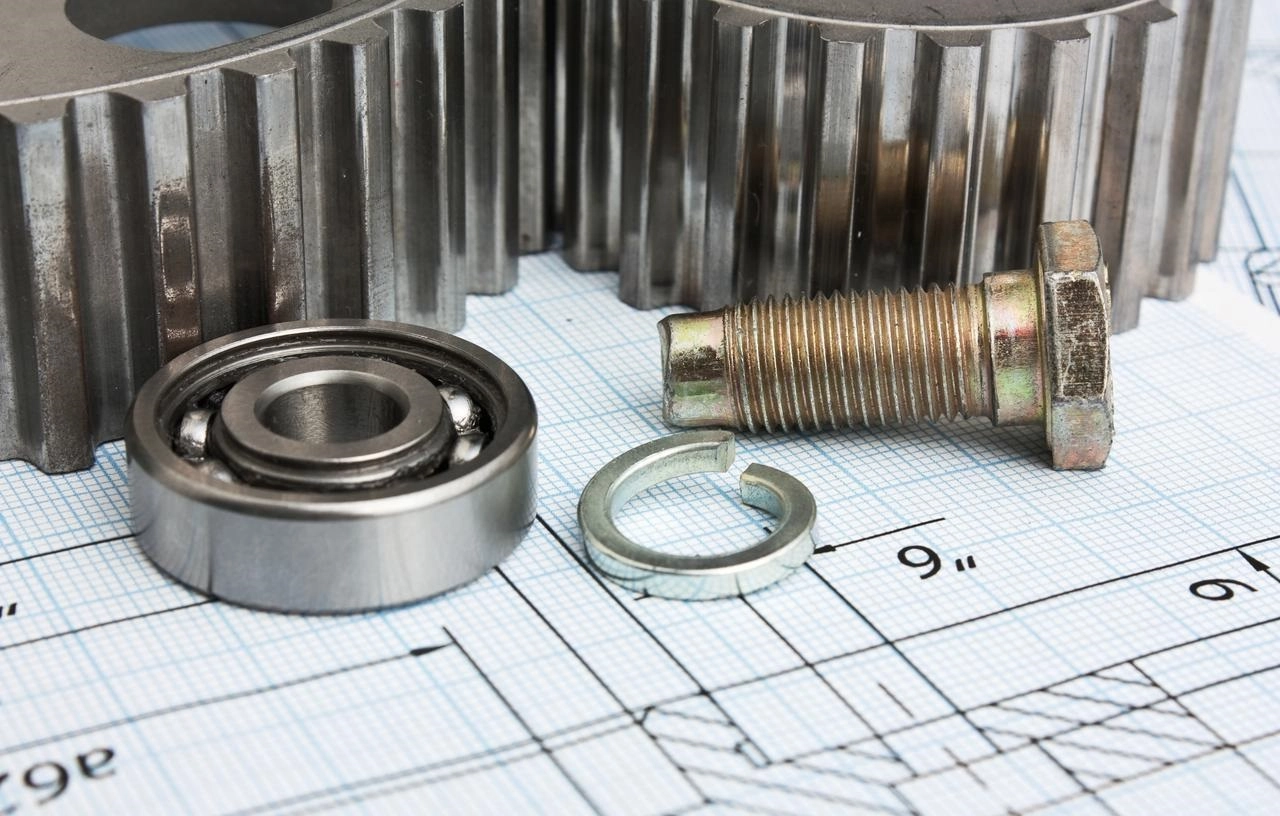
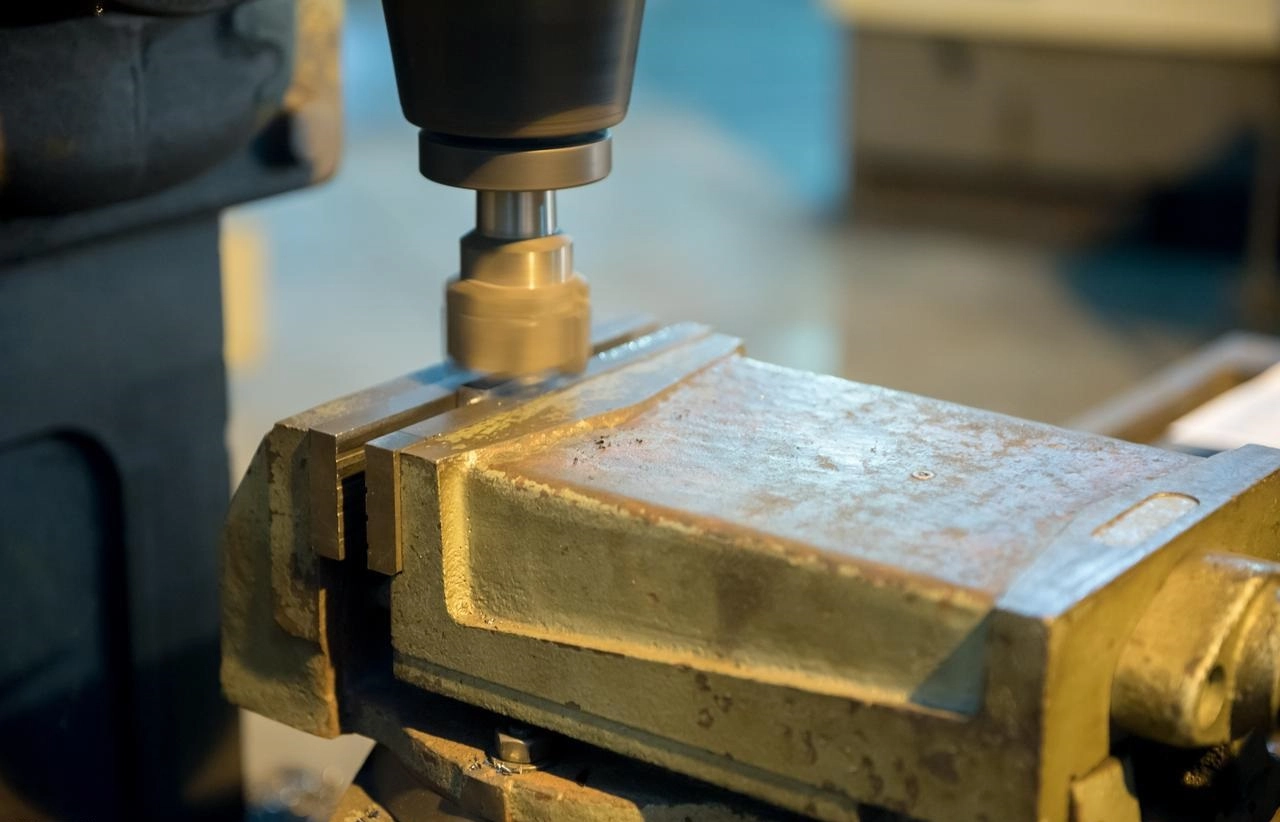
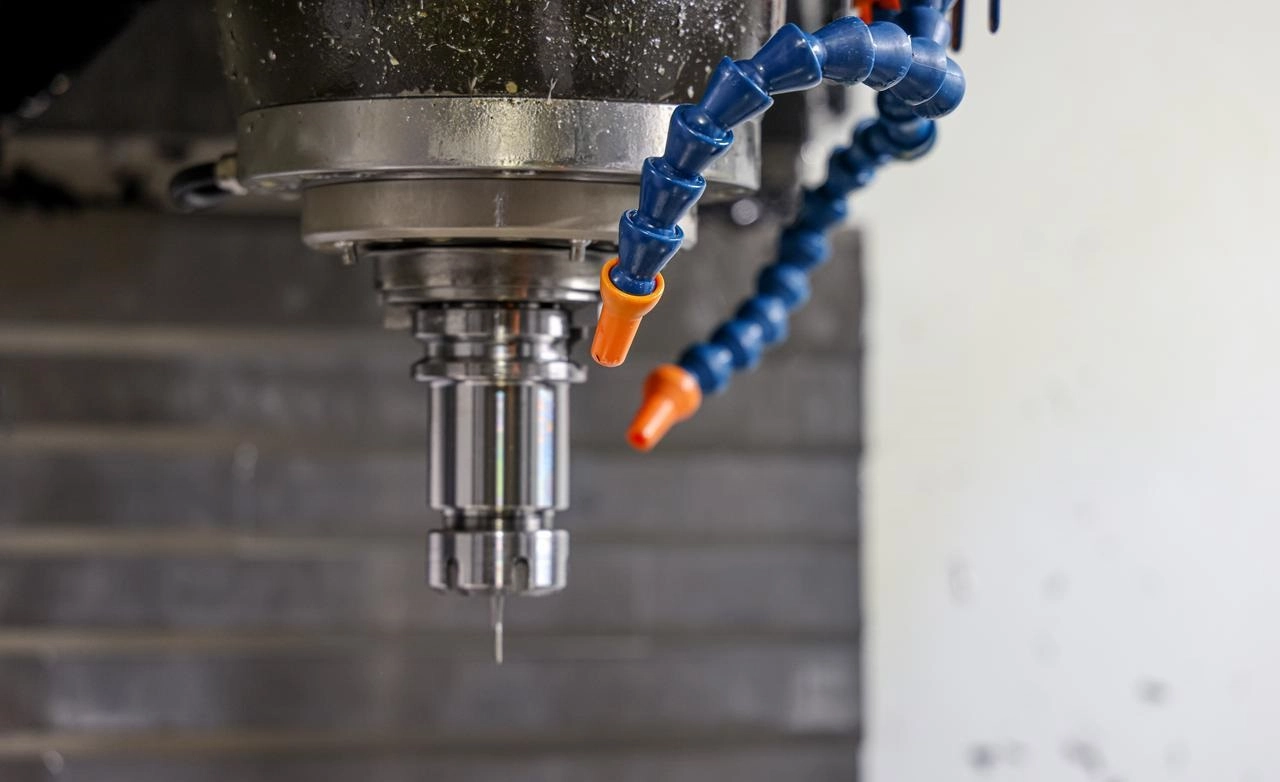
Strategy 2: Shorten the Tool. Tighten the Hold.
Tool assembly is as important as the toolpath. Choosing the right tool path is a good start, and we can’t let the tool assembly hold us back.
Key Points:
| Factor | Optimization Strategy |
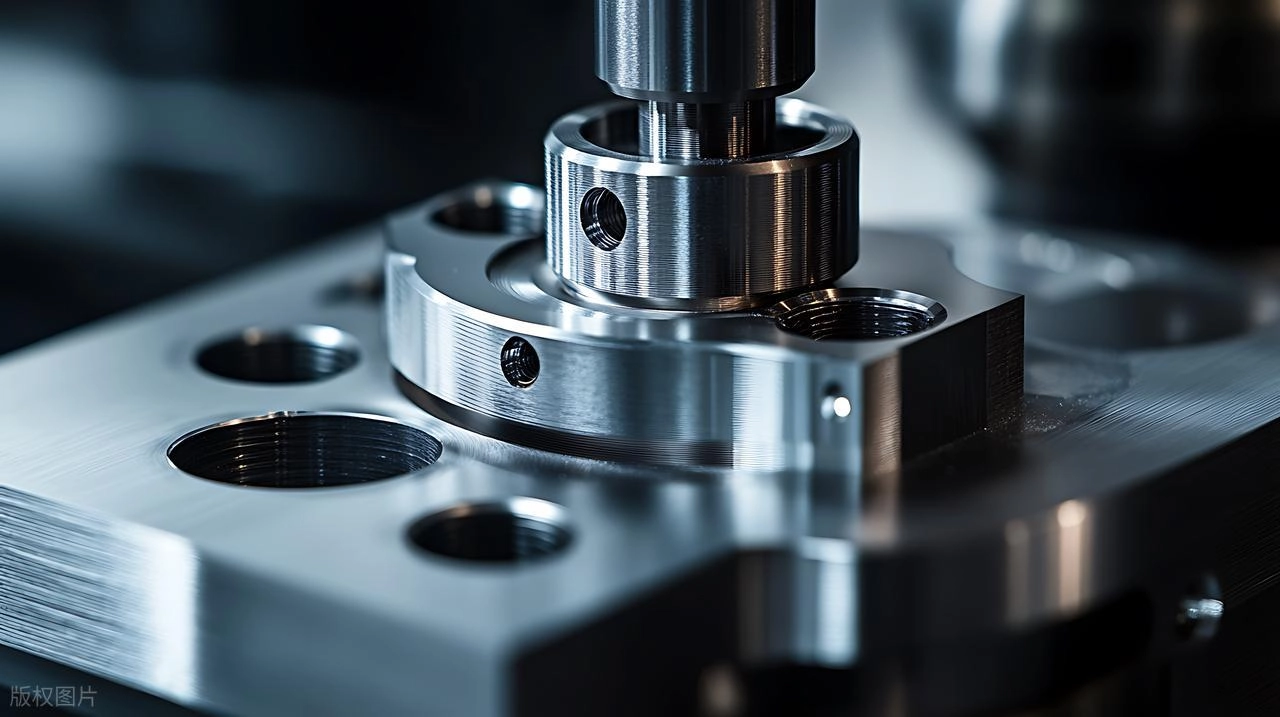
| Tool Length | Use the shortest tool possible; deflection increases with the cube of length |
| Holder Type | Hydraulic or shrink-fit holders reduce runout to <0.0002″ vs. standard ER collets |
| Tool Coating | AlTiN and TiSiN coatings enable higher cutting speeds in hardened metals |
| Tool Material | Solid carbide for most metals; consider carbide grades specific to stainless, titanium, or aluminum |
Metal-Specific Note: Machining aerospace alloys—Inconel, titanium—demands extreme rigidity. This isn’t a suggestion. A single thousandth of an inch increase in runout? That can cut tool life in half. Fifty percent gone because the holder was sloppy.

Strategy 3: Stop Cutting Air
Look at your retract heights first. Most programmers use a safety plane set way too high. They pull the tool up to clearance, travel across, then drop back down. That’s wasted motion. You can retract just above the part—maybe forty thousandths—then move. The tool is still clear. The risk is minimal. The time saved adds up fast.
Linking parameters matter, too. “Stay down” moves keep the tool engaged between features. Instead of lifting and repositioning, the tool travels along the surface. Chip thinning changes, sure. But the machine never stops cutting. No wasted up-and-down cycles.
Machining order is another lever. Look at your feature list. What’s the shortest path between them? Don’t bounce around the part randomly. Plan the route. Group operations logically.
Tool sequencing is straightforward. Complete everything you can with one tool before swapping it out. Every tool change adds non-cutting time. Minimize the number of changes.
What does this actually save? On a complex part with multiple features—pockets, holes, contours—reducing air cutting can shave fifteen to twenty-five percent off total cycle time. That’s not theory. That’s measurable, repeatable savings.
The tool should be cutting metal. Everything else is overhead. Cut the overhead.
Strategy 4: Push Feeds, Manage Speeds, Respect Chip Thinning
Chip thinning is the concept nobody explains well. Here’s the simple version. When your radial engagement drops below fifty percent of the tool diameter, the chip it takes gets thinner. That sounds fine until you realize chip load is what keeps the tool cutting. Too thin, and you’re rubbing, not cutting. Rubbing generates heat. Heat kills tools.
The fix is counterintuitive. You increase the feed rate. Way up. At ten percent radial engagement, you can often double or triple the feed from standard recommended values. The chip thickens back to the proper load. The tool cuts cleanly again.
Cutting speed is a different variable. Surface feet per minute is material-specific. Run too slow in stainless or nickel alloys, and you’re asking for work hardening. The material hardens under the tool, then the next pass breaks the edge. Run at the correct SFM, and the cut is smooth, the heat goes into the chip, and the tool survives.
Here’s the practical reality. Stop guessing. Stop using handbook values from 1985. Modern calculators exist. FSWizard, GWizard, and manufacturer-specific tools do the math for you. They account for chip thinning, material, tool geometry, and machine capability. Punch in your parameters. Get the real numbers. Run at true capability, not conservative estimates.
The difference shows up in cycle time, tool life, and surface finish. Push the feeds. Respect the chip. Stop rubbing.
Strategy 5: Let Small Tools Do Only the Work Large Tools Can’t
Rest machining solves this. The software automatically identifies where the previous larger tool couldn’t reach. Corners. Fillets. Tight internal radii. Complex geometries with narrow channels. It creates toolpaths that go only to those uncut areas.
Think about the logic. A half-inch endmill clears the open spaces fast. A quarter-inch endmill then comes in and cuts only the leftover material in the corners. The tool never wastes time in the wide-open zones. It works where it’s needed. Then it stops.
The benefits show up fast. Small tool life extends significantly because you aren’t running it across massive surface areas. Finishing cycle time drops because the path is shorter and more direct. The tool stays sharper for the critical features that demand fine detail.
This is standard practice for mold and die work. Complex aerospace brackets rely on it. Medical implants with intricate organic shapes require it. If you’re programming small tools to cut everything, you’re burning time and tool life. Rest machining is the fix.
Strategy 6: Apply Arc Filtering to Reduce G-Code Bloat
Here’s what happens. Your CAM software looks at a curve. It doesn’t see a curve. It sees a series of points. It connects them with thousands of tiny linear moves. G01 commands. Point to point. Each one is a separate instruction.
The machine control has to process every single one. It has to look ahead, calculate acceleration, and manage deceleration. Feed it too many blocks, and the processor chokes. The machine stutters. It slows down to read the next line. Cycle time climbs. Surface finish suffers.
Arc filtering fixes this. You tell the CAM software to replace those thousands of tiny linear moves with proper arc commands. G02 for clockwise arcs. G03 for counterclockwise. One block of code replaces hundreds.
Set your chord tolerance right. For roughing, you can use a thousandth of an inch. The machine won’t notice. For finishing, tighten it to two or three ten-thousandths. Smooth curves without the stutter.
Then enable the high-speed machining modes on your control. G05.1 on some machines. G08 on others. Different manufacturers call it different things, but the function is the same. It tells the control to look further ahead, to process faster, and to keep the motion fluid.
The result is simple. Smoother tool motion. Faster cycle times because the machine never waits for the next block. Better surface finishes because the path is actually an arc, not a faceted approximation.
The code should help the machine run, not hold it back. Filter the arcs. Let it breathe.
Strategy 7: Lock the Angle. Cut in Three Axes.
Here’s the thinking. 3+2 machining means you tilt the tool or the table to a fixed position. One angle. Lock it. Then you run standard three-axis toolpaths. The machine isn’t trying to coordinate five axes at once. It’s holding one orientation and cutting.
Why does this matter for rigidity? Because you can use shorter tools. A short, fat end mill is stiff. It doesn’t deflect. It doesn’t chatter. When you tilt the part or the head, you bring that short tool straight into a deep cavity that would otherwise require a long, flimsy reach.
When do you use this approach? Deep pocket milling is the classic case. A long tool would vibrate. Tilt the part, use a short tool, and cut cleanly. Undercuts and angled features demand it. Complex parts that would need multiple setups on a three-axis machine become one setup on a five-axis machine, but you’re not running all axes simultaneously.
The efficiency impact is real. 3+2 cycles typically run faster than full simultaneous five-axis. The code is simpler. The verification is easier. The risk of a crash is lower. The machine spends less time coordinating and more time cutting.
Not every five-axis job needs to be a dance. Sometimes you just need to hold a good angle and cut. 3+2 gets you there. Use it.
Strategy 8: Optimize Step-over and Step-down for Finishing
Here’s where programmers get obsessive. They chase a perfect surface finish by taking tiny step-overs. The finish gets marginally better. The cycle time doubles. You’re trading hours for microns, and the customer never sees the difference.
Guidelines:
| Operation | Radial Step-over | Axial Depth |
| Roughing (HEM) | 5–15% tool diameter | Full flute length |
| Semi-finishing | 10–15% tool diameter | Full feature depth |
| Finishing (ball end mill) | 3–8% tool diameter (scallop height driven) | Full feature depth |
Know your requirements. If the print calls for a specific surface finish, hit it. If it doesn’t, stop chasing perfection. Roughing clears material fast. Semi-finishing creates a consistent platform. Finishing hits the spec. Anything beyond that is just adding cycle time for no value. Step-over is a lever. Pull it to the right point and stop.
Strategy 9: Let the Machine Check Its Own Work
Probing changes the game. It’s not just about measuring. It’s about automating the things that cause human error.
Work offset setting is the first win. You used to edge-find manually. Touch off, jog, write numbers down, type them in. Minutes per setup. A probe does it in seconds. The machine touches the part, records the position, and sets the offset. No typos. No missed steps.
Tool length measurement follows the same logic. Operator touches off a tool, enters the number. Maybe they get it right. Maybe they don’t. A probe arm automates it. The tool touches the probe, the machine records the length, and the offset updates. No manual entry. No mistake.
In-process inspection is where probing becomes a quality tool. The machine cuts a critical feature. Then it probes it. It checks the size before the part comes off the table. If something is drifting, you catch it immediately. Adaptive adjustments become possible. The toolpath compensates for wear or thermal growth.
Broken tool detection is the insurance policy. The machine checks a tool after a certain number of cycles. If the tool is gone, it stops. It doesn’t run air for twenty minutes and make scrap. It alarms out, and you change the tool.
The business impact is straightforward. Scrap rates drop. First-pass yield climbs. You stop making bad parts and then finding them later. Lights-out manufacturing becomes viable. The machine can run unattended because it knows how to check itself, set itself, and stop itself when something goes wrong. Probing isn’t a luxury. It’s the foundation of reliable, unattended production.
Strategy 10: Prove It in Virtual Space Before Steel Moves
Simulation is not optional. Not anymore. But you need the right kind. Generic backplotting in your CAM software shows tool motion. It doesn’t show the machine. It doesn’t show the fixtures. It doesn’t know the limits of your specific axis travels.
Machine-specific simulation is the answer. Vericut. NCSIMUL. Some CAM packages offer integrated machine simulation that uses actual kinematic models. You load the machine model, the fixture models, the vises, the tools, and the holders. You run the exact G-code through the exact machine model.
What does this catch? Collisions. Obvious ones, like a tool slamming into a fixture. Less obvious ones, like the toolholder hitting the part wall during a deep cut. Even more subtle, like the machine trying to rapid past a physical travel limit.
It also reveals inefficiency. Watch the simulation. You’ll see rapids that go a long way. Sequences that don’t make sense. Toolpaths that cut air. You can fix these in the programming phase, not after a crash.
Tool length validation happens here, too. The simulation shows whether the tool physically reaches the feature with the holder clearing everything around it. That’s a hard check. You can’t guess.
The investment in proper simulation pays for itself on the first crash you avoid. Machines are expensive. Fixtures take weeks to rebuild. Scrap parts cost money. Simulation is cheap compared to any of that. Run it. Every time.

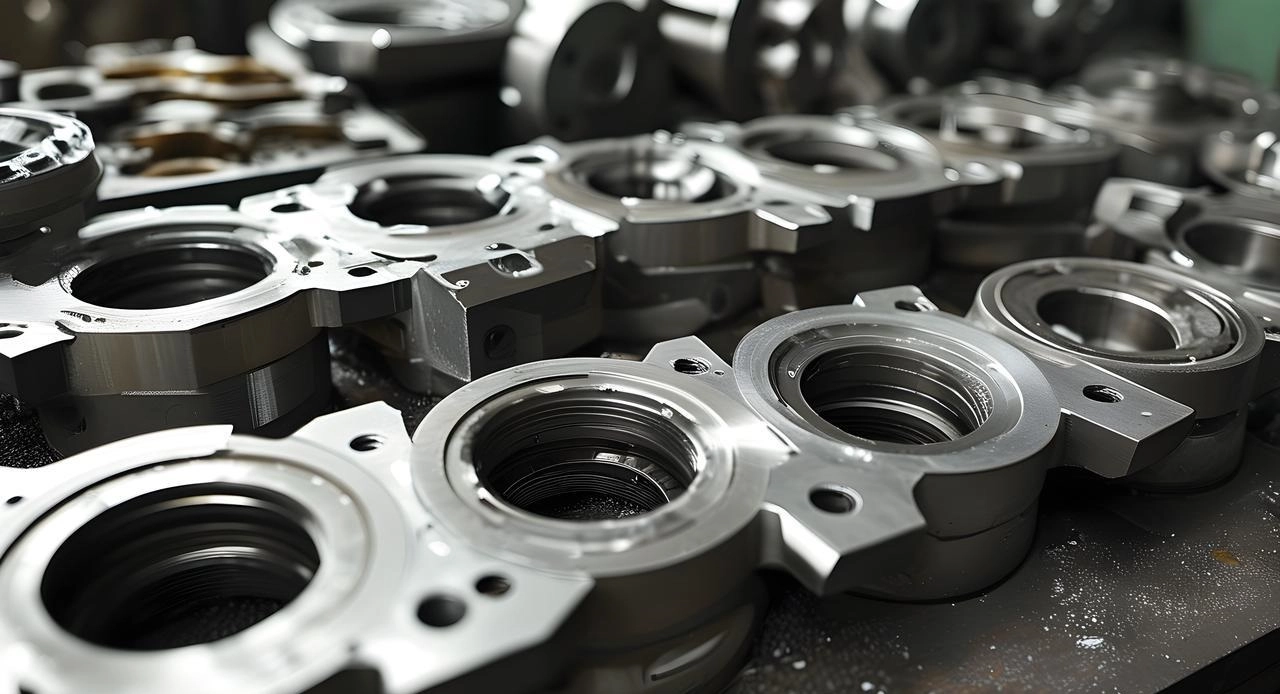
Real-World Results: The Cumulative Impact of Optimization
Take part. Aerospace bracket. 6061 aluminum. Simple enough geometry. Complex enough to punish bad programming.
Before the changes. Traditional roughing passes. Heavy step-overs, shallow depths. Toolpaths that lift and plunge unnecessarily. Code full of linear moves that made the control stutter. No rest machining. The quarter-inch tool ran everywhere, even where the half-inch had already cleared. Cycle time sat at forty-five minutes.
After applying the strategies. HEM adaptive clearing for roughing. The tool stayed in the cut, full axial depth, light radial engagement. Linking moves kept the tool down. Arc filtering smoothed the motion. Rest machining directed small tools only to uncut corners. Feeds and speeds pushed to true capability using modern calculators.
The result. Eighteen minutes. Cycle time dropped sixty percent. The machine ran more smoothly. The tools ran cooler.
Tooling life tripled. One cutting edge was used to make forty-five parts before it dulled. After optimization, one edge made one hundred thirty-five parts. Same carbide. Same material. Smarter use.
Surface finish improved without a secondary operation. Ra values dropped from thirty-two to sixteen microinches. The finish coming off the machine was good enough. No polishing bench required.
Scrap rate collapsed. Four percent before. Less than one percent after. Fewer crashed tools. Fewer setup errors. Fewer parts pulled for surface finish issues.
Here’s the summary. Look at the numbers.
Summary Table:
| Metric | Before Optimization | After Optimization | Improvement |
| Cycle Time | 45 min | 18 min | -60% |
| Tool Life (per edge) | 45 parts | 135 parts | +200% |
| Surface Finish (Ra) | 32 µin | 16 µin | -50% |
| Scrap Rate | 4% | <1% | -75% |
Conclusion
This is the final point. CNC toolpath optimization is not a single button you push. It’s not one technique you learn and then forget. It’s a collection of strategies working together. High-efficiency milling clears material fast. Proper tool selection and rigid holders keep the cut stable. Intelligent linking kills time between cuts. Rigorous simulation catches the crash before the red light flashes. Each piece matters. Leave one out, and the system doesn’t perform.
The closing thought is simple. Walk through any shop floor. The newest machines don’t automatically mean the lowest cost or the fastest turnaround. The shop that wins is the one that extracts maximum performance from every tool, every minute, every part. They do it through disciplined, consistent CNC programming best practices. It’s not about the hardware. It’s about how you use it.

Efficient CNC machining comes from the programmer’s desk, not the machine builder’s catalog. Metal component manufacturing demands this level of attention. Margins are tight. Competition is global. The shops that survive and grow are the ones that treat toolpath optimization as a core skill. It’s not optional. It’s how you stay in business.
About NOBLE: Your Partner in Precision CNC Machining
We build metal components. That’s what we do. But the philosophy is simpler than that. We don’t just take your drawing and make chips. We look at the design, the tolerances, the volumes, and figure out the cleanest, fastest, most reliable way to get you good parts—every time.

Design Capabilities
We get involved early. Engineering support means we review your model before you lock it in. DFM analysis tells you if something is hard to machine, expensive to fixture, or just plain impossible. Our CAD/CAM integration is tight. The person programming the toolpath understands the design intent because they’re working from the same model, with the same tolerances.
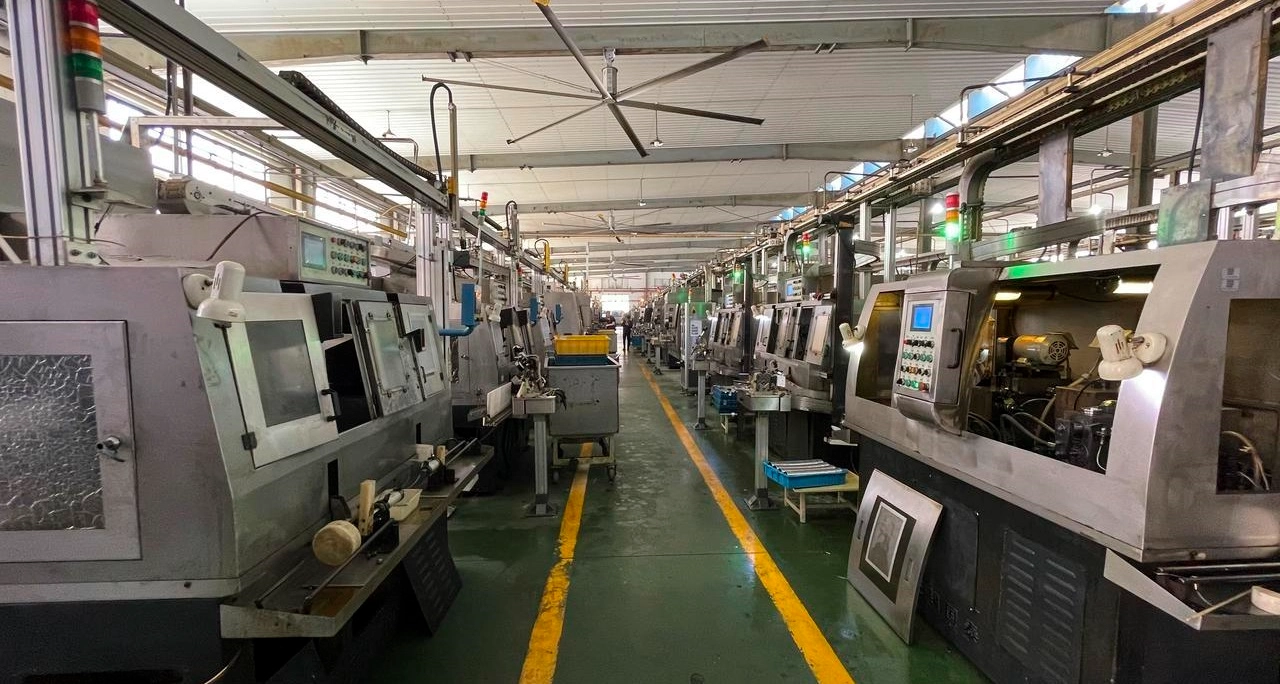
Production Capabilities
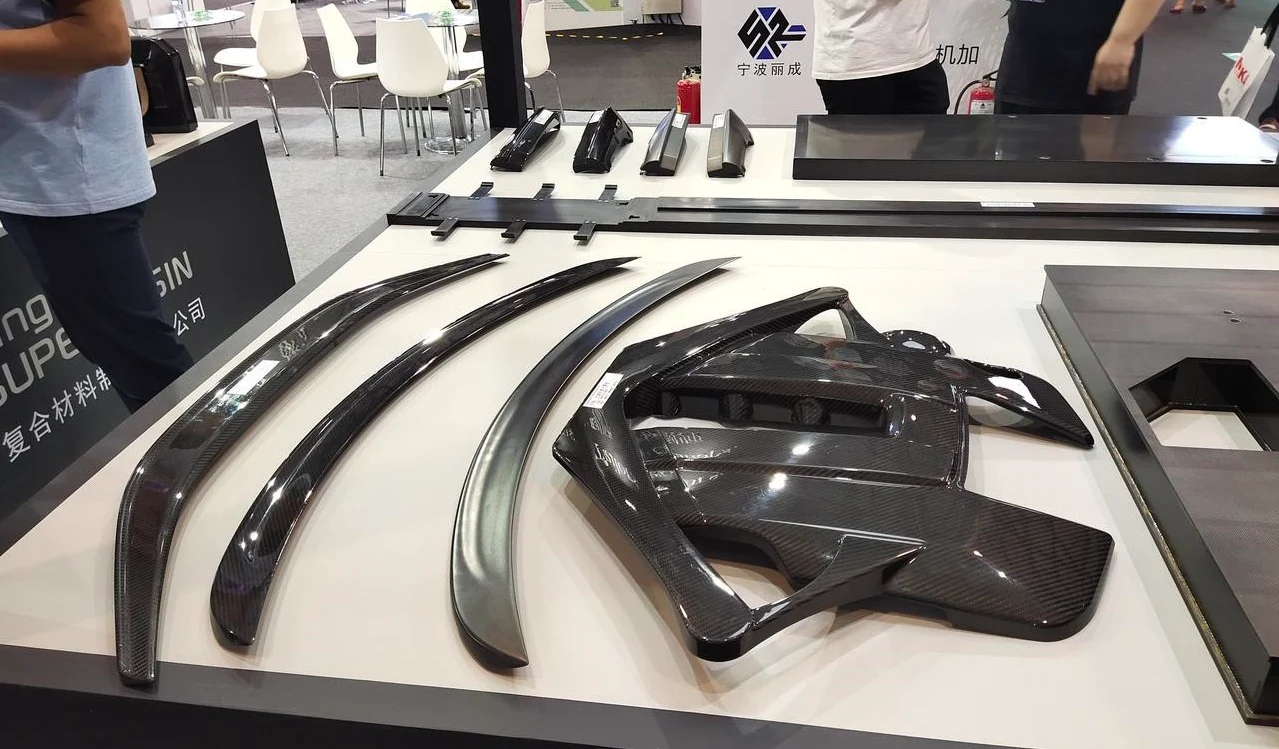
The machine floor runs advanced CNC machining centers. Multi-axis capabilities—three-axis, four-axis, five-axis. We handle the material range you’d expect. Aluminum for speed. Stainless steel for durability. Titanium for strength-to-weight. Inconel when nothing else survives. Brass, copper, high-temperature alloys. If it’s a machinable metal, we’ve cut it.
Post-Processing
Machining is only part of the story. Heat treatment when the material needs it. Surface finishing to spec—anodizing for corrosion resistance, plating for appearance, polishing for smoothness. Deburring is standard, not an extra. Cleaning is thorough. The part that leaves the machine is ready for whatever comes next.
Assembly Capabilities
We don’t stop at individual components. Component assembly puts parts together. Sub-assembly builds functional units. Mechanical integration means you get back something closer to a finished product, not a box of loose pieces. Quality verification happens throughout. We check our work.
Quality Assurance
Certifications matter. ISO 9001 for general manufacturing quality. ISO 13485 for medical work. That’s not a plaque on the wall. It’s a system. Traceability means we know where every bar of material came from and where every finished part went. First-article inspection is thorough. Inspection equipment is modern. We measure what we make.
Industries Served
Aerospace demands precision and paperwork. We do both. Automotive needs volume and consistency. We handle it. Medicine requires cleanliness and traceability. We built our systems for it. Industrial equipment and robotics call for reliability. That’s the baseline.
One company. One partner. From your initial sketch to the final assembled component. That’s how we work.
FAQ
What is CNC toolpath optimization?
It’s the discipline of programming the tool’s movement, its speeds, and the amount of material it engages at any given moment. The goal is one thing: get the part made in the least time while maximizing how long the tool lasts. Simple idea. Execution is everything.
How much can toolpath optimization reduce cycle time?
The number varies by part, but the range is real. Typically, thirty to sixty percent. That comes from stacking strategies. HEM roughing clears material fast. Optimized linking kills air cutting. Efficient finishing strategies take the shortest path to a good surface. Each technique adds a gain. Combined, they transform the cycle.
What is high-efficiency milling (HEM)?
It’s a roughing method that flips the old logic. Instead of a heavy step-over with shallow depth, you take a light radial engagement—five to fifteen percent of tool diameter—with full axial depth. Then you push the feed rate. The tool stays in constant engagement. The heat goes into the chip, not the tool or the part. It’s faster. It’s cooler. It’s the standard now.
Does toolpath optimization work for hard metals?
Yes. But it’s not optional there. For stainless steel, titanium, Inconel—the materials that fight you—good toolpath strategies are critical. Heat management is the main battle. Let the tool rub instead of cut, and the surface work-hardens. The next pass breaks the edge. Optimized paths keep the chip load constant, manage the thermal load, and let the tool survive. Hard metals demand this discipline.