Introduction: Why Does Stainless Steel Need Passivation?
You have a part made of stainless steel. The name suggests it won’t rust. But after welding, after machining, after sitting next to a carbon steel fixture on the shop floor, it does. You see the orange streaks. You find the pits. The material is “stainless,” but the surface is compromised.
Here’s what’s happening. The steel’s natural protection—that thin, invisible layer of chromium oxide—gets disrupted. Iron particles from cutting tools or shop dust embed themselves. The surface becomes chemically active. It’s no longer passive. It’s ready to corrode.
Passivation fixes this. It is a chemical treatment that removes those surface contaminants. More importantly, it triggers the formation of a new, dense, inert oxide layer, primarily chromium oxide. The process drives the metal from an active, corrosion-prone state back to a passive, protected one.
This article covers the science behind that transformation. We’ll look at the common chemicals used and the standard operating procedures on the factory floor. We’ll also briefly touch on other key post-processing steps for stainless steel that go beyond passivation.
Understanding the Principles and Importance of Passivation
Let’s get into the science. It’s not magic, but it is chemistry at work.
The Science Behind Passivation
At the surface, you have a metal sitting in a chemical bath. That’s the interface. What happens there is electrochemical. The acid reacts with the free iron—the contaminant—dissolving it away. At the same time, the chromium in the steel reacts with oxygen. It forms a thin, tightly bonded oxide layer. The metal goes from wanting to react with its environment to ignoring it.
Here’s the clever part. That oxide layer is self-healing. Scratch the surface, and you expose fresh chromium underneath. That chromium immediately reacts with oxygen in the air. The protective layer reforms. You don’t get a rust spot that spreads. The material repairs itself.
Key Benefits of Passivation
First, you remove free iron. Those microscopic particles from cutting tools, grinding, or contact with carbon steel are gone. Without that iron, you don’t get that orange, secondary rust staining on what should be a stainless part.
Second, you maximize corrosion resistance. A properly passivated part holds up in aggressive environments. Chlorides from saltwater or de-icing chemicals are brutal on untreated stainless. The passive layer blocks them.
Third, you get a stable surface for coatings. Paint, powder coat, or other finishes need a clean, consistent base. Passivation provides that. The coating bonds properly and lasts longer. Skipping the step risks adhesion failure down the line.
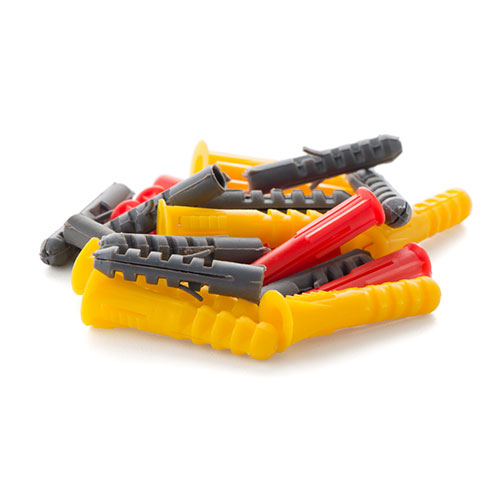
Common Chemicals Used in Passivation
Now, let’s look at the chemicals you actually use. The choice matters. It affects safety, environmental compliance, and the final performance of your part.
The Old Way: High Environmental Impact
Nitric acid systems were the standard for decades. They work. They dissolve iron and form the oxide layer. But the process has serious downsides. You deal with hazardous yellow fumes. The waste is toxic. Disposal is expensive and tightly regulated.
Chromic acid systems are even more aggressive. Hexavalent chromium is a powerful oxidizer. It gets the job done. But the environmental restrictions are severe. Many jurisdictions have all but banned its use in production. The liability is high.
The Newer Approach: Eco-Friendly Alternatives
Trivalent chromium formulations offer a middle ground. They reduce toxicity significantly while maintaining comparable corrosion protection. The chemistry is safer for workers and the environment.
Chromium-free systems are gaining ground. These use molybdates, silicates, or titanium and zirconium salts. No heavy metals. No hazardous waste classification. Performance is solid for many applications.
Organic acid systems, particularly citric acid-based passivators, are the cleanest option. No nitric yellow fumes. No toxic waste. The solution is biodegradable. This is the go-to choice for food-grade equipment and medical devices. Safety and compliance are built in.
How to Choose the Right Passivation Chemical?
Three factors drive the decision.
First, the material. What grade of stainless are you running? 304 behaves differently from 316. Ferritic grades like 430 have their own requirements. Match the chemical to the alloy.
Second, the regulations. RoHS and REACH are not optional. If your parts go to Europe, you need compliance. Your chemical choice determines whether you meet those standards.
Third, the performance requirement. What does the part need to survive? Salt spray testing tells the story. Two hours of resistance is one thing. Two hundred hours is another. Your chemical and process parameters must deliver the required outcome. No shortcuts.
Step-by-Step Passivation Process (8 Key Stages)
Let’s walk through the actual passivation process. It’s not a single dunk. It’s a sequence of controlled steps. Each one matters. Skip one, and you risk the whole batch.
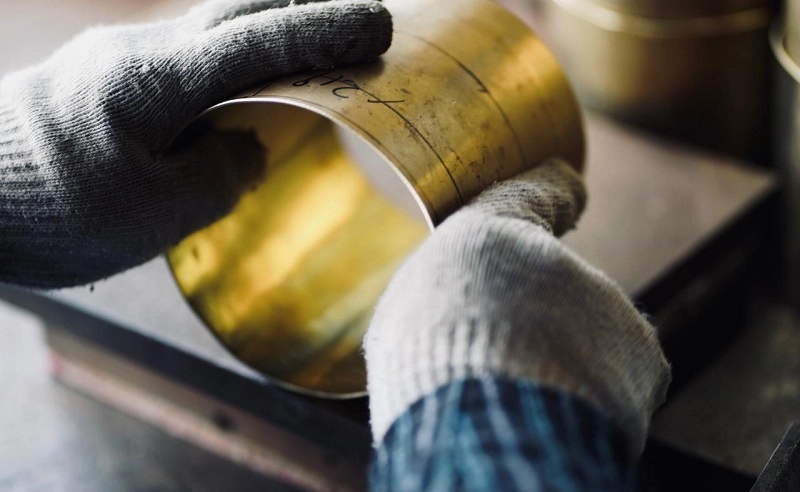
Stage 1: Pre-Treatment (Surface Cleaning)
You start with cleaning. The part comes off the machine with oils, cutting fluids, and shop grime. Degreasing strips all that off. Alkaline wash or ultrasonic cleaning works best. You need a chemically clean surface before any acid touches it.
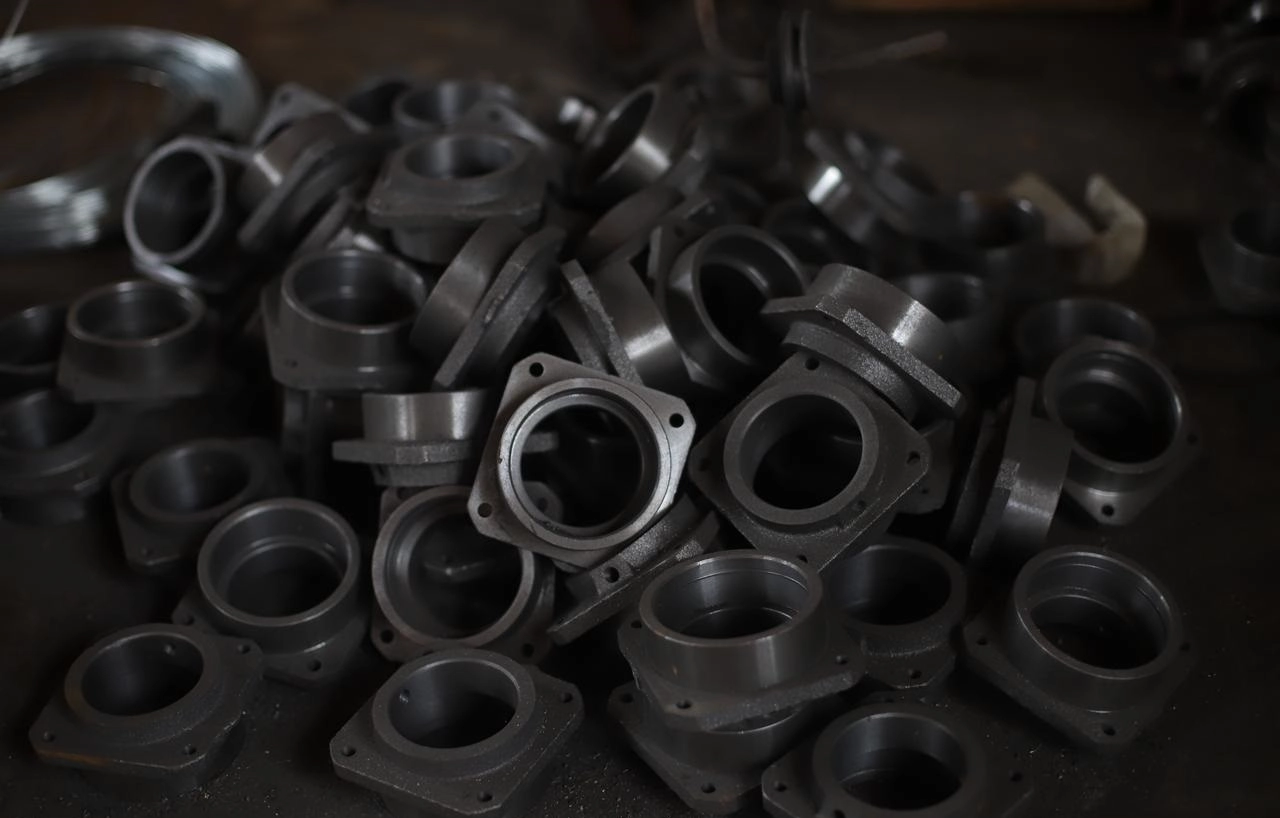
If the part has welds or heat tint, you move to pickling. This is a more aggressive acid step. It removes the heavy oxidation from welding. You don’t always need it. But when you do, skipping it means the passivation step won’t reach the heat-affected zones.
Then you rinse. Not tap water. Deionized water. Ordinary water leaves mineral deposits and recontaminates the surface. You just cleaned. Keep it clean.
Stage 2: Passivation (Film Formation)
Now the main event. Passivation treatment happens by immersion or spray. The parameters are everything. Temperature—ambient for some chemistries, heated for others. Duration—ten minutes for a simple part, up to two hours for complex geometries or tight specifications. Concentration control is non-negotiable. Too weak, and you don’t remove the iron. Too strong, and you risk etching the surface.
Stage 3: Post-Treatment and Drying
After the bath, you deal with the acid residue. For simple parts, a good water rinse works. For complex geometries with crevices or blind holes, you need neutralization. A mild alkaline bath kills the residual acid hiding in the gaps.
Then the final rinse. High-purity deionized water. Thorough. No shortcuts.
Drying is the last step before inspection. Hot air or clean compressed air blow-off. Water spots left behind are contamination. They trap moisture and defeat the purpose.
Stage 4: Quality Inspection
You test the work.
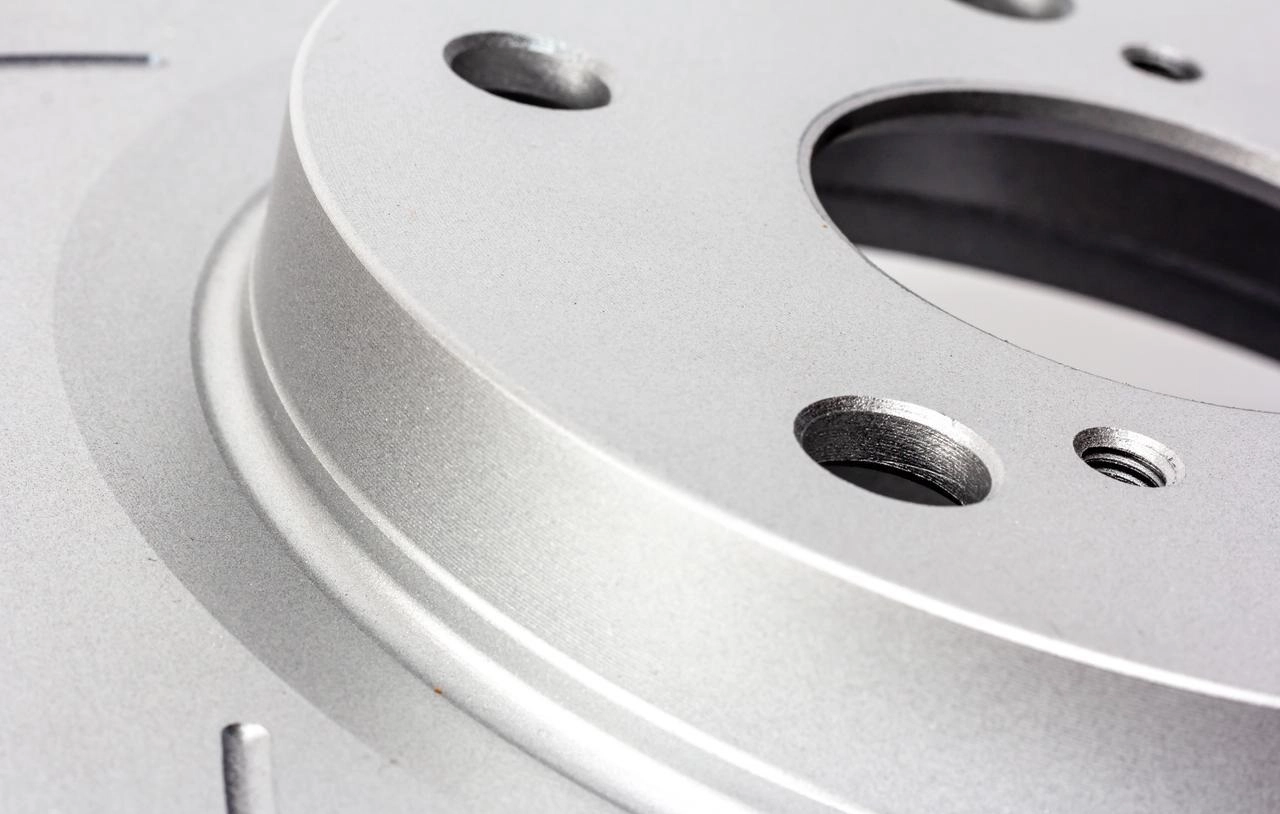
Visual inspection first. The surface should look uniform. No spots, no staining, no discoloration.
The copper sulfate test, often called the blue dot method, is a rapid check. Apply a drop. If it turns blue quickly, free iron is still present. The batch fails.
For serious applications, you run salt spray testing per ASTM B117. Hours in the chamber confirm the corrosion resistance level. This is your proof. The part is truly passivated. It will perform.
Each stage builds on the one before. The process is linear, but the discipline must be absolute. One missed rinse, one temperature drift, and you’re shipping parts that will rust in the field.
Other Key Post-Treatment Processes for Stainless Steel
You don’t stop at passivation. There’s a whole toolbox of post-treatments for stainless steel. Each one changes the part differently. You pick based on what the part needs to do.
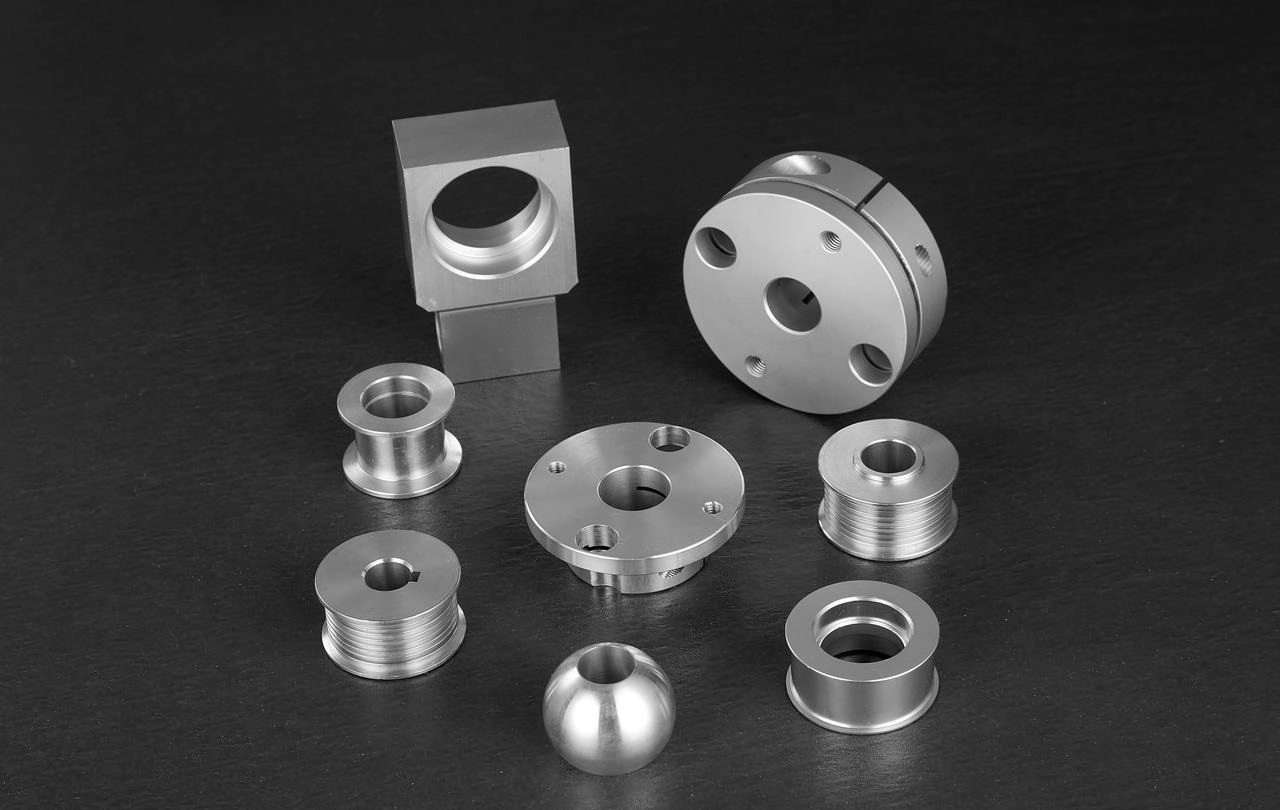
1. Mechanical Surface Finishing (Aesthetics and Texture)
This is about looks and texture. You can polish from a basic satin finish all the way to an #8 mirror. That mirror finish isn’t just pretty. It’s easier to clean. Bacteria have nowhere to hide.
Brushing or line grain gives you that consistent, satin appearance you see on medical panels and kitchen equipment. It hides minor scratches and looks intentional.
Blasting or shot peening does two things. It removes tool marks and creates a uniform matte surface. The peening also compresses the surface layer. That adds fatigue resistance. The part gets stronger as it gets a consistent finish.

2. Electropolishing (Electrochemical Polishing)
This is passivation on steroids. The principle is different. You use an electrochemical bath. The part is the anode. Current flows. Metal dissolves from the microscopic peaks on the surface. The valleys stay put.
The result is a surface smoother than any mechanical polish can achieve. You remove embedded contaminants at the same time. Corrosion resistance jumps significantly. This is why the pharmaceutical and semiconductor industries demand it. Ultra-low surface roughness means no particle entrapment. Cleanliness is absolute.
3. Heat Treatment (For Specific Performance Requirements)
Some applications require specific metallurgical changes.
Solution annealing is for austenitic grades like 304 after welding. You heat the part, hold it, and quench it. This dissolves chromium carbides that formed in the weld zone. Corrosion resistance comes back. It also eliminates the magnetism that can develop from cold work.
Stress relieving is for parts that have been bent or heavily machined. Residual stress can lead to stress corrosion cracking down the line. You heat the part to a lower temperature. The stress relaxes. The risk drops.
4. Surface Coatings and Hardening
Sometimes the stainless substrate isn’t enough on its own.
PVD coating—physical vapor deposition—applies a thin, hard layer. You see black titanium or rose gold finishes on surgical tools and consumer products. It’s decorative. It’s also wear-resistant. The tool lasts longer and looks distinctive.
PTFE or non-stick coatings are used when parts need to be released. Molds. Medical device parts that must not adhere. Low-friction surfaces. The coating provides properties that the metal itself cannot.
Each treatment serves a purpose. You combine them based on the part’s life. A mirror-polished, electropolished, and PVD-coated surgical instrument is a different class of product than a bead-blasted, passivated bracket. Both are stainless. Both are correct. The application dictates the path.

Why Choose NOBLE for Your Stainless Steel Parts
You need a partner who handles the whole job. Not one shop for machining, another for passivation, a third for finishing. That chain creates gaps. NOBLE closes them.
From Start to Finish
We specialize in precision CNC machining. But we don’t stop when the part comes off the machine. We handle everything from raw material to the finished assembly. You don’t manage three vendors. You deal with one team.
What We Do In-House
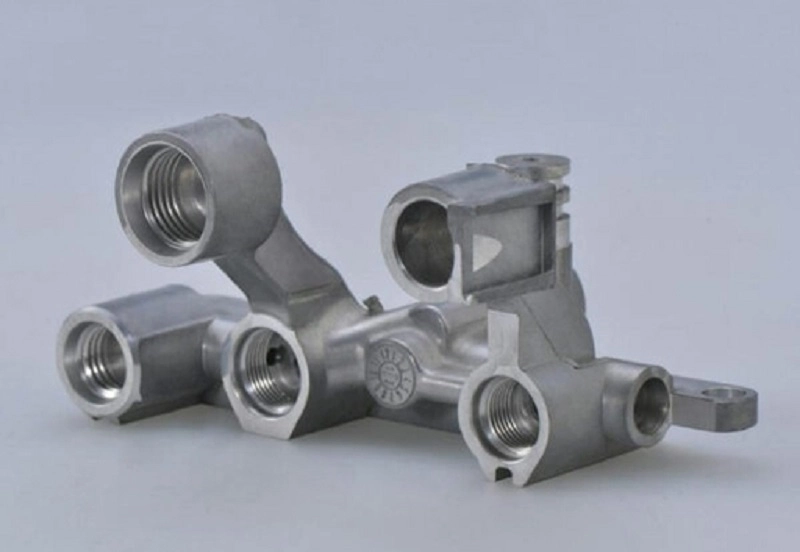
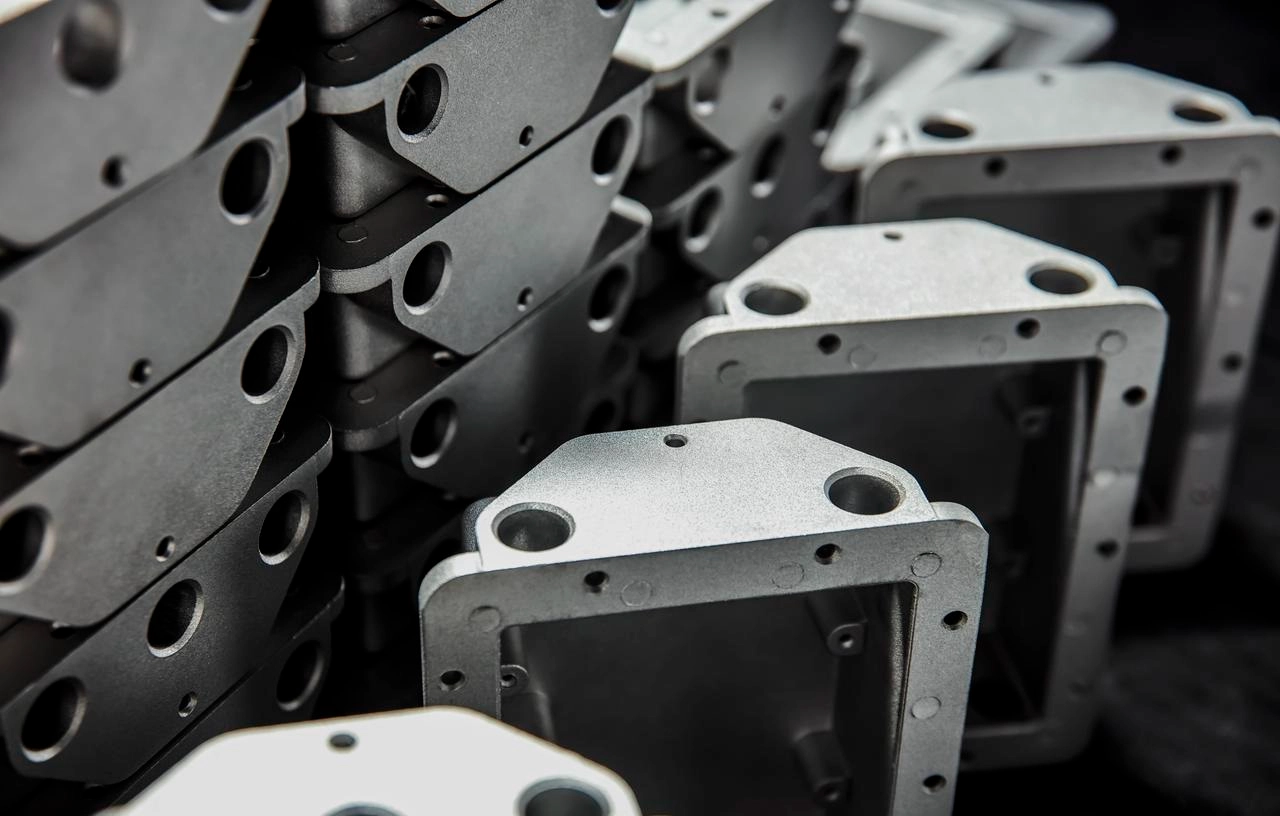
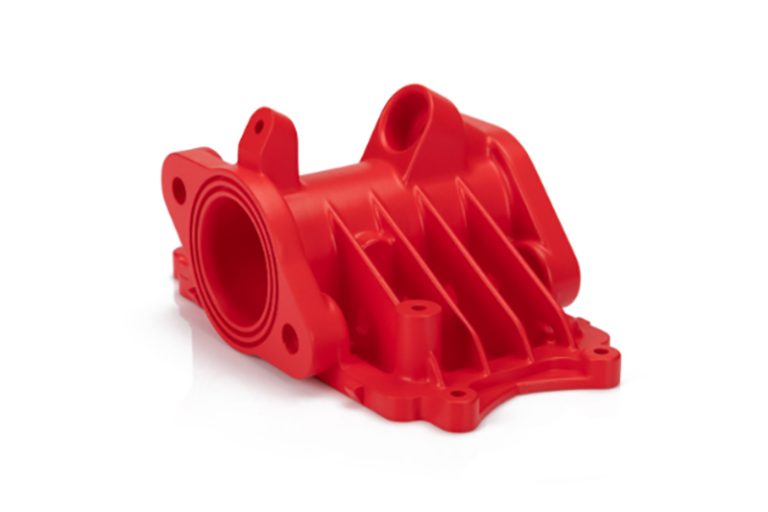
Machining comes first. We run advanced milling and turning centers. Complex geometries are routine. Tight tolerances are expected. We work across the stainless steel grades—304, 316, 17-4, and others.
Surface finishing is next. We don’t outsource it. Passivation, electropolishing, mechanical finishing—polishing, brushing, blasting—and heat treatment all happen inside our facility. Control is absolute. Quality is consistent.
Engineering support runs through the whole process. We review your design for manufacturability before we cut a single chip. We optimize geometry for cost, for machinability, for final performance.
Assembly and logistics wrap it up. Component assembly, packaging, and just-in-time delivery. The part shows up ready to install.
Why This Matters
You get consistent quality. No handoffs. No finger-pointing between a machine shop and a finisher. Every step is managed under one roof. Inspected by the same team.
Lead times shrink. You’re not waiting for a part to leave one shop, travel across town, and get in line at another. The workflow is streamlined. Days come off the schedule.
Accountability is simple. One team owns the result. One quality standard applies. One point of contact answers your questions. You don’t chase multiple vendors to figure out what went wrong or when something ships.
That’s the point. You focus on your product. We handle the manufacturing chain. From design to delivery, it’s one stop.
Frequently Asked Questions (FAQ)
Is passivation the same as pickling?
No. People mix them up, but they do different jobs. Pickling removes weld scale and heat tint—the heavy oxide layer from welding. It’s aggressive. Passivation forms the thin, protective oxide layer. They often run together. You pickle the weld, rinse, then passivate the whole part. That’s why you see the phrase “pickling and passivation.” Two steps, one result.
Will passivated stainless steel ever rust?
The honest answer is yes, but only under the wrong conditions. Passivation dramatically improves corrosion resistance. It’s not a magic shield. Put a passivated 304 part in seawater for months, and you’ll eventually see pitting. High chloride environments are brutal. Severely oxygen-deprived conditions can also cause problems. The passive film is self-healing, but it needs oxygen to do that. Take the oxygen away, and you can get localized corrosion. For most applications—medical devices, industrial equipment, food processing—it performs exactly as needed.
Is citric acid passivation better than nitric acid?
It depends on what you’re optimizing for. Citric acid is safer. No toxic yellow fumes. No hazardous waste classification. The surface finish is often cleaner. It’s the clear choice for food-grade equipment and many medical applications.
Nitric acid systems have stronger oxidizing power. For certain high-corrosion requirements or specific military and aerospace specifications, they are still specified. The choice isn’t about which is universally better. It’s about which meets your material grade, your performance standard, and your regulatory requirements.
Does passivation require a sealing step?
Typically, no. The passive film on stainless steel is naturally dense and non-porous. It doesn’t need a sealant on top. Sealing is for anodized aluminum, where the oxide layer is porous and requires hot water or chemical sealing to close the pores. Different metals, different behavior. For stainless steel, the passivation process itself produces the final protective layer.