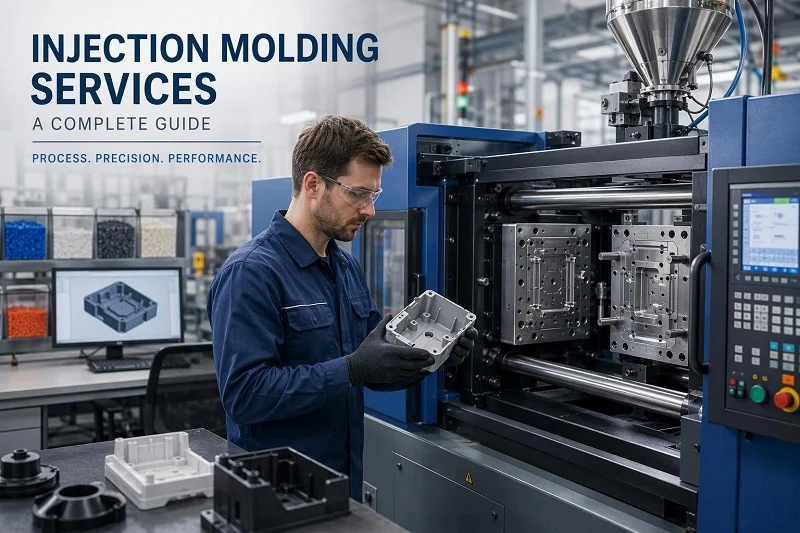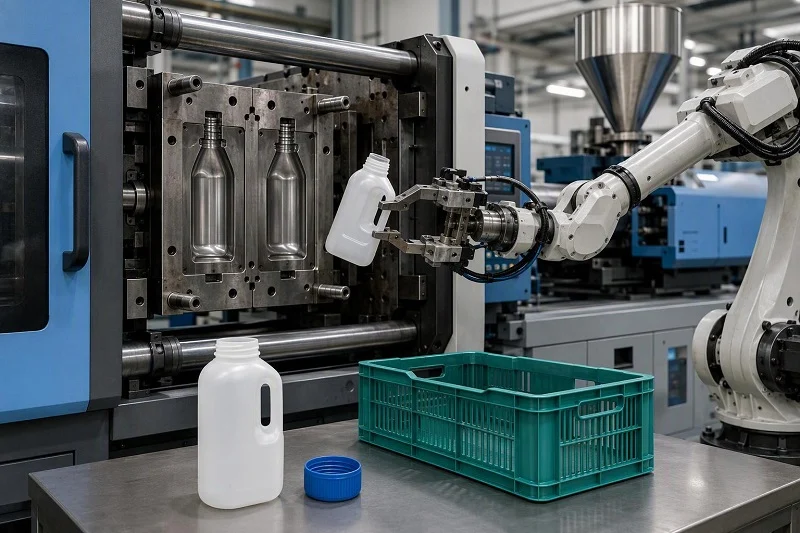
HDPE injection molding runs high-density polyethylene on standard screw-type equipment. Nothing exotic is required. The resin flows easily at the right grade, and the cycle times stay competitive in high-volume work.
Why does this material deserve a full guide? Because it carries a large share of that work. Injection molding takes roughly a quarter to a third of all HDPE consumption. And because it’s hard to run well. Shrinkage is high. It is uneven. Warpage and sink marks follow close behind.
This guide gives you working numbers. Process windows. Grade selection by melt flow rate. Mold and part design limits. Defect diagnosis. And a route from prototype to volume with one manufacturing partner.
Che cosa è l'HDPE Stampaggio a iniezione Si intende
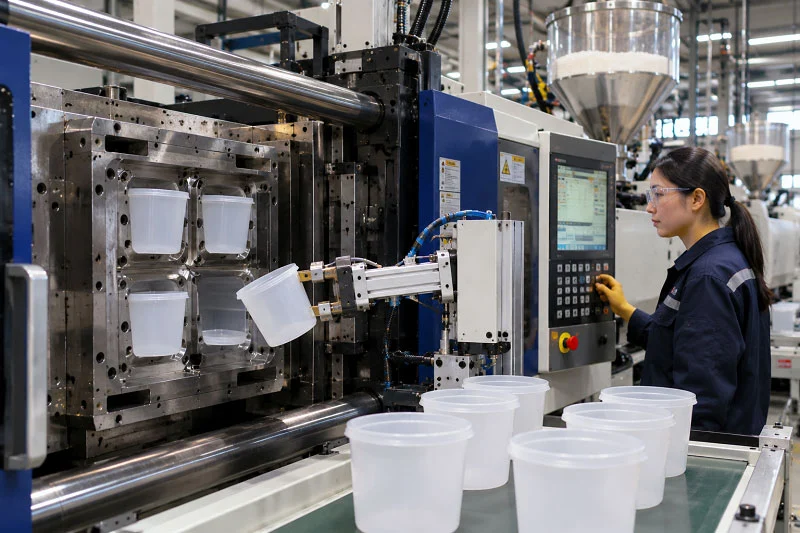
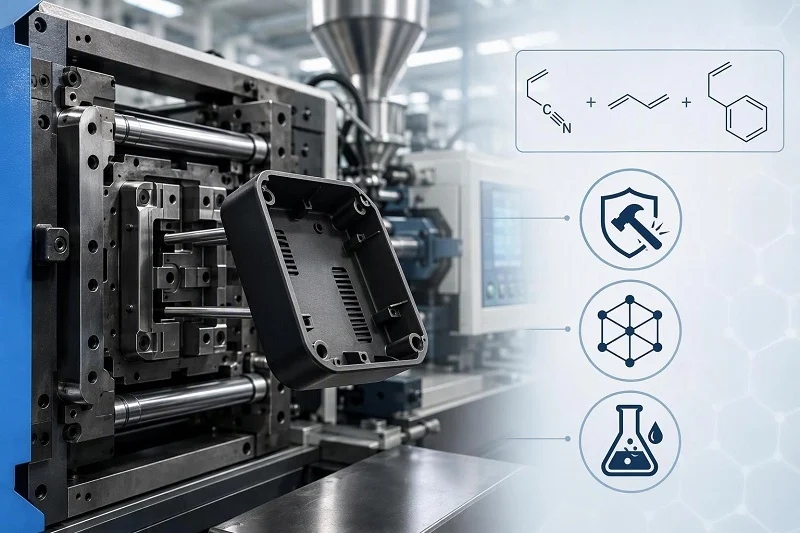
HDPE stands for high-density polyethylene, a semicrystalline commodity polymer built from ethylene. HDPE injection molding is simply the injection molding of that resin. There is no second material hiding behind the acronym.
The chemistry is simple to describe. Ethylene is polymerized. The chains come out nearly linear, with little branching. Stereospecific catalysts make that possible, and they allow lower temperature and pressure than low-density polyethylene production needs. Molecular regularity then produces high crystallinity.
Crystallinity drives the properties that matter at the press. Higher crystallinity means higher density, higher tensile strength, higher heat distortion temperature, higher viscosity and better chemical resistance. It also means lower impact strength than LDPE. Permeability resistance is better than LDPE. Density and molecular weight distribution control the final property set, and injection molding grades typically carry a narrow molecular weight distribution.
Density bands sort the family. Type 1 sits at 0.91–0.925 g/cm³. Type 2 runs 0.926–0.94 g/cm³. Type 3 covers 0.94–0.965 g/cm³.
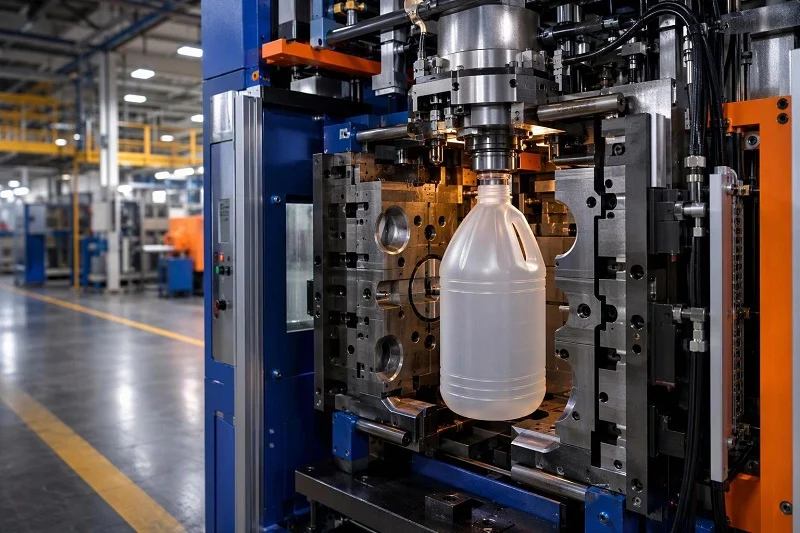
One misconception is worth killing here. HDPE injection molding does not need a special press. Standard single-stage screw equipment runs it without alteration.
Picking the Right Grade Before You Quote
Density and melt flow rate are the two numbers that decide whether a part runs clean or runs scrap. The density bands above sort the family by stiffness and barrier. The melt flow rate sorts it by flow and toughness.
So when you compare quotes for HDPE injection molding work, compare them on grade, not on price per kilo alone. Ask the supplier which resin grade they intend to run and what its melt flow rate is. Ask for both in writing. A quote that names neither tells you very little, and it usually means the grade gets chosen after the tool is already cut.
Why HDPE’s Crystallinity Shapes Every Molding Decision
HDPE is semicrystalline. That single fact explains most of the difficulty in HDPE injection molding.
Shrinkage runs on the order of 1.5% to 4%. It is not uniform. Shrinkage depends on the degree of orientation and the level of crystallinity in the part, and those in turn depend on processing conditions and part design. Change the gate, change the cooling, change the wall, and the shrink pattern moves.
Keep this thread in mind. It runs through the process window, the mold layout, the draft angles and the defect table that follow.
Perché Stampaggio ad iniezione di HDPE Demands Careful Process Control
Here is the paradox. On paper, HDPE looks forgiving. The melt window is wide. The mold temperature range is broad. The resin flows easily at the right melt flow rate.
In practice, warpage, sink marks and lot-to-lot process drift make HDPE one of the more scrap-prone commodity resins in high-volume work. Many factors shape part quality: part design, mold design, venting, and gate type and location. Processing conditions can have the largest effect of all.
The advantages are real, though. HDPE resists acids, bases, alcohols, detergents and solvents. It has a strong strength-to-weight ratio. It holds impact and abrasion resistance at low temperatures. And it flows easily, which keeps cycle times competitive.
One service-life risk deserves early attention. Polyethylene is susceptible to environmental stress cracking. Proper design reduces it. So does choosing the lowest melt flow rate at a given density level. Neither fix is expensive at the drawing stage. Both are expensive after the mold is cut.
That tension is what makes HDPE injection molding a process-discipline job rather than a settings-copying job. Anyone can quote a melt temperature range. Holding a part inside tolerance across a million shots is a different ask.
HDPE Injection Molding Process Parameters That Work
The numbers below are starting points. They come from published processing guidance for HDPE, and they are meant to be tuned against your grade, your part and your mold. Treat them as a first shot, not a fixed rule.
Does HDPE Need Drying Before Molding?
Normally, no. Not if the resin is stored properly.
There is one exception. Surface moisture that settled onto the material during storage does require drying. Moisture shows up as splay or silver streaks on the part.
Do not overcorrect. Over-drying is itself listed as a cause of brittleness and cracking. The fix is verification, not a blanket drying cycle on every lot.
Melt and Mold Temperature Windows
Published ranges differ, and that is useful information rather than a problem to smooth over.
One set of guidance gives a melt temperature of 180–280 °C (356–536 °F), with 200–250 °C (392–482 °F) for high molecular weight grades. Another source reports best results at 400–430 °F, with zone settings stepping upward from rear to nozzle. A third puts the melt range at 246–280 °C.
Mold temperature shows the same spread. One source gives 20–95 °C (68–194 °F), with the higher values for wall thickness up to 6 mm and lower values above 6 mm. Another gives 50–70 °F. A third gives 45–65 °C.
Do not force these into one number. They reflect different grades, different part geometries and different conventions for a starting point. What matters is the principle. Mold temperature must be high enough for good part surfaces and low molded-in stress. It must not be so high that shrinkage, warpage, sinking or cavity and core sticking appear.
Temperature errors cut both ways. Too high a melt temperature can cause flashing, burning, sink marks, warpage, shrinkage and voids. Too low a melt temperature can cause flow marks, weld lines, poor surfaces, lamination, short shots and unwanted molded-in stress. Brittle parts can come from either end.
Pressure, Speed and Hold Time
Injection pressure typically runs 70–105 MPa. In another source’s framing, first-stage pressure runs 800–1,500 psi. First-stage pressure should be high enough to fill about 99% of the part. That threshold heads off shrinkage, voids, sink marks and short shots. Too much pressure brings its own problems: flash, burn marks, sticking and warpage.
High injection velocity is recommended. Profiled velocity helps cut warpage on parts with a large surface area.
Hold time must be long enough to cool the part before ejection. Shorten it and you invite more warpage, sink marks, ejector pin scars and shrinkage.
Back pressure should stay minimal, around 50–100 psi gauge, for better cycle times. Raise it only when you need more screw shear for melting or for mixing pigment.
Mold release agents are generally unnecessary. HDPE releases well on its own. Sticking that process changes cannot fix is sometimes solved by a minor mold change.
Matching Melt Flow Rate to the Part
Melt flow rate is the single most important grade variable in HDPE injection molding. The range across commercial grades runs from 0.1 to 28. Higher molecular weight means lower melt flow rate, and lower melt flow rate means better impact resistance.
The mapping is practical. Thin-wall closures and food containers need higher melt flow rate, because the melt must reach the cavity edges before it freezes. Structural crates and thick industrial parts need lower melt flow rate, because toughness matters more than fill speed. A mismatch guarantees scrap. A thin-wall closure designed for high-flow resin will short-shot or flash on a low-flow grade. A structural crate will run brittle and warp on a high-flow grade.
There is a second reason to go low. At a given density, the lowest melt flow rate you can run also helps against environmental stress cracking.
Designing Parts for HDPE Injection Molding
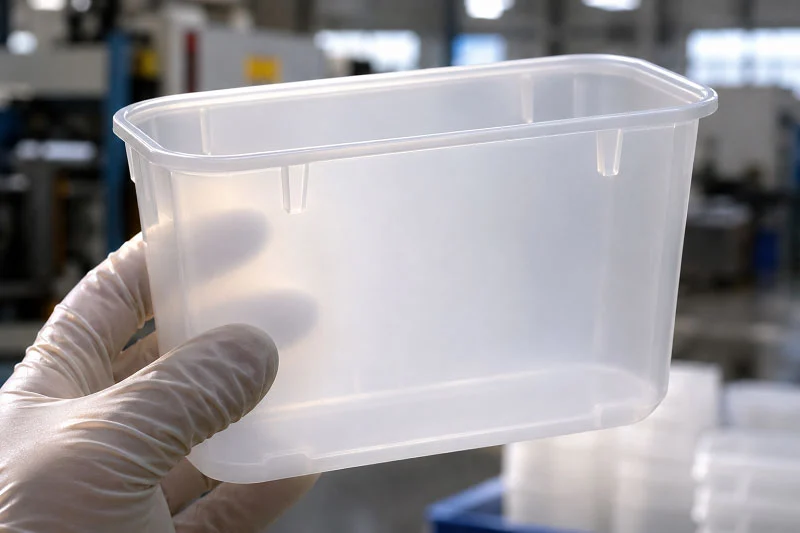
HDPE’s high shrinkage and uneven flow create mold and part design requirements that differ from PP or ABS utensili. Designing for shrinkage from the start is cheaper than correcting it later. That is not a slogan. It is the difference between a tool that runs and a tool that fights you.
Spessore della parete, nervature e sporgenze
Keep walls as uniform as the geometry allows, and make any transition gradual. A step change in thickness concentrates stress and creates a shrink gradient.
Ribs follow fixed ratios against the nominal wall, call it T. Rib thickness at the base should be 0.5–0.6 × T. On textured or cosmetic faces, drop to 0.4–0.5 × T for extra margin against sink. Rib height should not exceed 3 × T. Rib spacing should be at least 2 × T center to center. The rib base fillet should be 0.25–0.5 × T. Rib draft runs 0.5–1.5° per side.
Bosses have their own rules. Outside diameter should be 2–2.5 × the screw major diameter. Boss wall should be 0.5–0.6 × T. Core bosses to the bottom, and connect them with ribs or gussets rather than a thick blend. A heavy junction sinks.
Corners matter more than most designers expect. Internal corner radius should be at least 0.5 × T. The external radius should equal the internal radius plus one wall thickness, so the wall stays uniform through the turn. Hole to edge and hole to hole should both be at least 2 × the hole diameter.
Draft Angles for HDPE
Specify 1–2° minimum per side. Go to 3–5° for deep draws, complex geometry or textured surfaces. A common HDPE-specific figure is 1.5–2° per side, because the material has a high coefficient of friction and tends to shrink onto core pins.
Texture adds draft. Allow roughly 1° extra per 0.025 mm of texture depth, on top of the base angle. Ask the texture supplier for the actual depth rather than guessing from a code.
Inadequate draft causes surface scratches, dimensional distortion or sticking. HDPE’s flexibility allows some deformation during ejection, but that is a cushion, not a substitute for draft.
Planning for Shrinkage and Warpage in the Mold
Plan for 1.5–4% shrinkage. One source narrows the working figure to 1.5–3.5%. Either way, the shrink is anisotropic. It differs in the flow direction and across it, and that difference is the root of most warpage.
Several practical responses follow. Keep wall thickness uniform. Balance the cooling. Place the gate in the thickest region, so packing pressure reaches thick sections after the thin ones freeze. Keep gate thickness at or below 80% of the immediate wall thickness. Aim for unidirectional fill where the geometry allows it. Put the end of fill at the parting line so trapped air can vent. And keep flow length short, which keeps injection pressure low.
Simulation can vet gate locations before a mold is cut. That is a cheap check against an expensive mistake.
Runners, Gates and Venting
Runner diameters run 4–7.5 mm, typically 6 mm. Keep runner lengths as short as possible.
All gate types can be used. Gate lands should not exceed 0.75 mm in length. Hot runner molds are ideally suited to HDPE, and an insulated hot tip runner is preferred where color changes are frequent.
Venting is not optional. Trapped air produces burn marks, bubbles and short shots. A gate location that pushes the flow front toward the parting line gives that air somewhere to go.
Troubleshooting Common HDPE Injection Molding Defects
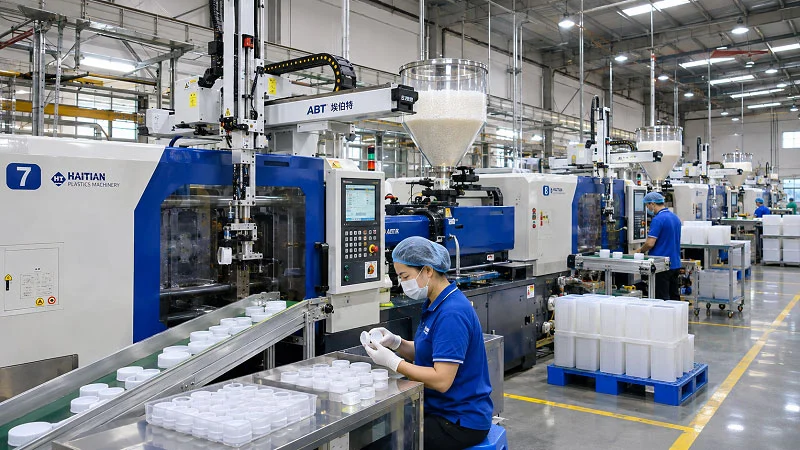
Start with a diagnostic mindset. Find the most likely root cause first. Then choose a process fix or a material fix. Chasing settings before you know the cause wastes cycles.
| Difetto | Causa più probabile | Correzione del processo | Material fix |
| Segni di affondamento | Imballaggio insufficiente; sezioni spesse | Increase pack pressure and time | Lower melt flow rate grade for thick sections |
| Deformazione (Warpage) | Uneven cooling; differential shrinkage from uneven crystallization | Balance cooling; raise mold temperature; anneal | Higher density grade |
| Scatti brevi | Low melt temperature; undersized gate; low melt flow rate for the geometry | Raise melt temperature; enlarge gate; increase injection speed | Higher melt flow rate grade |
| Linee di saldatura | Multiple flow fronts; low melt temperature | Reposition gates; raise melt and mold temperature | Higher melt flow rate grade |
| Cromatografia | Worn mold; excessive pressure | Reduce injection pressure; service the mold | - |
| Segni di bruciature | Trapped air; excessive shear | Add vents; reduce injection speed | - |
| Fragilità o screpolature | Over-drying; excessive residence time; wrong melt flow index | Reduce residence time; verify grade melt flow index | Confirm melt flow index matches spec |
| Striature svasate o striature argentee | Moisture; excessive melt temperature | Dry resin; reduce melt temperature; check venting | - |
| Melt fracture or sharkskin | Excessive injection speed through a small gate | Reduce speed; enlarge gate | - |
| Cracking da stress ambientale | Wrong grade under chemical plus stress exposure | Ridurre lo stress residuo | Specify higher ESCR grade |
| delaminazione | Contamination; incompatible regrind | Purge the barrel; verify material identity | - |
Work the checks in order. Confirm the resin matches the spec first. Then check cooling balance. Then pressure and speed.
Why that order? Because process drift across reorders often traces back to resin that does not run like the lot the mold was tuned to. A density shift of 0.005 g/cm³ is enough to move flexural modulus and shrinkage. The press did not change. The pellets did.
When HDPE Is the Right Material — and When It Is Not
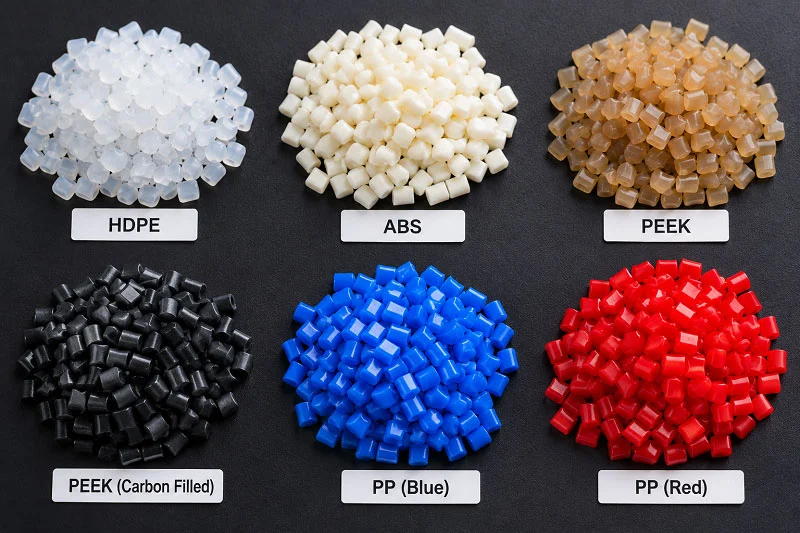
HDPE fits when the part can be opaque and mildly flexible. It fits when the part faces harsh chemicals, detergents or outdoor conditions. And it fits when impact resistance matters more than high-temperature performance.
The resistance list is broad. HDPE stands up to acids, bases, alcohols, detergents and solvents, and it holds impact and abrasion resistance at low temperatures. Compared with PP and ABS, it offers strong low-temperature impact performance and wider chemical resistance.
The limits are just as clear. Impact strength is lower than LDPE. HDPE is soluble in hydrocarbons at temperatures above 60 °C, though its resistance there is still better than LDPE’s. Prolonged sunlight calls for UV stabilization. And heat deflection tops out well below engineering plastics, which rules HDPE out of many high-temperature applications.
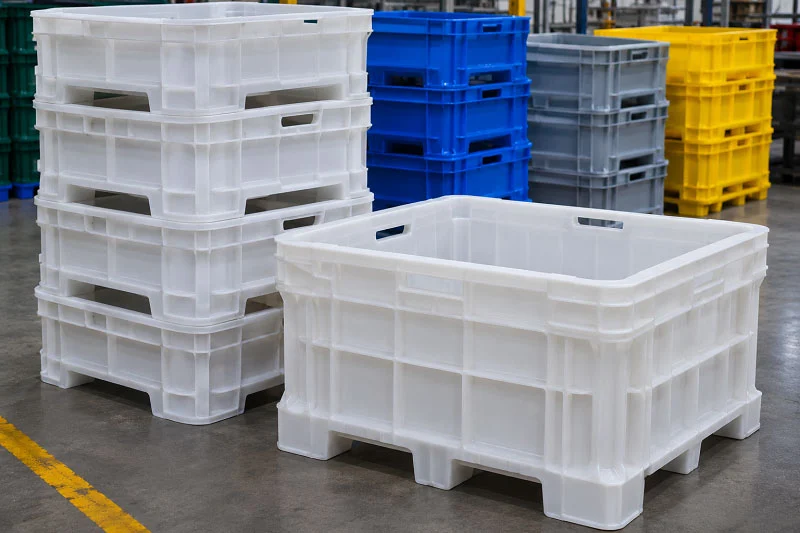
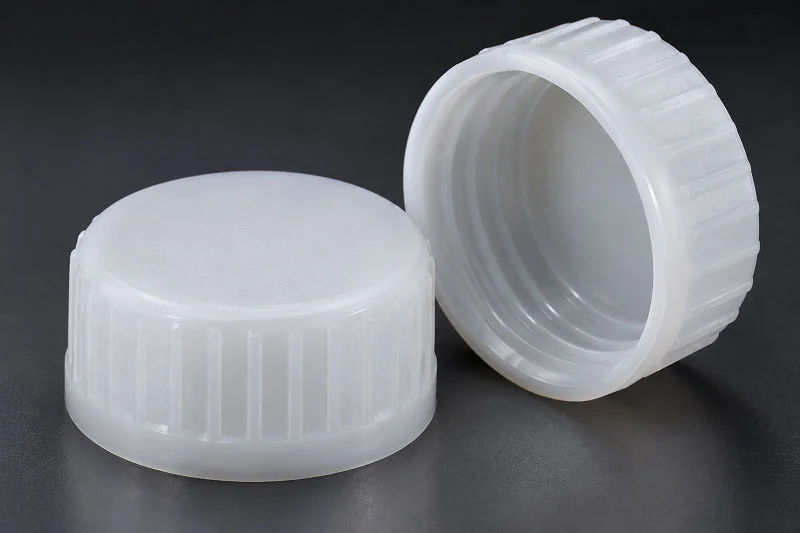
Typical HDPE injection molding applications follow from those traits. Caps and closures. Food containers. Crates, trays and bins. Housewares. Seal caps. Non-load-bearing electronic housings. Pipe fittings and electrical enclosures. Packaging dominates the volume, and construction markets take pipe fittings and enclosures where weather resistance and chemical stability matter.
From Prototype to Volume Production in HDPE Injection Molding
The sequence is straightforward, but each step depends on the one before it.
Start with a design review against the shrinkage and draft numbers above. Catch the thin-to-thick transitions, the missing draft and the undersized gate land on the drawing, not in steel.
Build the tooling to the chosen grade’s shrinkage. Not a generic figure. The grade you will actually run.
Then run trials and document the process window. Record melt temperature, mold temperature, pressures, speeds, hold time and cooling. This record is the asset. It is what keeps later lots stable when a new shift, a new dryer or a new resin lot shows up.
Follow with first-article inspection against the drawing. Then scale up, with resin verification on each reorder. Check the certificate against the published specification, and confirm the melt flow rate and density match what the mold was tuned to.
Most production problems trace back to one of three decisions made loosely: grade selection, mold design for shrinkage, or resin verification. Get those right and the rest is tuning.
Choosing NOBLE for HDPE Injection Molding
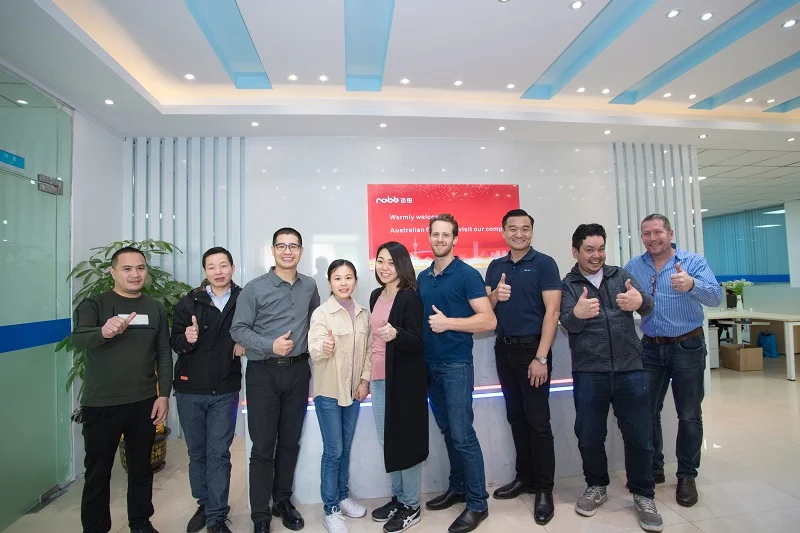
NOBLE is a leading Chinese contract manufacturer, and HDPE injection molding work sits squarely inside what we do. We are a Sino-British joint venture, recognized by the government as a National High-tech Enterprise, with more than 10 years of experience in machining and rapid prototyping. Our service capability and our machining expertise help customers complete prototyping and volume production efficiently.
We hold ISO 9001:2015 and ISO 13485:2016 certification. We provide a full service from design to assembly, not production alone.
The supporting capabilities are concrete. Parts can be finished rapidly within 7–10 days, with the support of comprehensive CNC software and experienced engineers. A quick, professional quote can be offered within 24 hours after you submit an RFQ with the information needed. Our in-house capabilities span design, prototypes and mass production. A full set of inspection equipment and an overall quality control system keep prototypes and components accurate. And we work across metal and plastic materials for customers in automotive, aerospace, medical devices, robotics, automation equipment, industrial equipment, communication equipment, new energy and consumer products.
One Partner from Design to montaggio
What does design to assembly mean for an HDPE injection molding project? It means the design input, the tooling, the molding, the inspection and the assembly are handled under one roof.
You are not coordinating handoffs between shops. You are not re-explaining the shrinkage allowance to a second supplier. One team carries the part from concept through to a finished assembly, and the process window established at trial stays with the project as it scales.
Certified Quality for Regulated Work
ISO 9001:2015 covers a quality management system. ISO 13485:2016 covers a quality management system oriented to medical devices. Together they give buyers in medical, automotive and industrial segments a documented framework for how work is controlled, inspected and traced.
That matters most where a nonconforming lot is expensive. A documented system is how you catch a resin mismatch or a cooling imbalance before it becomes a shipment.
FAQs of HDPE Injection Molding
What is HDPE injection molding used for?
High-volume, chemically demanding parts: caps and closures, food containers, crates, trays, bins, housewares, pipe fittings and non-load-bearing electrical housings. It suits any opaque part that needs toughness, chemical resistance and low cost per unit, and it falls short where high heat resistance or transparency is required.
Does HDPE need drying before molding?
Normally no, if the resin is stored properly. If surface moisture settled during storage, dry it. Moisture shows up as splay or silver streaks. Do not over-dry, because over-drying is itself a cause of brittleness and cracking.
How much will an HDPE part shrink, and how should the mold be designed for it?
Plan for 1.5–4%, and expect it to differ in the flow and transverse directions. Design uniform walls, balanced cooling, a gate in the thickest region, gate thickness at or below 80% of the immediate wall, and the end of fill at the parting line. Simulation can vet gate locations before you cut steel.
My part warped or sank. What should I change first?
Check the resin against the spec first, then cooling balance, then pressure and speed. Warpage usually traces to uneven cooling or uneven crystallization. Sink marks usually trace to insufficient packing in thick sections. Fix the cause before you touch the setpoints.
What wall thickness and draft angle should I specify for HDPE injection molding?
Keep walls as uniform as the geometry allows and make transitions gradual. Use 1–2° draft minimum per side, and 3–5° for deep draws, complex geometry or textured surfaces. Add roughly 1° per 0.025 mm of texture depth.
Is HDPE suitable for chemical exposure or outdoor use?
Yes for most chemicals. It resists acids, bases, alcohols, detergents and solvents, and it holds up at low temperatures. Two cautions. It is soluble in hydrocarbons above 60 °C, and prolonged sunlight requires UV stabilization. For chemical contact under load, specify a grade with high ESCR.
How do I move from prototype to volume production with one supplier?
Review the design against the shrinkage and draft numbers, build tooling to the chosen grade’s shrinkage, run trials with a documented process window, complete first-article inspection, then scale up with resin verification on each reorder. At NOBLE, that path runs from design to assembly under one roof, backed by ISO 9001:2015 and ISO 13485:2016 certification.