What is the best way to build a PCR equipment enclosure? It depends on how many you need, how exact they must be, what material to use, and how to keep things clean. The global market is expected to grow by 8.5% each year until 2033, because more people need diagnostic tests. Labs need reliable machines for their everyday work. Working with OEMs and good design choices matter a lot. Starting early on the housing design helps pass qualification tests. Suppliers that filter air well and track batches are more likely to win approval. The PCR process needs precision and strict cleanliness. Knowing these points helps you pick the best PCR machine. This guide gives you a clear plan for choosing the right method, from design to the final enclosure.
PCR Equipment Enclosure Requirements
Material Selection for Thermal and Chemical Resistance
Thermoplastics vs. Metals for PCR Equipment Enclosures
The right material decides how well the enclosure works. PCR machines generate heat during thermal cycling. The PCR equipment enclosure must handle this without bending or warping. Heat-stabilised grades keep their shape even after many heat cycles. Thermal stabilisers and impact modification are the main technologies used here. These grades resist becoming brittle and surface damage. The table below compares common options.
| Material | Thermal & Chemical Resistance Properties |
| ABS/PC Blends | Handles more heat and is tough; works fine with common healthcare wipes |
| Polycarbonate | Strong against impact; can crack with some alcohols if molded-in stress is high |
| PPSU | Can handle steam autoclave and strong cleaning |
| PEEK | Good for high heat and strength needs; resists chemicals very well |
| Aluminum | Helps spread heat; can use insulating liners to meet touch temperature limits |
| Stainless Steel | Best where high durability and frequent sterilization are needed |
Each material has a different job. Metals like aluminum help spread heat. Thermoplastics like PEEK resist chemicals. The PCR process needs steady material performance.
Evaluating Chemical Resistance to Lab Reagents
Labs use strong cleaning agents and solvents. The enclosure material must resist them. ABS/PC blends work well with common healthcare wipes. Polycarbonate needs careful molding to avoid stress cracking. PPSU can handle steam autoclave cycles. PEEK resists harsh chemicals very well. The right material protects the equipment. It ensures a long service life. This directly affects the sensitivity and accuracy of diagnostic results.
Key Design Considerations for PCR Equipment Enclosures
Thermal Management and Heat Dissipation Strategies
The PCR Cabinet is designed to provide a controlled, contamination-free environment for polymerase chain reaction setup, incorporating features that address both thermal stability and airborne particle control.
High-throughput PCR machines generate more heat during operation. The enclosure must manage this well. Environmental control systems include precise sensors. These sensors check and adjust temperature and humidity all the time. This stops samples from breaking down. A fast PCR machine generates even more heat in shorter cycles. The enclosure design must account for this. Good thermal management keeps PCR technology performance steady.
Minimizing Contamination with Smooth, Non-Porous Surfaces
Contamination control is very important for diagnostics. The PCR cabinet removes 99.99% of particles as small as 0.3 microns. HEPA filtration creates a sterile barrier against airborne contaminants. UV sterilization at 254nm wavelength kills germs effectively. Negative pressure gradients stop outside air from entering the work area. Seamless interior surfaces leave no spots for contamination. They make cleaning easy. The enclosure must support these features. This is essential for molecular diagnostics and genetic testing applications. Even a portable PCR machine needs these contamination controls. They protect DNA samples from breaking down.
Regulatory Standards for Medical Equipment Enclosures
ISO 13485 Compliance
Manufacturers must follow quality management standards. ISO 13485 covers medical device quality systems. Compliance ensures steady product quality. It supports clinical diagnostics and genomics applications. Certification shows a commitment to quality. Labs look for certified suppliers. A certified partner gives confidence to diagnostic labs selecting equipment.
IEC 61010-2-101 Safety Requirements
IEC 61010-2-101 specifically covers in vitro diagnostic equipment. This includes PCR machines. The standard covers electrical safety, mechanical hazards, and thermal safety. Risk assessment is required for diagnostic instruments. Biocompatibility testing per ISO 10993 applies to seals that touch samples. Sterilization validation ensures enclosure materials can handle common methods. These requirements protect operators. They ensure reliable testing in diagnostic labs. The throughput of testing depends on steady machine operation. DNA amplification needs precise thermal control. Sensitivity matters for every run.
PCR Equipment Enclosure Manufacturing Processes
There are four main ways to make enclosures for thermal cycling machines. Each method works best for different needs, like how many parts you need, how exact they must be, and how clean they must stay. CNC machining, 3D printing, injection molding, and sheet metal fabrication each have their own strengths. The table below shows how these processes match different enclosure uses.
| Manufacturing Process | Key Sub-processes | Typical Applications in PCR Equipment Enclosures |
| CNC Machining | High-precision cutting, tight tolerances | Instrument frames, mounting plates, precision brackets, heat dissipation components |
| Sheet Metal Fabrication | Laser cutting, CNC bending, welding, riveting | Enclosure panels, structural housings, laboratory equipment enclosures |
| Injection Molding | Mold design, high-pressure material injection | High-volume covers, housings, internal components |
| 3D Printing | Layer-by-layer additive deposition | Prototypes, custom brackets, complex internal geometries |
Prototyping and Low-Volume Processes (CNC & 3D Printing)
CNC Machining for Tight Tolerances and Complex Geometries
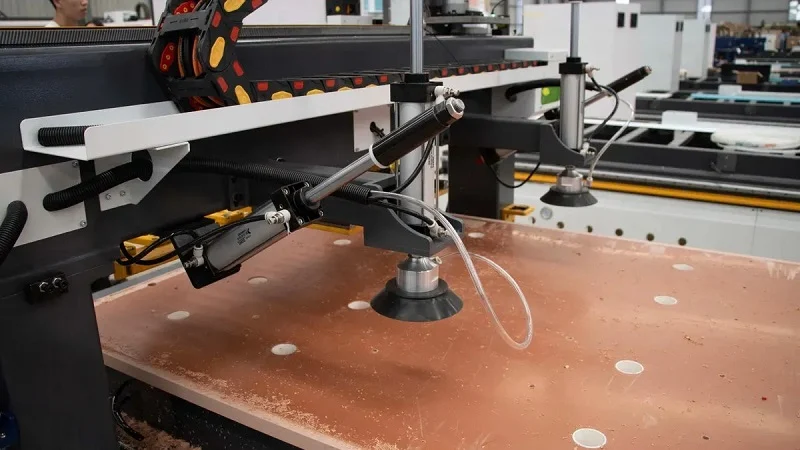
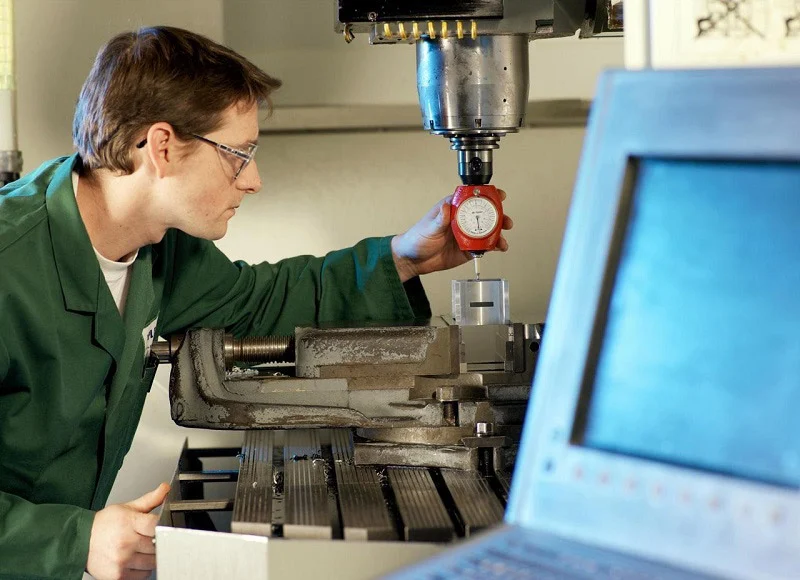
CNC machining cuts away material from solid blocks of aluminum, stainless steel, or engineering plastics. This method gives very exact dimensions. Instrument frames and mounting plates need this kind of precision. Parts that spread heat also benefit from the tight tolerances CNC can achieve. The process can handle tricky shapes that other methods find hard. Surface finishes from CNC machining meet cleanroom needs without a lot of extra work. For low-volume runs, CNC offers fast turnaround with no tooling costs. Each part costs more than molded ones, but not having to pay for a mold upfront makes it a good choice for quantities under a few hundred units. Material waste is a concern, but recycling the chips helps a little.
3D Printing for Rapid Iteration and Custom Designs
3D printing builds parts layer by layer from digital models. The technology is great at making complex shapes that regular machining cannot do. A typical desktop printer costs between $379 and $3,440, so it is affordable for research settings. Layer heights of 0.2 mm with deviations under 0.2 mm from the CAD model work well for most prototypes. ABS filament makes black, opaque, and strong parts that are good for enclosure testing. Design teams can quickly try new versions, printing updated parts overnight. This speed speeds up the development cycle a lot. Custom brackets and internal holders benefit from the design freedom. However, printed parts do not have the same surface quality as machined parts. Extra steps like sanding and sealing are needed to make surfaces cleanroom-ready. The technology is best for prototypes and very low volumes, not for production runs.
High-Volume Production with Injection Molding
Consistent Quality and Low Per-Unit Cost at Scale
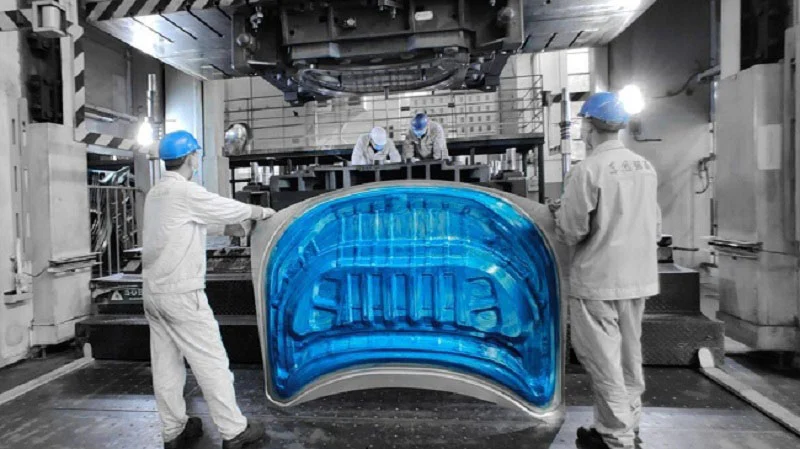
Injection molding forces hot molten plastic into a steel mold under high pressure. The process makes identical parts with amazing consistency. Once the mold is built, the cost per part goes way down. Production volumes in the tens of thousands make this the most cost-effective choice. Molded parts have smooth, non-porous surfaces that resist contamination. This is very important for molecular diagnostics equipment. The repeatability of injection molding means every enclosure meets the same specifications. Quality control becomes easier when the dimensions stay almost the same. For established PCR machines with stable designs, injection molding gives the best long-term value.
Upfront Tooling Investment and Mold Design Considerations
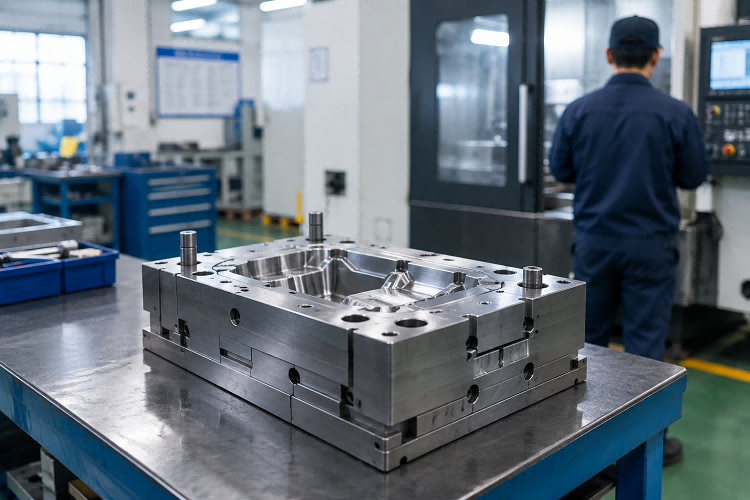
The initial tooling cost for injection molding is high. Steel molds cost tens of thousands of dollars and take weeks to make. Mold design must account for draft angles, wall thickness, and gate placement. Poor mold design leads to warping, sink marks, or short shots. Material choice affects mold design a lot. Heat-stabilized grades for PCR applications may need higher mold temperatures. Deciding to invest in tooling requires confidence in the product design. Design changes after the mold is made are expensive. Most manufacturers finish thorough prototyping before committing to injection molding. The payoff comes from low per-part costs and high throughput once production starts.
Sheet Metal Fabrication for Structural Enclosures
Cutting, Bending, and Welding for Robust Frames
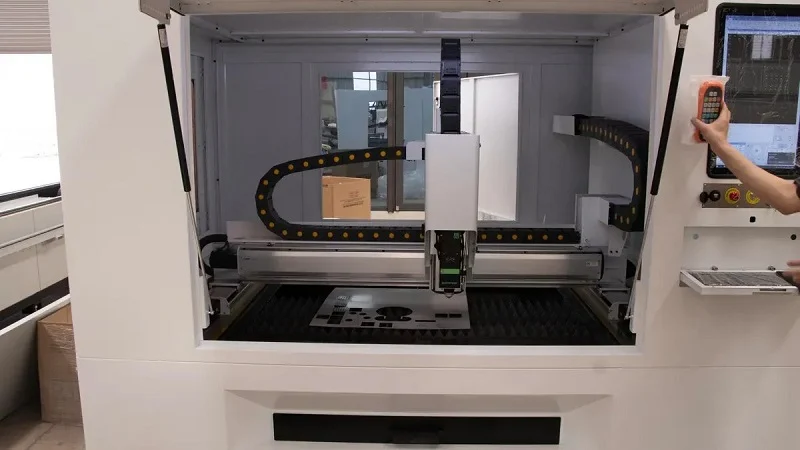
Sheet metal fabrication starts with flat metal sheets. Laser cutting creates precise outlines. CNC bending forms the material into three-dimensional shapes. Welding joins sections for permanent assembly. This process makes strong frames that can handle mechanical stress. Stainless steel and aluminum are common choices. These materials offer great durability and heat resistance. Sheet metal enclosures handle the thermal demands of PCR technology well. The process suits medium volumes where injection molding tooling is not worth it. Fabrication lead times are shorter than mold construction. Structural strength makes this method ideal for larger instruments that need rigid support.
Integration of Hardware and Electromagnetic Shielding
Sheet metal enclosures make it easy to add hardware. Rivets and fasteners attach components directly to the frame. The metal itself provides electromagnetic shielding, which protects sensitive electronics from interference. This is valuable for diagnostic instruments that need to keep signal quality. Extra shielding gaskets can be added at assembly points. Surface finishing options include powder coating, sandblasting, and brushing. These treatments improve corrosion resistance and cleanroom compliance. The combination of structural strength and shielding makes sheet metal a versatile choice for many applications. Portable PCR machine designs often use this approach for durability during transport.
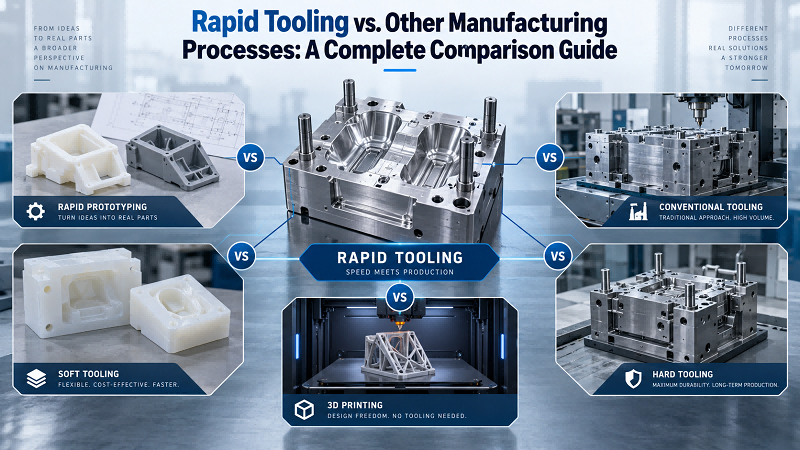
The choice between these processes depends on production volume, precision needs, and budget limits. Prototyping favors 3D printing and CNC machining. High-volume production demands injection molding. Structural needs point toward sheet metal fabrication. Many manufacturers combine processes, using CNC for precision parts and sheet metal for the main housing. This hybrid approach balances cost, quality, and performance. Understanding each process helps OEMs make informed decisions for their specific equipment needs.
Process Comparison for PCR Equipment Enclosures
Cost, Lead Time, and Scalability
Initial Investment vs. Per-Part Cost for Each Process
The cost of each method affects the choice. Money for setup and cost per part are very different for the four processes.
| Process | Setup/Tooling Cost | Per-Unit Cost (Low Volume) | Per-Unit Cost (High Volume) |
| 3D Printing | Minimal (no tooling) | Moderate | Moderate |
| Injection Molding | High (custom mold $10k+) | Very high | Very low |
| CNC Machining | Moderate (programming & fixtures) | Moderate | Moderate to low |
| Casting/Traditional | High (dies or molds) | High | Low |
Sheet metal fabrication and CNC machining have medium setup costs from custom jigs and operator time. 3D printing needs no tooling. Injection molding requires the most upfront money, with a custom mold costing over $10,000 before making any parts. This investment only makes sense if you make many parts. Low-volume runs spread the mold cost over a few parts, so each part carries a heavy tooling cost. High-volume runs spread it over thousands, so per-part price drops a lot.
Typical Lead Times for Prototypes Versus Production Runs
Prototype lead times are best for 3D printing. A 3D-printed enclosure can ship in days after the final design. CNC machining takes a bit longer because of programming. Both avoid the weeks needed for mold making. Production runs change the timeline. Injection molding needs mold design, steel cutting, and trial shots. This can take several weeks before full production. Sheet metal fabrication is in between. Laser cutting and CNC bending take time to set up, but then run quickly. OEMs planning a launch must think about these timelines. A fast PCR machine project with a tight schedule might start with 3D-printed prototypes. Then switch to injection molding when the design is stable. This staged approach balances speed with long-term cost.
Precision, Tolerances, and Surface Finish
Achieving Tight Tolerances with CNC vs. Injection Molding
CNC machining gives the tightest control of size among the four processes. Cutting tools remove material with repeatable precision. Instrument frames and mounting plates hold exact positions. This accuracy matters for PCR machines that align optical parts or heating elements. Injection molding also gets tight tolerances once the mold is proven. It copies the mold cavity very well. Part-to-part variation stays small over long production runs. Mold shrinkage makes it harder. Each material shrinks differently when cooling. Mold designers must account for this. CNC machining avoids shrinkage issues. Cutting removes material from a solid block, so dimensions stay true to the CAD model. For critical alignment, CNC often wins. For high-volume parts with consistent shape, injection molding gives similar precision at lower cost.
Post-Processing Requirements for 3D Printed Parts
3D printed parts need extra work before use in a cleanroom. Layer lines leave tiny ridges on every surface. These ridges trap dirt and are hard to clean. Sanding smooths the surface but takes time. Sealing fills the holes. Vapor smoothing is another option for some materials. Each step adds labor and cost. The final surface is almost as good as machined or molded parts, but not exactly. For prototypes, this tradeoff works fine. For production enclosures, the extra steps reduce the cost benefit of 3D printing. Design teams should include post-processing in their budget and schedule. A printed part that needs a lot of finishing may cost more than a machined one.
Material Compatibility and Regulatory Compliance
Which Processes Best Support ISO 13485-Grade Materials?
ISO 13485 certification needs documented material tracking. Each batch of resin or metal must be tracked from supplier to finished part. CNC machining and injection molding handle this well. Material suppliers give certificates of analysis with each lot. Sheet metal fabrication offers similar tracking for aluminum and stainless steel. 3D printing has more challenges. Resin formulas change between suppliers and batches. Documentation standards vary a lot across the additive manufacturing industry. Some filament and resin makers now offer medical-grade materials with full tracking. But these options are still limited compared to traditional methods. Labs and diagnostic equipment makers should check material documentation before choosing a process. The pcr equipment enclosure must meet the same quality standards as the instrument inside it.
Certifying the Final Enclosure for Medical Use
Final certification needs more than just picking the right material. The whole enclosure must pass safety and performance tests. IEC 61010-2-101 covers electrical, mechanical, and thermal safety requirements for IVD equipment. Biocompatibility testing per ISO 10993 applies to any surface that touches samples. Sterilization validation checks that the enclosure survives common cleaning methods. Each manufacturing process affects certification differently. Injection molding makes consistent parts that test predictably. CNC machining offers the same consistency for metal parts. 3D printed parts need extra validation. Layer adhesion and surface porosity change between builds. This makes certification harder. Sheet metal fabrication gives strong, repeatable results. The choice of process directly affects how smoothly certification goes. A partner with experience in medical device manufacturing can help guide this. Their expertise lowers the risk of failed tests and costly redesigns.
The comparison shows no single best method. Each process serves a different need. Prototyping works best with 3D printing and CNC machining. High-volume production needs injection molding. Structural needs point to sheet metal. Many manufacturers combine processes for the best result. CNC-machined precision parts fit inside a sheet metal housing. Injection-molded covers protect the assembly. This hybrid approach makes PCR machines more accurate while controlling costs. The sensitivity of diagnostic results depends on steady instrument performance. That performance starts with the right enclosure. Throughput in labs depends on machines that run reliably. Efficiency gains come from choosing the right manufacturing path. Every decision, from material to process, shapes the final product. OEMs who understand these tradeoffs make better choices for their PCR equipment.
Decision-Making Framework
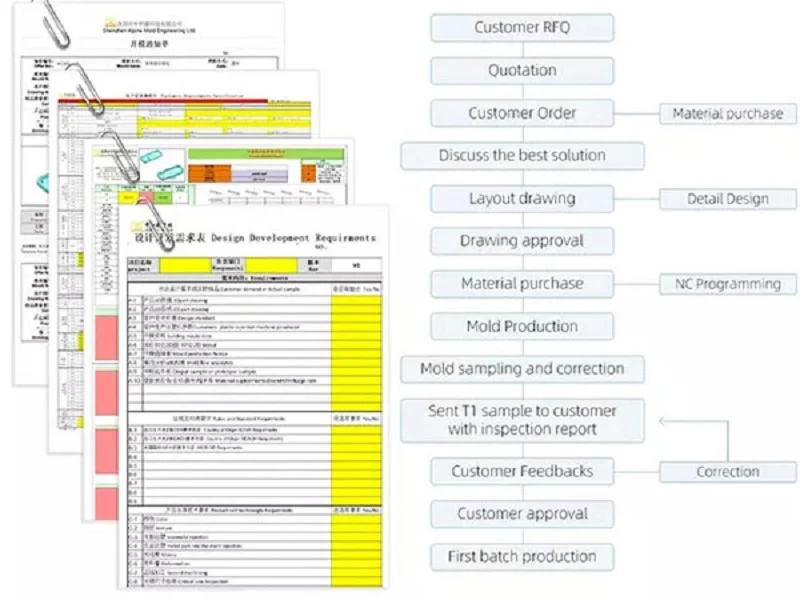
Choosing the right manufacturing path for a PCR equipment enclosure means following a clear framework. The right equipment choice depends on your specific project. These three steps turn technical requirements into a concrete decision. They cover volume, precision, and budget. Each step narrows the options. The result is a clear path forward.
Step 1: Define Your Production Volume
Identifying Low, Medium, and High Volume Thresholds
The first step answers a simple question. How many units do you need? Low volume covers prototypes and small runs, for which 3D printing and CNC machining fit this range. They need no large upfront investment. Medium volume is suited to sheet metal fabrication and advanced CNC. High volume is where injection molding becomes the best choice. The mold costs a lot upfront. But the per-part price drops very low. This matters for PCR machines used in high-throughput labs. The throughput of your production line must match the testing demand. A PCR system for a central diagnostics lab needs high volume. A research prototype needs low volume. This step alone eliminates many options for any PCR project. The volume threshold is not fixed. It shifts based on the part complexity. The key is to calculate the breakeven point. This is where the tooling cost is paid off by the lower per-part cost.
Step 2: Evaluate Precision and Complexity Needs
Matching Geometry and Tolerance Requirements to a Process
Step two looks at the part itself. What shape does it need? How exact must it be? Precision is not optional for PCR equipment. The accuracy of the thermal cycle depends on part fit. Sensitivity of the diagnostic test relies on stable alignment. CNC machining holds the tightest tolerances. It is the best PCR machine choice for critical mounting points. 3D printing handles complex internal shapes. Cooling channels and custom brackets are easy to print. But the surface finish is rough. Post-processing adds time and cost. Injection molding gives a smooth, repeatable surface. It is ideal for the best PCR machine housings in production. Sheet metal offers strength and electromagnetic shielding. Use this PCR machine buying guide step to match geometry to the process. A complex shape with tight tolerances might need CNC first, then molding. A simple box needs sheet metal. The laboratory equipment selection process must weigh these factors. The decision to choose the best PCR machine starts with the enclosure. A mismatch here leads to delays and high costs. The geometry drives the process choice. The tolerance level drives the cost. Tight tolerances are achievable with CNC machining and precision molding, while 3D printing offers lower accuracy for complex geometries. This step requires careful review of the CAD model.
Step 3: Consider Budget and Timeline
Balancing Tooling Costs with Per-Part Price and Time to Market
Step three balances money and time. Budget is not just about the part cost. It is the total project cost. Tooling is the biggest upfront expense. Injection molds cost tens of thousands of dollars. CNC machining needs fixtures but no long-lead mold. 3D printing has zero tooling cost. Per-part price tells a different story. High volume makes injection molding the cheapest. Low volume makes 3D printing or CNC cheaper. Timeline affects the choice too. A PCR project on a fast schedule might skip injection molding. The mold takes weeks to make. CNC and 3D printing start right away. This speed gets your product to market faster. Diagnostics companies often face tight deadlines. Diagnostic labs need the equipment now. A hybrid approach works well. Use CNC for the first batch. Then switch to injection molding for the next. This balances speed and long-term cost. A partner can help you calculate these trade-offs. Their team evaluates the whole process for you. They look at the mold cost, the per-part price, and the lead time. They give you a clear recommendation. This reduces the risk of a bad decision.
These three steps create a repeatable process for any enclosure project. First, define the volume. Second, evaluate the precision. Third, balance the budget and timeline. The result is a clear manufacturing path. The next sections show real examples of these choices in action.
Case Studies in PCR Equipment Enclosure Manufacturing
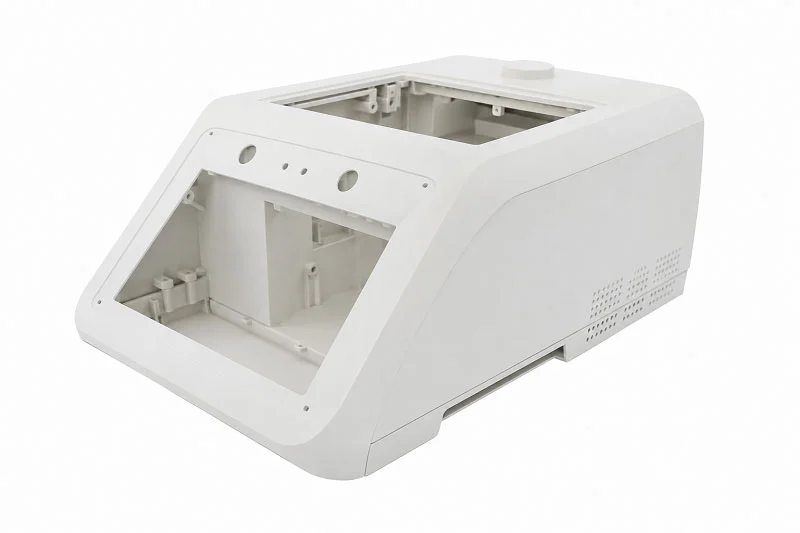
Low-Volume Research Prototype Using CNC Machining
Iterative Design Changes and Rapid Turnaround
A university genomics lab needed a custom enclosure for a new PCR prototype. The team planned to build only a small number of units for validation studies. Injection molding made no sense at that volume. The mold alone would cost more than the entire project budget.
CNC machining offered the right path. The manufacturer programmed the cutting paths straight from the CAD model. No tooling investment meant the design could change freely. The first version showed clearance issues around the heating block. The team updated the model and got new parts within days. This fast turnaround proved critical. Each design change improved thermal management and component access.
The machined aluminum enclosure also provided natural heat dissipation. The lab avoided adding extra cooling hardware. Surface finish met cleanroom requirements without extra steps. The project moved from concept to working instrument in weeks, not months. For research settings with uncertain production volumes, CNC machining offers flexibility that other processes cannot match.
Enclosures for PCR Machines Used in Diagnostics
High-Volume Injection Molding for Consistent Quality
A diagnostics company prepared to launch a commercial PCR system for clinical labs. Market demand projected tens of thousands of units each year. The production volume required a manufacturing process built for scale and repeatability.
Injection molding emerged as the clear choice. Industry sources list “Diagnostic Device Housings” as a common application, specifically citing enclosures for PCR machines. Precision micro injection molding serves the diagnostics and genomics markets directly. The process produces identical parts across every production run. This consistency matters for regulatory compliance and quality assurance.
The upfront mold investment was significant. The per-part cost dropped dramatically once production began. Each enclosure came out with smooth, non-porous surfaces that resist contamination. The molded parts met ISO 13485 documentation requirements with full material traceability. The company scaled production confidently, knowing every unit matched the validated design. For established products with stable designs, injection molding provides the lowest total cost at high volume.
Complex Geometry Enclosure via 3D Printing
Overcoming Design Limitations in Traditional Manufacturing
A startup developing a portable PCR device faced a unique challenge. The enclosure required internal cooling channels that followed curved paths around the optical detection module. Traditional machining could not create these passages. Injection molding would require complex side actions and multiple slides, driving tooling costs beyond reach.
3D printing solved the geometry problem. The design team embedded conformal cooling channels directly into the enclosure walls. These channels followed the exact contours of the internal components. The printed part combined multiple separate machined pieces into a single component. Assembly time dropped significantly.
The prototype performed well in initial testing. Surface roughness required post-processing to meet cleanroom standards. The team applied vapor smoothing and sealed the exterior surfaces. The final enclosure met the sensitivity requirements for fluorescence detection. This approach proved ideal for low-volume production runs where design complexity outweighs per-part cost. The startup validated their concept and later moved to injection molding once volumes justified the tooling investment.
These case studies show the practical trade-offs between manufacturing processes. Volume drives the decision. Complexity shapes the options. Budget and timeline set the boundaries. A manufacturing partner brings experience across all four processes. Their engineering team helps OEMs navigate these choices with confidence.
Partner with NOBLE for Your PCR Equipment Enclosure Project
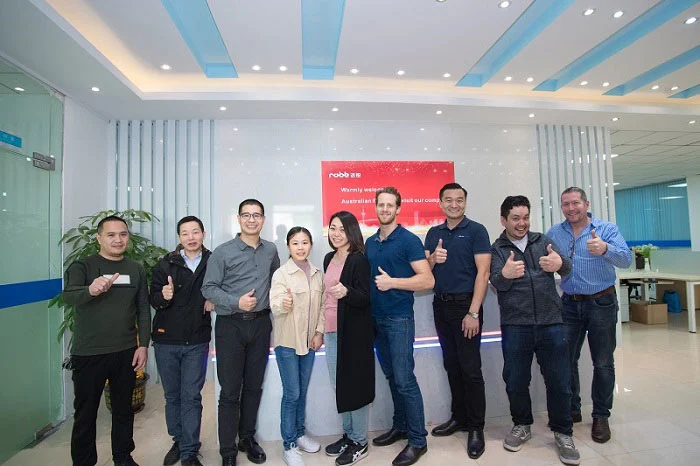
NOBLE is a leading manufacturer that works with metal and plastic for medical devices. The company helps customers finish prototypes and full production runs with ease. Engineering teams get expert advice at every step. NOBLE combines technical skill with responsive service. This team approach lowers risk and gets products to market faster.
Full-Service Capabilities from Design to Assembly
Expertise in Both Metal and Plastic Fabrication
NOBLE has deep know-how in many manufacturing areas. Our team works with aluminum, stainless steel, and strong plastics. This dual skill matters for pcr equipment enclosure projects. One partner can cut precision brackets, mold plastic covers, and build sheet metal frames. The company handles tricky shapes with confidence. Material knowledge covers a range of thermoplastics and metals suitable for medical housings. This wide range of skills means no wasted handoffs between vendors.
Single Source for Machining, Molding, and Finishing
Turnkey production makes the whole supply chain easier. NOBLE handles part sourcing, mechanical work, assembly, testing, and packaging. Customers avoid juggling many suppliers. NOBLE offers:
- CNC machining for exact instrument frames and mounting plates
- Injection molding for large runs of housings with steady quality
- Sheet metal fabrication for strong enclosures that block electromagnetic interference
- 3D printing for fast prototypes and complex internal shapes
- Surface finishing like powder coating, sandblasting, and brushing
This one-stop approach cuts lead times and removes communication gaps. Quality control stays steady from raw material to finished product.
Certified Quality for the Medical Device Industry
Quality Management System Certification
Certification shows a real commitment to quality. NOBLE holds certifications for quality management systems, ensuring rigorous process control. These certifications require written systems for tracking, risk control, process checks, and record-keeping. Diagnostic labs and OEMs feel confident knowing every enclosure meets set standards. The quality system supports FDA and other regulatory approvals.
Rigorous Quality Control and Traceability
Every material batch gets tracked from supplier to finished part. Each resin or metal lot comes with a certificate of analysis. This tracking is vital for PCR machines used in clinical settings. The company runs strict quality systems to catch non-conforming units. Process checks ensure repeatable results across all production runs. This paperwork makes it easier to certify the final medical device.
How to Get Started with Your PCR Equipment Enclosure Project
Design for Manufacturing (DFM) Review Process
The process starts with a Design for Manufacturing review. NOBLE’s engineers look at your CAD model for possible issues. They check draft angles, wall thickness, gate placement, and tolerance limits. This review finds problems before you spend on tooling. Our team gives useful feedback on material choice and process selection. Customers get clear advice based on volume and budget. This early teamwork prevents costly fixes later.
Contacting the Engineering Team for a Project Consultation
Starting a project takes one simple step. Contact the NOBLE engineering team with your design files and needs. Our team sends back a detailed quote and manufacturing plan. They pick the best process for your situation. Whether you need one prototype or mass production, NOBLE delivers. The mix of certifications, full-service skills, and engineering know-how makes it a trusted partner for PCR equipment enclosure manufacturing. Labs and diagnostics companies around the world rely on this team for dependable, compliant enclosures.
Selecting the right manufacturing process for a PCR equipment enclosure depends on volume, precision, material, contamination control, and regulatory needs. No single method suits every project. Start by reviewing the materials the labs handle. Define what needs protection: the sample, the user, or both. Map the workflow and room layout. Confirm maintenance and certification needs early. Compare quotes only after the application fit is clear. This structured approach reduces risk. An experienced manufacturing partner brings expertise across all processes. A Design for Manufacturing review catches issues before tooling begins. Our team guides you toward the best PCR machine enclosure for your needs. Contact a manufacturing partner today to discuss your PCR equipment enclosure project and get expert guidance on choosing the right process.
FAQ
What is the best manufacturing process for a PCR equipment enclosure?
No single process fits every project. Production volume drives the decision. Low-volume runs suit CNC machining or 3D printing. High-volume production demands injection molding. Sheet metal fabrication works well for structural frames. Each method offers distinct advantages for specific needs.
How do I choose between CNC machining and injection molding?
CNC machining works best for low volumes under a few hundred units. It requires no tooling investment. Injection molding needs expensive molds but delivers very low per-part costs at scale. Consider your total project budget and timeline before choosing.
What materials work best for PCR equipment enclosures?
ABS/PC blends handle heat and resist common cleaning agents. Polycarbonate offers impact strength but needs careful molding. PEEK resists harsh chemicals. Aluminum spreads heat effectively. Stainless steel provides durability for frequent sterilization. Material choice depends on your specific thermal and chemical requirements.
How do I ensure my PCR equipment enclosure meets ISO 13485 standards?
Work with a certified manufacturer. ISO 13485 requires documented material tracking from supplier to finished part. Your partner must provide certificates of analysis for each material batch. Choose a supplier with established quality management systems and traceability procedures.
What is the typical lead time for a prototype enclosure?
3D printing delivers parts within days after final design approval. CNC machining takes slightly longer due to programming and setup. Both avoid the weeks needed for injection mold construction. Prototype timelines depend on part complexity and surface finish requirements.
Can I combine different manufacturing processes?
Yes. Many manufacturers use hybrid approaches. CNC-machined precision parts fit inside sheet metal housings. Injection-molded covers protect the assembly. This strategy balances cost, quality, and performance. A skilled manufacturing partner can recommend the best combination for your project.
How does contamination control affect PCR equipment enclosure design?
PCR equipment requires smooth, non-porous surfaces. These surfaces resist contamination and clean easily. Seamless interior designs leave no spots for particles to collect. HEPA filtration and UV sterilization features need proper enclosure integration. Design choices directly impact diagnostic accuracy in clinical labs.
What certifications should I look for in a manufacturing partner?
Look for manufacturers with quality management system certifications and compliance with applicable safety standards such as IEC 61010-2-101. These standards cover quality management and medical device safety. A certified partner ensures regulatory approval runs smoothly for your final product.