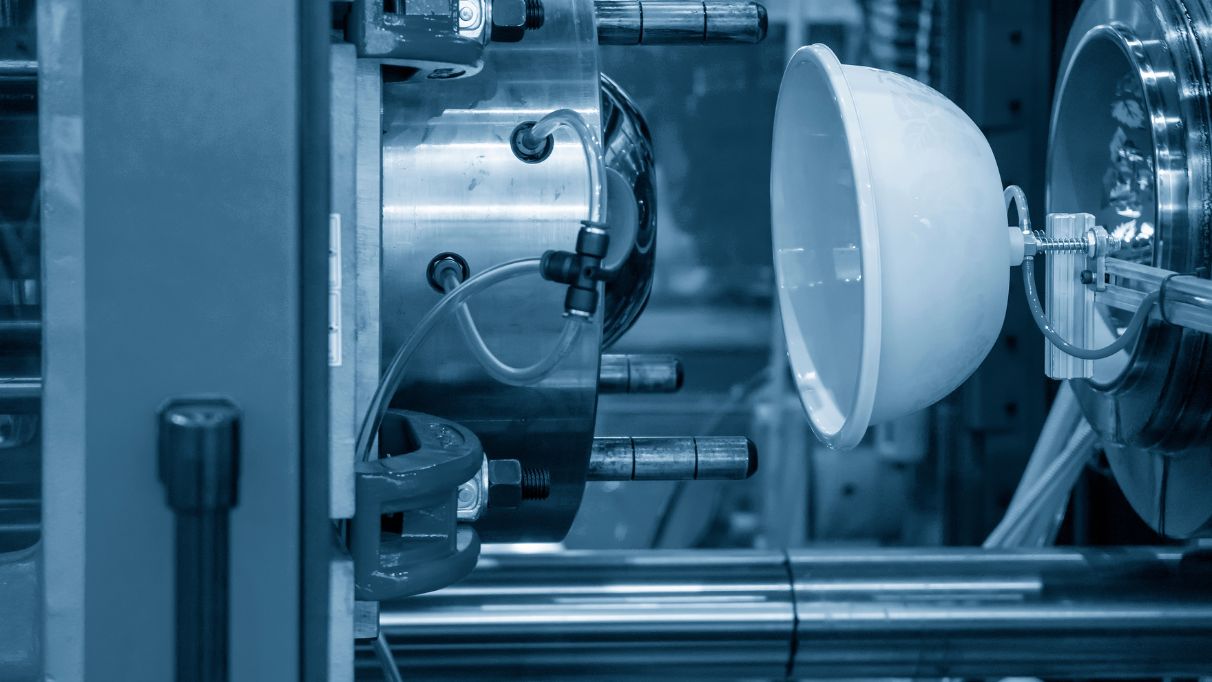
Transparent plastic injection molding might seem challenging at first, but with precision and care, it’s entirely achievable. Even the smallest mistake could affect the clarity, so attention to detail is crucial. This guide will take you step by step, helping you master the process from material selection to the essential post-processing techniques.
Why Transparent Plastic Injection Molding is Challenging
Transparent plastics such as PMMA, PC, and PET are known for their excellent optical properties, but these materials can be unforgiving when defects occur. Key considerations include:
1. Surface Quality Requirements
Defects to Avoid: Streaks, bubbles, cloudiness, black spots, discoloration, and inadequate gloss.
Impact: Even the smallest imperfections can make the final product unusable, as these defects are highly visible and undermine product quality.
2. Material Properties
High Melting Point: These materials require elevated processing temperatures, often exceeding standard injection molding temperatures.
Poor Flowability: Due to their low flow characteristics, controlling injection pressure and speed is critical to achieving consistent results.
3. Internal Stress
Causes: Uneven cooling rates, excessive injection pressure, or improperly designed molds.
Effects: Internal stress can lead to warping, cracking, or a decrease in optical clarity, which severely impacts the product’s appearance and functionality.
Best Practices for Transparent Plastic Injection Molding
1. Material Preparation and Drying
- Cleanliness: Ensure that raw materials are devoid of contaminants by using sealed containers for both storage and transportation.
- Drying: Moisture must be eliminated to prevent material degradation. It is recommended to employ a dry hopper system with filtered and dehumidified air.
Tips:
- Dry materials like PMMA at 80-90°C for 3-4 hours.
- Over-drying must be avoided as it can result in brittleness.
2. Machine and Screw Cleaning
- Contamination Prevention: Before and following use, the barrel, screw, and nozzle must be cleaned to prevent cross-contamination of materials.
- Cleaning Agents: Utilize specialized screw cleaning agents or resins like PE/PS to ensure thorough cleaning.
- Temporary Shutdown: In the event of a temporary shutdown, reduce barrel and dryer temperatures to minimize material degradation.
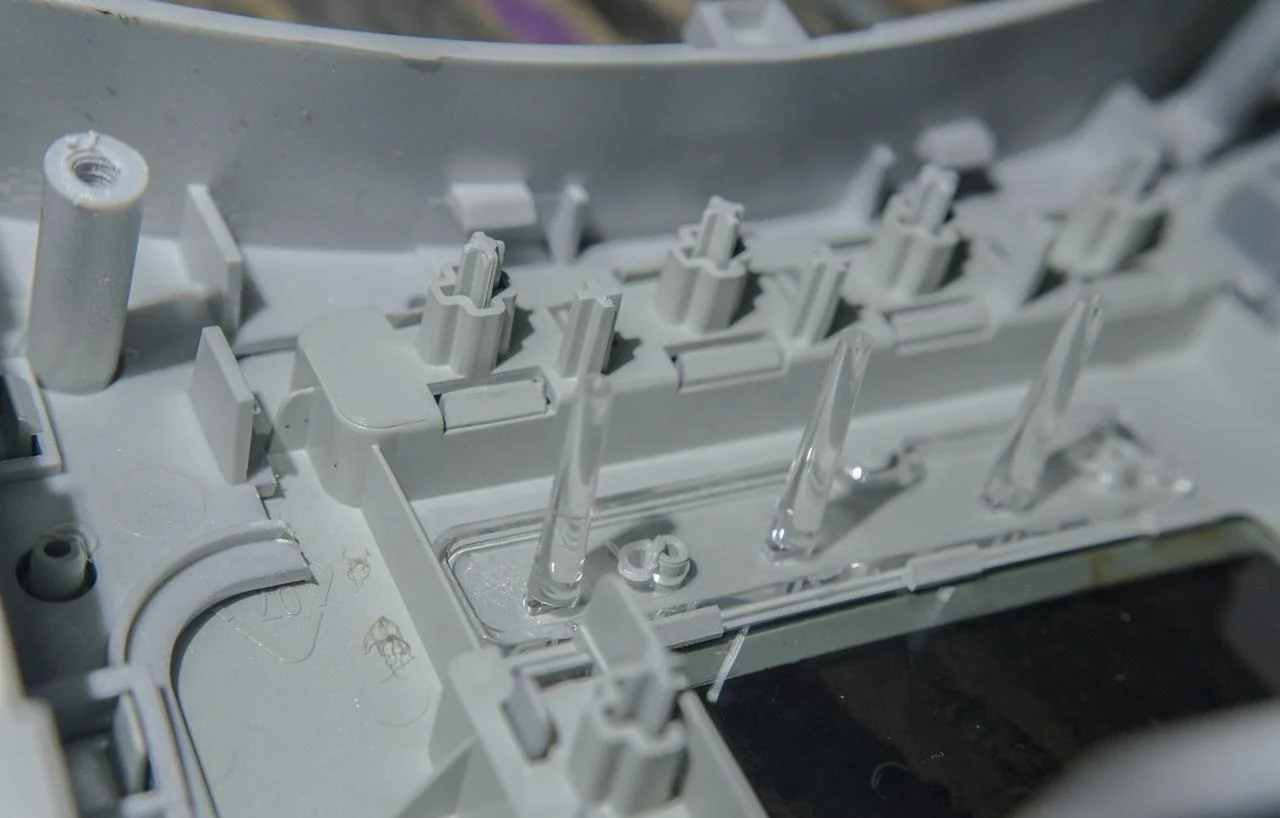
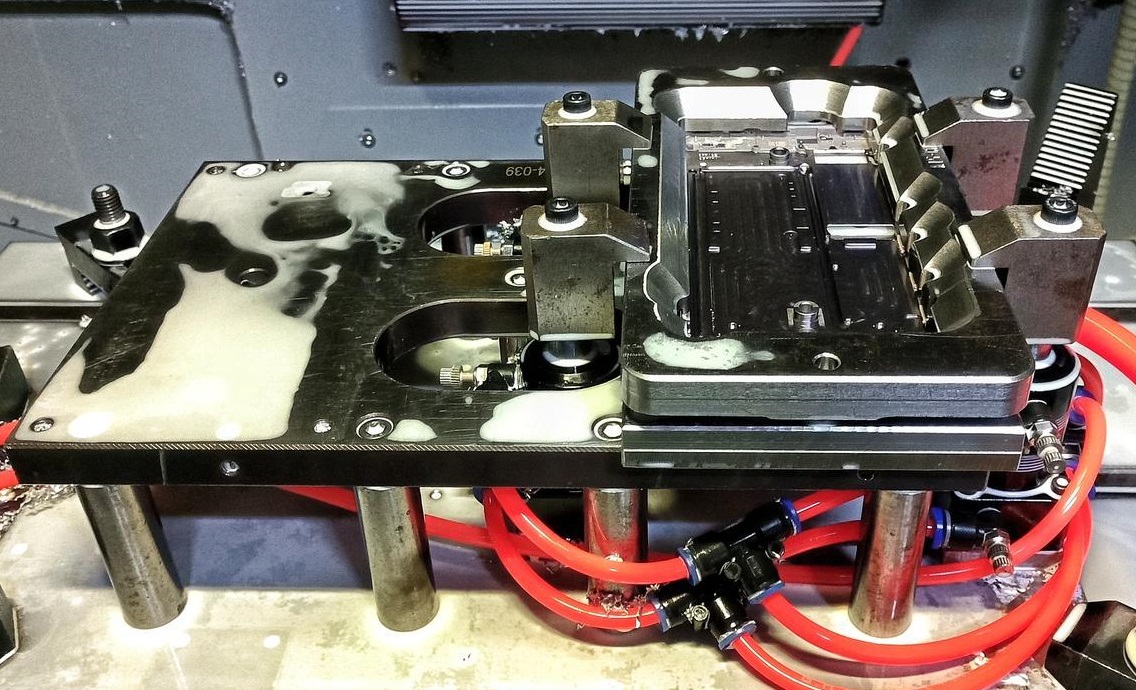
3. Mold Design and Product Design
- Uniform Wall Thickness: Ensures uniform cooling, which mitigates stress development.
- Draft Angles: Sufficient draft angles must be incorporated to facilitate smooth demolding.
- Smooth Transitions: Minimize sharp corners—rounded edges should be used to avoid stress concentrations.
- Gate and Runner Design: Wide, short gates and runners are optimal, with cold slug wells added if required.
- Surface Finish: The mold surface roughness should be maintained below 0.8 µm for an optimal finish.
- Venting: Adequate venting is necessary to expel air and gases during the molding process.
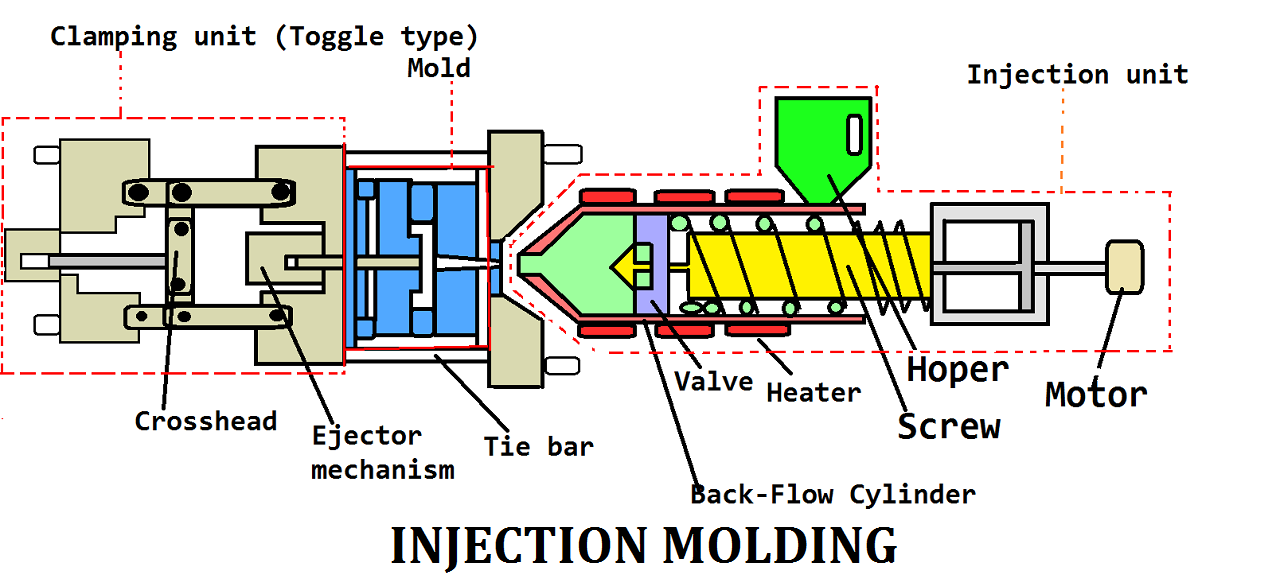
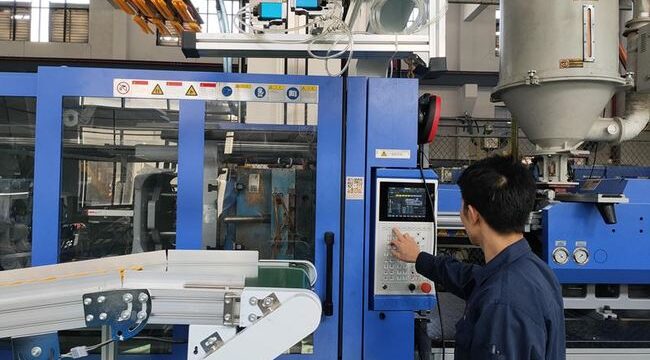
4. Injection Molding Process and Machine Settings
- Machine Selection: Machines equipped with dedicated screws and temperature-controlled nozzles are preferred.
- Temperature Control: Ensure that barrel temperatures are set high enough to avoid material degradation, but within safe limits for the material.
- Pressure: High injection pressure is necessary to overcome viscosity; however, excessive pressure should be avoided to prevent stress within the material.
- Speed: Maintain low to moderate injection speeds. Multi-stage injection may be required for certain materials.
- Cycle Time: Minimize holding and cycle times to reduce material degradation.
- Screw Speed and Back Pressure: Keep both screw speed and back pressure low to prevent the breakdown of the material.
- Mold Temperature: Maintain precise temperature control; higher mold temperatures enhance flow and minimize internal stress.
5. Additional Considerations
- Mold Release Agents: Apply in minimal quantities to avoid surface defects.
- Regrind Usage: Limit regrind material usage to less than 20% of the total material mix.
- Post-Processing: Annealing of parts (except PET) is recommended to alleviate internal stresses.
Material Selection Guide
1. Polymethyl Methacrylate (PMMA)
Advantages: PMMA offers excellent optical clarity and remarkable weathering resistance, making it ideal for outdoor and transparent applications.
Disadvantages: The material is inherently brittle and exhibits poor impact resistance, limiting its use in applications that involve high mechanical stress.
Applications: PMMA is typically utilized in lamp covers, optical lenses, and other items requiring clear, weather-resistant materials.
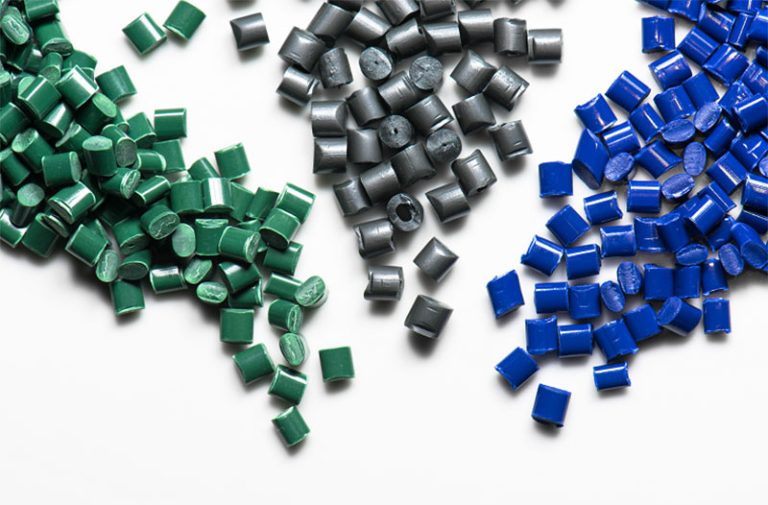
2. Polycarbonate (PC)
Advantages: Polycarbonate’s notable features include high impact strength and resistance to heat, making it suitable for demanding applications.
Disadvantages: PC is prone to stress cracking, particularly in the presence of environmental factors such as UV exposure and moisture.
Applications: It is widely used in the production of bulletproof glass, eyewear lenses, and medical devices, where strength and heat resistance are essential.
3. Polyethylene Terephthalate (PET)
Advantages: PET is characterized by its high tensile strength and excellent chemical resistance, making it ideal for packaging solutions.
Disadvantages: One limitation of PET is its significant moisture absorption, which can compromise its integrity in certain conditions.
Applications: PET is most commonly used in beverage bottles, food packaging, and other applications where strength and chemical resistance are required.
4. Cyclic Olefin Copolymer (COC)
Advantages: COC is highly transparent and exhibits low moisture absorption, making it an excellent material for optical and medical applications.
Disadvantages: The higher cost of COC can be prohibitive for some applications, particularly when cost efficiency is a primary concern.
Applications: COC is typically used in medical packaging, optical films, and other high-clarity applications where moisture resistance is critical.
Frequently Asked Questions (FAQ)
Q1: What are some of the common defects in transparent plastic injection molding?
- A: You’ll often run into issues like bubbles, flow marks, internal stress cracks, and discoloration. These can all mess with the clarity and overall look of the plastic.
Q2: How do I pick the right material for transparent injection molding?
- A: It depends on what you’re making! For optical components, go with PMMA. If you need something tough and impact-resistant, PC is the way to go.
Q3: How can I avoid internal stress in transparent plastic injection molding?
- A: Try to optimize your mold design, manage the cooling process carefully, and don’t forget about post-processing, like annealing, to relieve stress.
Q4: What are the upcoming trends in transparent plastic injection molding?
- A: We’re seeing some exciting trends like smart molding technology, eco-friendly manufacturing practices, and micro molding taking center stage.
The End
Although transparent plastic injection molding is complex, following the right steps in preparation, design, and process control can lead to stunning, defect-free parts. Partnering with an expert will give you that extra edge for top-notch results.
Take Action Now: Drop us a line and let our experts help you create the perfect solution for your transparent plastic injection molding needs. We’ve got you covered!