For anyone in the injection molding industry, machine tuning is an everyday task. But getting every machine dialed in just right—whether you’re a seasoned veteran or a new apprentice—is always a real challenge. Why? Because materials, mold temperature, machine condition, tooling, and even the workshop environment all have different requirements. A qualified product and high efficiency are the ultimate goals of tuning. That’s what we’re going to explore here, with those goals as our guide.
Injection Molding Machine Checks
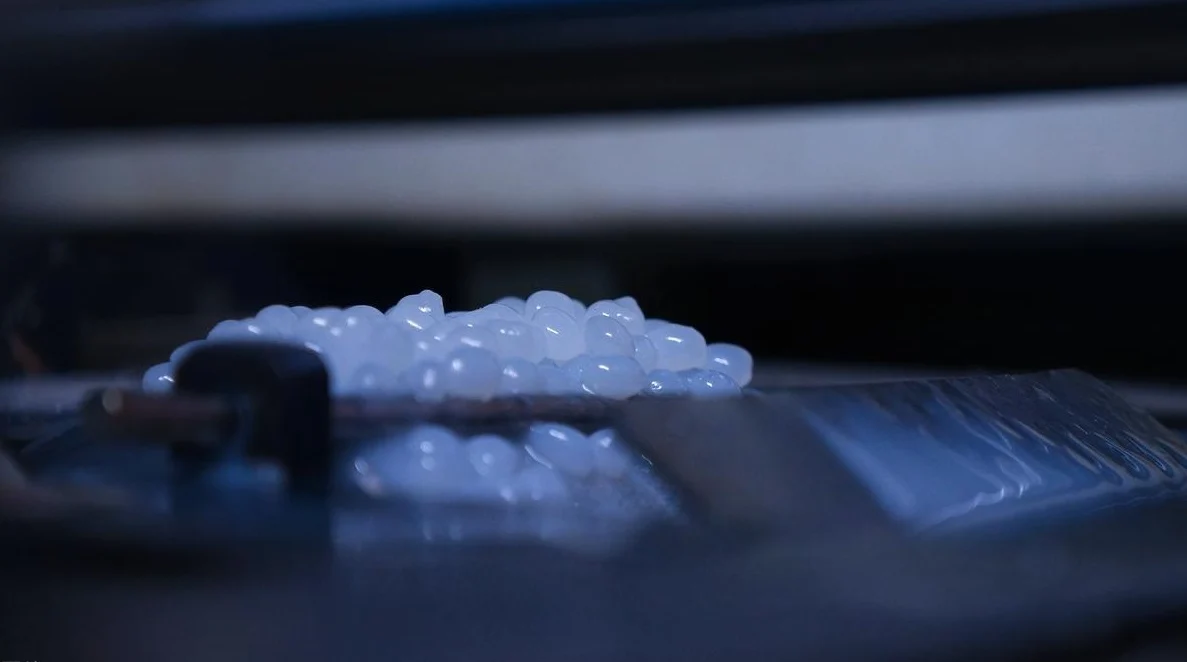
1. Shot Capacity
Check this directly on the machine. The nameplate usually shows the maximum shot volume. If there’s no nameplate, set the shot volume to its maximum, run a full shot, eject the melt, and weigh it. That’s your machine’s actual max shot capacity.
Note: Shot capacity varies with material density—some materials are denser than others.
2. Screw & Non-Return Valve Seal Integrity
Good sealing between the screw and the non-return valve is essential for stable process parameters.
How to check:
After mounting the mold, run one normal semi-automatic cycle. When cooling starts, switch to manual mode. Plasticize again until the screw is full, then inject manually. Watch the screw position. Release the injection pressure and see if the screw springs back. If it springs back, the seal is good, and the screw and non-return valve are fine.
For greater accuracy, you can use a steel plate instead of a mold. Just press the nozzle against the plate, inject manually, and check for spring-back. Also, make sure there’s no melt leaking from the nozzle.
If the screw does not spring back, the non-return valve is likely faulty and needs to be inspected and repaired.
3. Injection Pressure Test
Setup: Place a pressure sensor on a steel plate, with an aluminum plate on top of the sensor. Press the nozzle against the aluminum plate.
Procedure: Set the machine’s injection pressure as follows, injecting three times at each level:
- 10 Bar (3x)
- 50 Bar (3x)
- 90 Bar (3x)
- 130 Bar (3x) — test more often if you use this pressure range regularly
- 150 Bar (3x)
Check whether the actual pressure displayed on the pressure tester matches the set pressure each time. Record everything.
If the deviation exceeds 5%, the machine’s displayed value needs adjustment or the equipment requires servicing.
4. Melt Temperature Test
Temperature testing is split into two types:
- Drying (hopper) temperature
Use a temperature probe to measure above and below the hopper. This is straightforward, and most drying equipment already displays it. (If you need more details, leave a message—happy to discuss.)
- Injection melt temperature
This is trickier. The machine shows 4–5 temperature zones, but while running, you can’t easily verify if those readings are accurate—you’re mostly trusting the display. A third-party check is difficult.
One rough method: retract the injection unit, purge the melt, and immediately probe the extruded material. Compare that reading to the first-zone temperature setting. If the difference is more than about 10%, the machine’s temperature readings are likely off—replace the thermocouple or recalibrate.
Measuring the internal melt temperature is even harder. You’d need to disassemble the screw and nozzle, then insert a probe deep into the barrel using a fixture.
That said, extreme precision here isn’t always critical—most of the heat actually comes from screw shear, not just the barrel heaters.
Watch out: On older machines, heater bands can overshoot significantly during temperature ramp-up. This may discolor (yellow/burn) the material locally. This often happens when heaters, thermocouples, or control boards have been replaced with mismatched, non-calibrated parts from different batches, leading to poor temperature consistency.
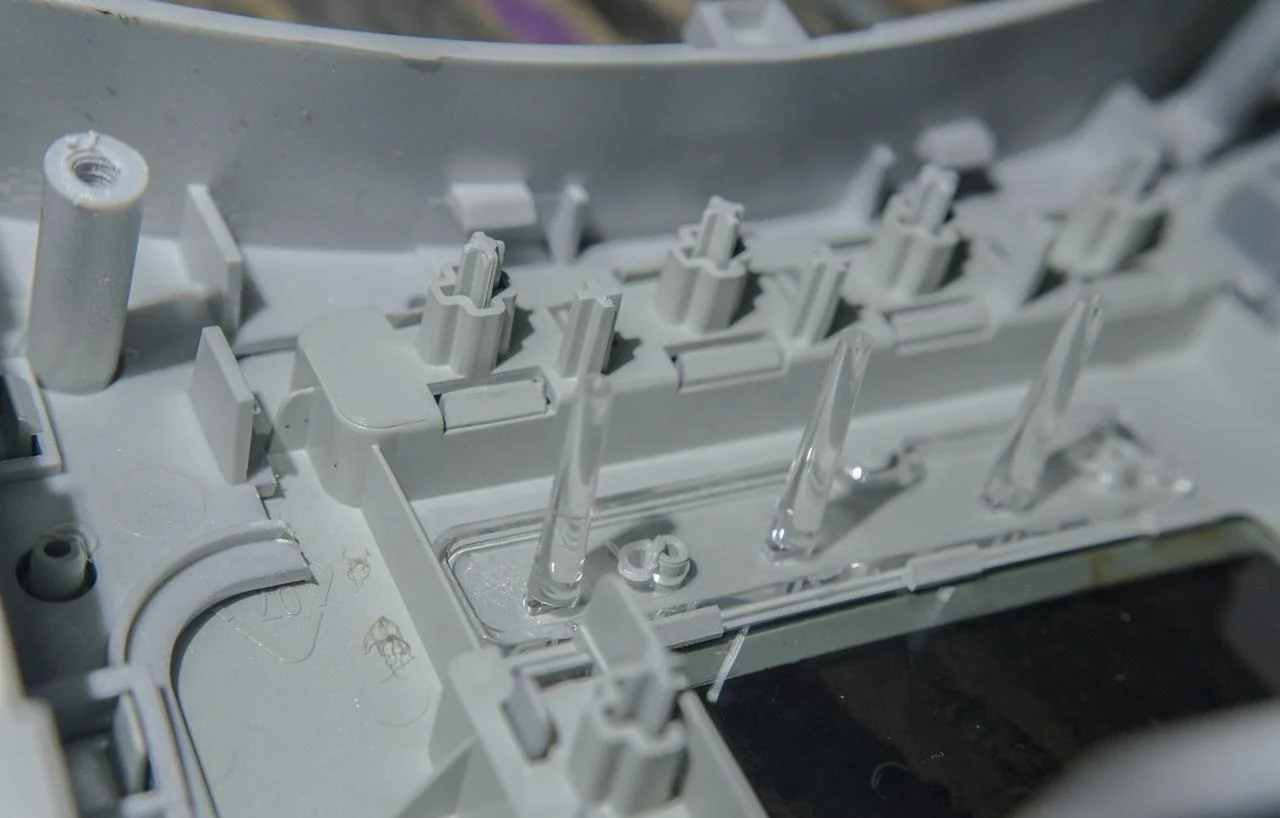
Maintenance of Molds
There are many types of molds: single-plate, two-plate, side-core pull, and more. The final choice of mold is ultimately determined by the product itself.
A good mold makes our job feel easy. A poorly designed mold, on the other hand, can cause endless headaches. But in the end, the perfect solution usually comes down to communication or mold modification.
Proper mold maintenance is essential — and this is something we can control. So we should do it as well as possible.
After Production
Once production is finished, be sure to:
- Use an air gun to blow out any water or cooling fluid inside the mold.
- Seal the ports with plugs to prevent rust or foreign material from getting in during storage.
- Apply anti-rust oil to the mold surface to prevent surface corrosion.
- Store the mold on a proper mold rack — never directly on the floor.
Safety note: Always use caution when moving molds. Safety and health come first — they’re the foundation of earning a living. If something feels dangerous (or even potentially dangerous), pay attention and improve the situation.
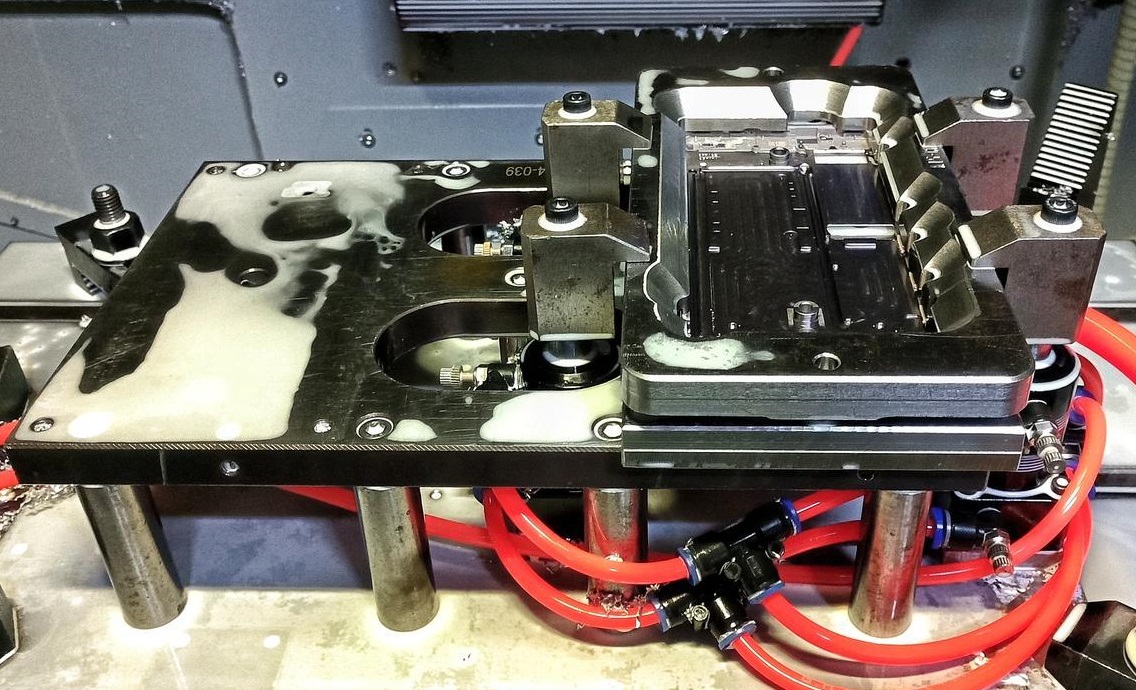
Internal Mold Maintenance
During production, a lot of gas and debris can accumulate inside the mold. Over time, this can affect the smooth movement of ejector pins and inserts, as well as venting. It can also cause black specks on the parts, and in severe cases, even seize the ejector pins.
For that reason, every component should be disassembled and cleaned before and after each production run.
The grease and residue on ejector pins and inserts can be stubborn and hard to remove. The most effective method I’ve found so far is using sandpaper.
I haven’t come across a cleaner that quickly removes this kind of stubborn oil. Strong acids could work, but the fumes are unpleasant — our mold technicians can’t stand it, so they still prefer sandpaper. Plus, chemical cleaners are difficult to dispose of properly and can get you in trouble with environmental regulators.
Maintenance of Mold Temperature Controllers (Water / Oil Thermolators)
The mold temperature controller (thermolator) is responsible for dissipating heat from the mold during production. The temperature setting is determined by both part appearance and cycle efficiency — so the mold temperature controller plays a key role.
Temperature Check
Temperature should be checked using a flow water thermometer. Install the thermometer at both the mold inlet and outlet. This allows you to fully monitor both the temperature status and the flow rate.
To check flow behavior, attach a clear transparent hose to the outlet. This lets you see whether the flow is turbulent or laminar:
- Turbulent flow— you can clearly see the water moving and mixing.
- Laminar flow— the water appears still or moves smoothly without mixing.
What the mold needs is turbulent flow. Laminar flow cannot effectively carry heat away from the mold.
Cooling Medium
The choice of cooling medium makes a big difference:
| Medium | Max Temperature |
| Pure water | 100°C (212°F) |
| Water with a pressurized tank | 120°C (248°F) |
| Oil | 180°C (356°F) |
Keep in mind: some heat is always lost along the piping, so the actual temperature at the mold may be slightly lower than the set temperature.
Key Injection Molding Process Parameters
1. Barrel Temperature
Plastic can only be injected into the mold when it is in a molten state. The barrel is heated by heater bands, which transfer heat to the plastic inside to melt it. Depending on the barrel length, multiple heater bands may be installed, and the temperature of each zone must be set individually according to the material being processed. These set temperatures ultimately affect the actual melt temperature. Additionally, the shear generated by screw rotation also has a significant impact on melt temperature. Recommended melt temperatures can be obtained from the material supplier.
2. Mold Temperature
Injection molding is a heat transfer process — the melt gradually cools inside the mold. Mold temperature is set on the mold temperature controller (thermolator), which circulates a heat transfer fluid such as water or oil. Typically, water is used for mold temperatures below 100°C, while oil is used for higher temperatures. Electric heating rods may also be used in some cases. Some injection molding machines allow direct control of these mold temperature units from the control panel. Recommended mold temperatures can be obtained from the material supplier.
3. Injection Speed
Injection speed refers to the linear speed at which the screw pushes the plastic melt into the mold.
Injection speed should be as fast as possible, ensuring the melt remains molten until the cavity is filled. Once the mold is full, the injection ends.
4. Injection Pressure
Injection pressure is the pressure applied to the melt at the screw tip to maintain the set injection speed. If the viscosity of the plastic increases, the force (or pressure) required to maintain the set speed also increases. Therefore, maintaining a constant speed during injection is very important. For a robust process, the machine should always have sufficient pressure available. A pressure drop test can be used to optimize injection pressure.
5. Packing Pressure
Packing is the first sub stage of the compensation phase. After the mold is filled during injection, additional plastic must be packed in to compensate for subsequent shrinkage. The pressure applied to the melt at this stage is called packing pressure. Packing pressure is one of the most important parameters for determining part shrinkage and dimensions.
6. Packing Time
Packing time is the duration for which packing pressure is applied. Gate freeze testing can be used to obtain data for optimizing packing time.
7. Holding Pressure
Holding pressure is the second sub stage of the compensation phase. It is the pressure applied to the melt to ensure that the melt neither overfills the cavity nor flows back out of it. Theoretically, no plastic flow occurs during this stage until the gate freezes.
8. Holding Time
Holding time is the duration for which holding pressure is applied. Gate freeze testing can also be used to optimize holding time.

9. Screw Speed
Screw speed refers to the rotational speed of the screw during plastication (screw recovery). In general, crystalline materials require higher screw speeds than amorphous materials. Currently, there is no mature technology to directly optimize screw speed. Indirect methods are typically used, such as measuring melt temperature and checking for burned or unmelted particles in the melt.
10. Back Pressure
Back pressure is the pressure applied behind the screw during plastication to promote uniform melting and to remove volatiles. Currently, there is no mature technology to optimize back pressure either.
11. Cooling Time
Cooling time is the period during which the mold remains closed while the plastic cools to the ejection temperature. After the cooling stage ends, the mold opens, and the part is ejected. However, the set cooling time is not the actual cooling time. Cooling begins as soon as the melt contacts the mold surface. Therefore, the actual cooling time equals: injection time (fill time) + set packing time + set holding time + set cooling time. Cooling time can also be optimized using designed experiments.
12. Shot Size (Metering)
Shot size is also known as metering. The screw zero position is when the screw is at the very front of the barrel. As the screw moves backward, it accumulates molten plastic. The set distance the screw travels backward is called the shot size. Shot size is expressed in linear distance or volume. Shot size can be calculated based on total injection weight and melt density. However, because melt density depends on temperature — which is difficult to measure precisely — the calculated shot size is usually only an estimate. Shot size must also be adjusted during packing and holding based on the actual cushion.
13. Transfer Position (Switchover Point)
The point at which the injection phase switches to the compensation phase is called the transfer point. When this switch is triggered by screw position, it is called the transfer position or switchover point. Switchover can also be triggered by time, hydraulic pressure, or an external signal. Theoretically, the mold should be 100% filled with the melt at the transfer position. In practice, however, the mold is often filled to slightly less than 100% before the compensation phase begins.
Other Parameters (Less Critical)
The following parameters do not need to be adjusted as frequently as the 13 parameters above, nor do they have a substantial impact on product quality.
Decompression or Suck back Distance
Because screw recovery (plastication) takes place under back pressure, the melt at the front of the screw is compressed and has internal pressure. During screw recovery, the molded part and runner are still inside the mold. Once the mold opens, the sprue separates from the nozzle, the pressure in the melt is released, and the melt can drool out of the nozzle. Therefore, when screw recovery ends, the screw should move back a short additional distance to relieve the internal pressure. This distance is called the decompression distance or suck back distance. Typically, this distance is short (less than 10 mm). Too much suction back can cause surface defects on the part.
Packing Speed
Packing speed is the linear speed of the screw during the compensation phase. On some injection molding machines, this is only an optional parameter.
Final Note
If you look at the control panel of a modern injection molding machine, you may feel overwhelmed by the number of different parameters and options. Machines often have multiple monitoring screens to track product quality and production efficiency. Machine manufacturers sometimes also include unnecessary control features. For example, some machines offer ten stages of pressure selection for the packing and holding phases. In most systematic injection molding process development, two stages of pressure should be sufficient. However, in some cases — to compensate for design flaws in the part or mold — process engineers may need to use multi stage processes.
Conclusion
The path of machine tuning may look like just turning screws and adjusting parameters, but in reality, it is a deep conversation with materials, equipment, molds, and the environment. Every machine has its own personality. Every material behaves differently. Only through continuous observation, recording, and summarization can you become truly fluent in this conversation.
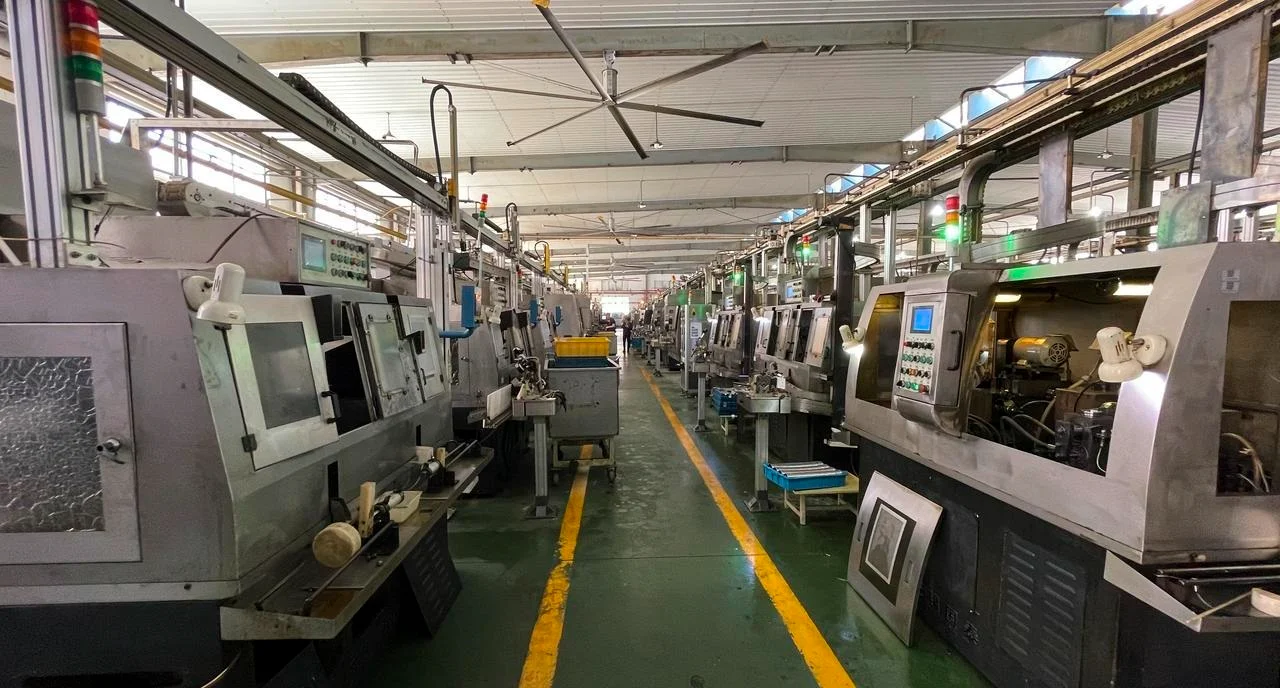
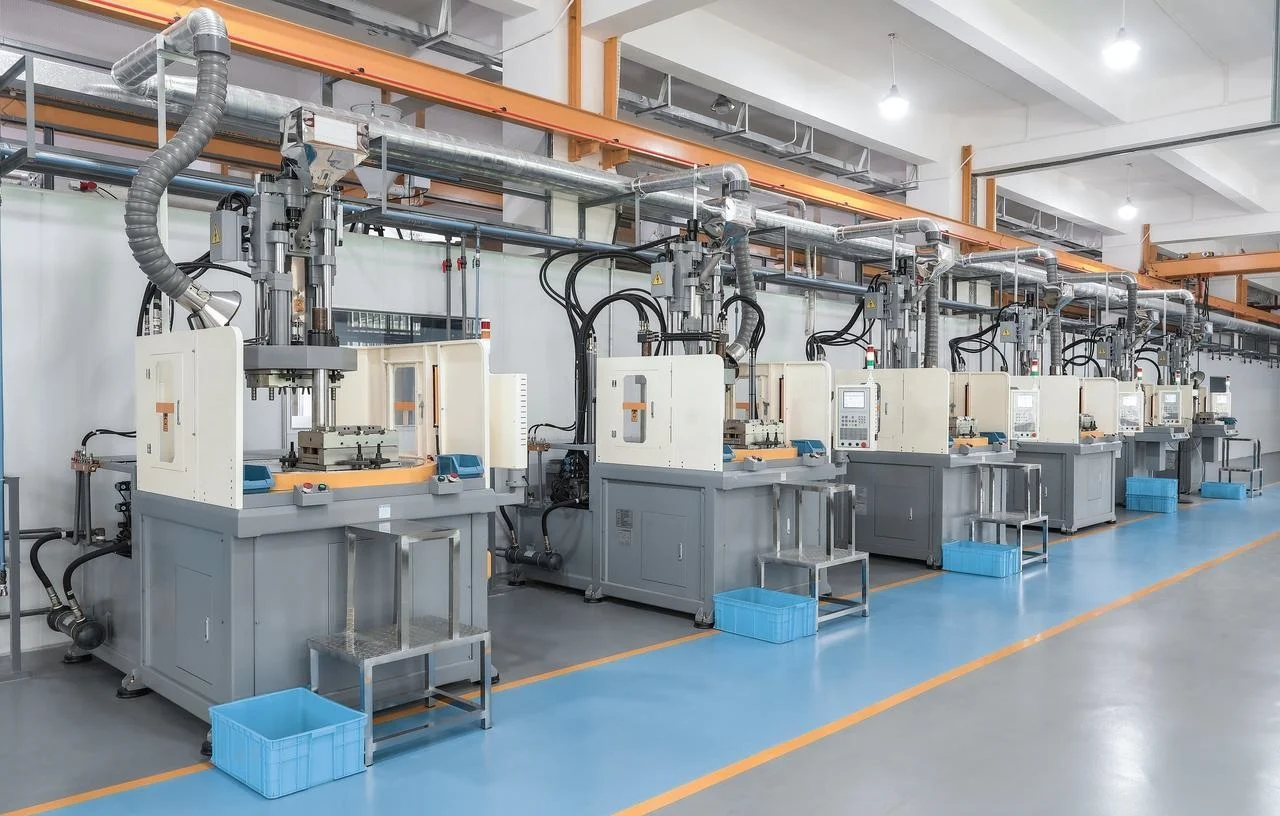
About NOBLE
Here’s who we are. A precision CNC machining shop. We focus on quality and consistency. That’s the foundation.
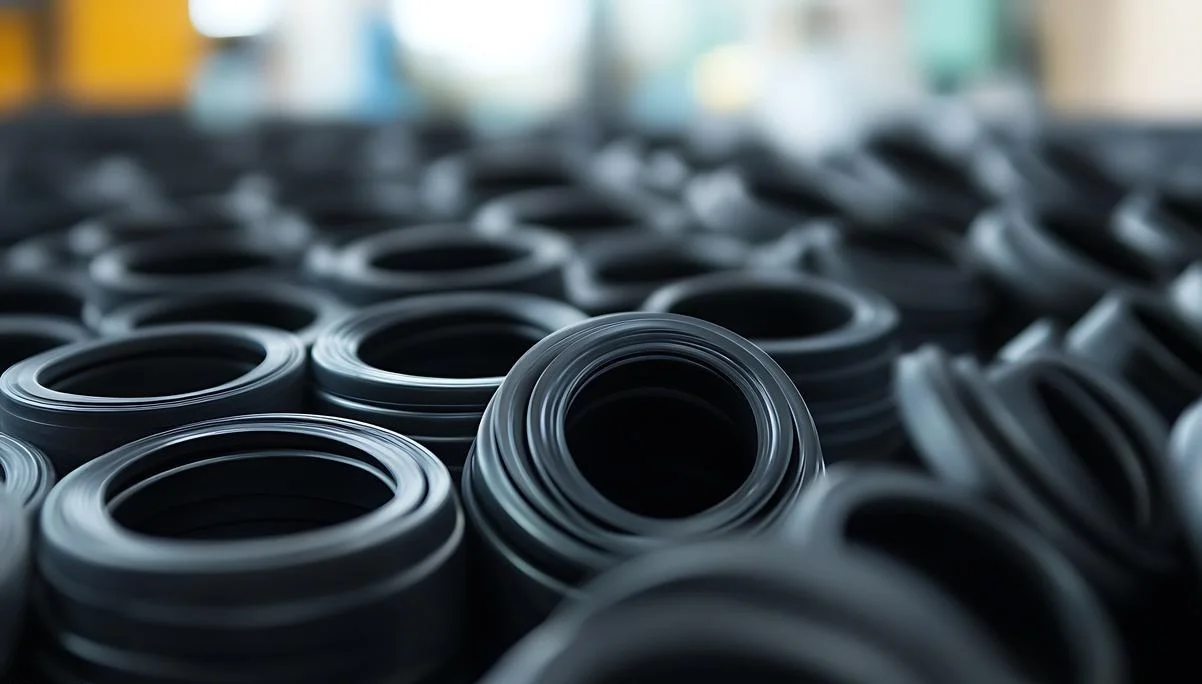
This article has been about injection molding. But our real expertise is different. We do CNC machining. Milling. Turning. Custom parts in metal and plastic. Wide range of materials.
Our certifications matter:
ISO 9001:2015 — Quality management systems. The baseline.
ISO 13485:2016 — Medical device quality management. Stricter. More traceability.
These aren’t badges. They mean we control our processes. We track everything. We keep improving. Medical work. Automotive work. General industrial. The same standards apply to all of it.
Here’s our belief. Good manufacturing follows the same rules we’ve laid out here. Know your machine. Control your variables. Never stop chasing better quality.
FAQ
How often should I check the non-return valve seal?
Check it when you swap materials. Check it if the process starts drifting. Look at part weight—if it’s bouncing around, that’s a sign. Many techs do a seal test during mold changes. Catch it before it makes bad parts, not after.
Why does my melt temperature not match the barrel temperature settings?
Two things happen. First, the barrel settings are only part of the story. The screw shears the plastic as it turns, and that adds real heat. Second, the hardware might be lying to you. Old machines with mismatched heater bands or bad thermocouples give false readings. Use a probe to measure actual melt temperature. That tells you what’s really going on.
Can I use water for mold temperatures above 100°C?
No. Water boils at 100°C at atmospheric pressure. If you need higher, you have two options. A pressurized water system raises the boiling point. Or you switch to oil. Oil systems run up to 180°C. That’s standard for high-temperature applications.
How do I prevent mold rust during storage?
Blow out every cooling channel with compressed air. Then plug the ports. Coat all exposed surfaces with anti-rust oil—cavity, core, mounting plates. Never put the mold on the floor. Use a rack. Keep it dry. Rust starts the moment you stop paying attention.